QuantAsylum QA401 User
’s
Manual
Page
15
Adjusting Knobs
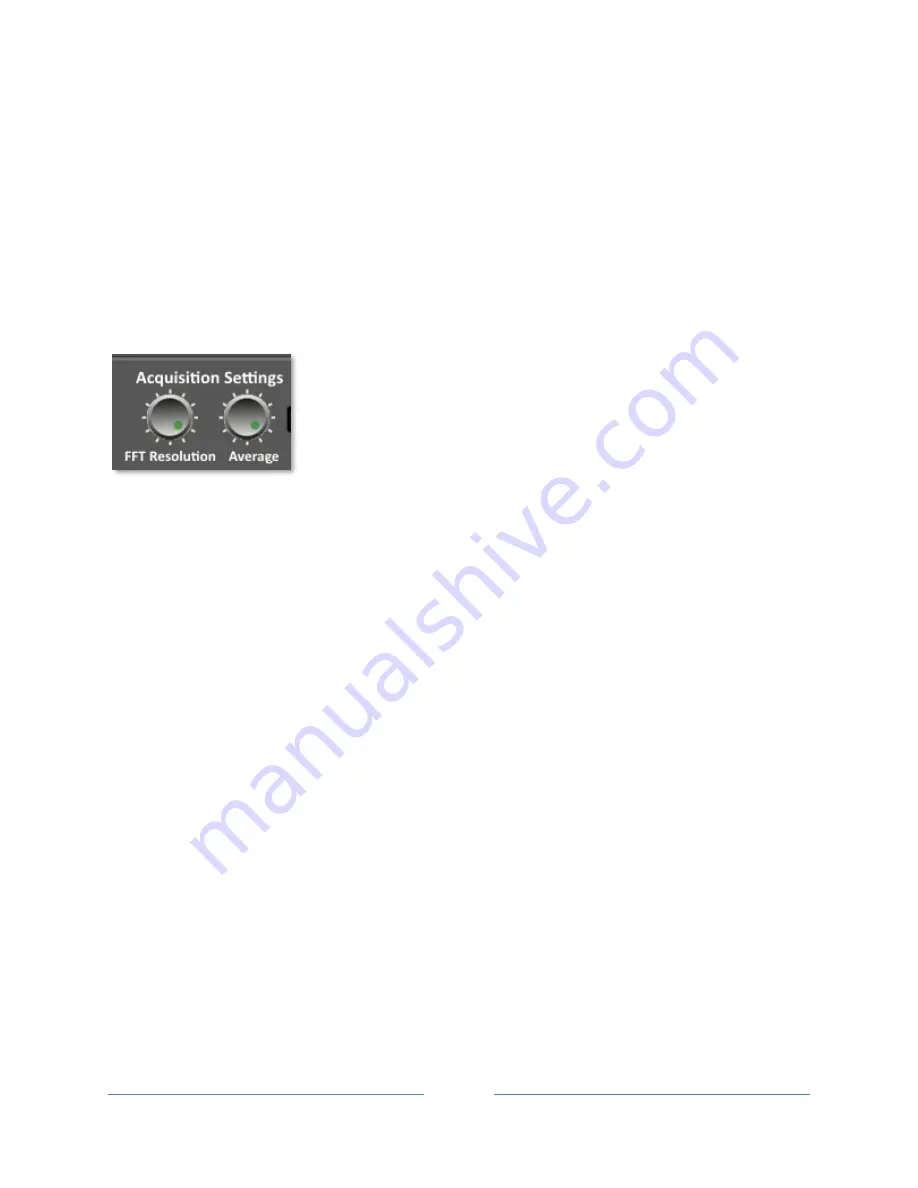
Knobs are used to permit quick and accurate adjustment of controls. If you are familiar with pro-audio
production software, then the knobs will already be second nature. In these environments, users must
deal with literally hundreds of adjustments shown on the screen simultaneously, and an enormous
amount of refinement has gone into making them useful.
If you have a mouse with a scroll wheel, then you can hover over a knob, click with your mouse and
move the mouse wheel to turn the knob. When you are done with the adjustment, move the mouse
away from the knob. Note that when the mouse moves over the knob and is clicked, the knob features
an LED that illuminates slightly. This is your cue that adjustment is then possible.
While adjusting the knob, there are a few keyboard shortcuts that can help.
If you hold the CONTROL key down while adjusting the mouse wheel, the knob will spin 10 times faster
than if no key were pressed. This makes it easy to quickly adjust something like the offset knob.
If you hold down the ALT key while adjusting the mouse wheel, the knob will spin 10 times slower than if
no key were pressed. This makes it easy to fine tune very precise settings.
Adjusting Without a Mouse Wheel
If you don't have a mouse wheel or if you are working on a laptop, then you adjust a knob by clicking on
the knob, and then moving the mouse up or down while holding the click. On a track pad, then you
would slide your finger up and down while holding the left mouse button. When you are done with the
adjustment, just release the click. The same accelerator keys (CONTROL and ALT) work using this
method too.
If you have a touch screen, then you can place your finger on the knob and slide it upwards or
downwards to adjust.
Notice that the knobs don’t have any indication of the value. The knobs are analogous to “rotary
encoders” used on equipment where the knob can spin forever in a clockwise or counterclockwis
e
direction. The actual values being adjusted by the knob are displayed on the analyzer display. This might
take a little getting used to, but it’s very quick with a little practice, and allows a large set of controls to
be placed in a small area.


