3.
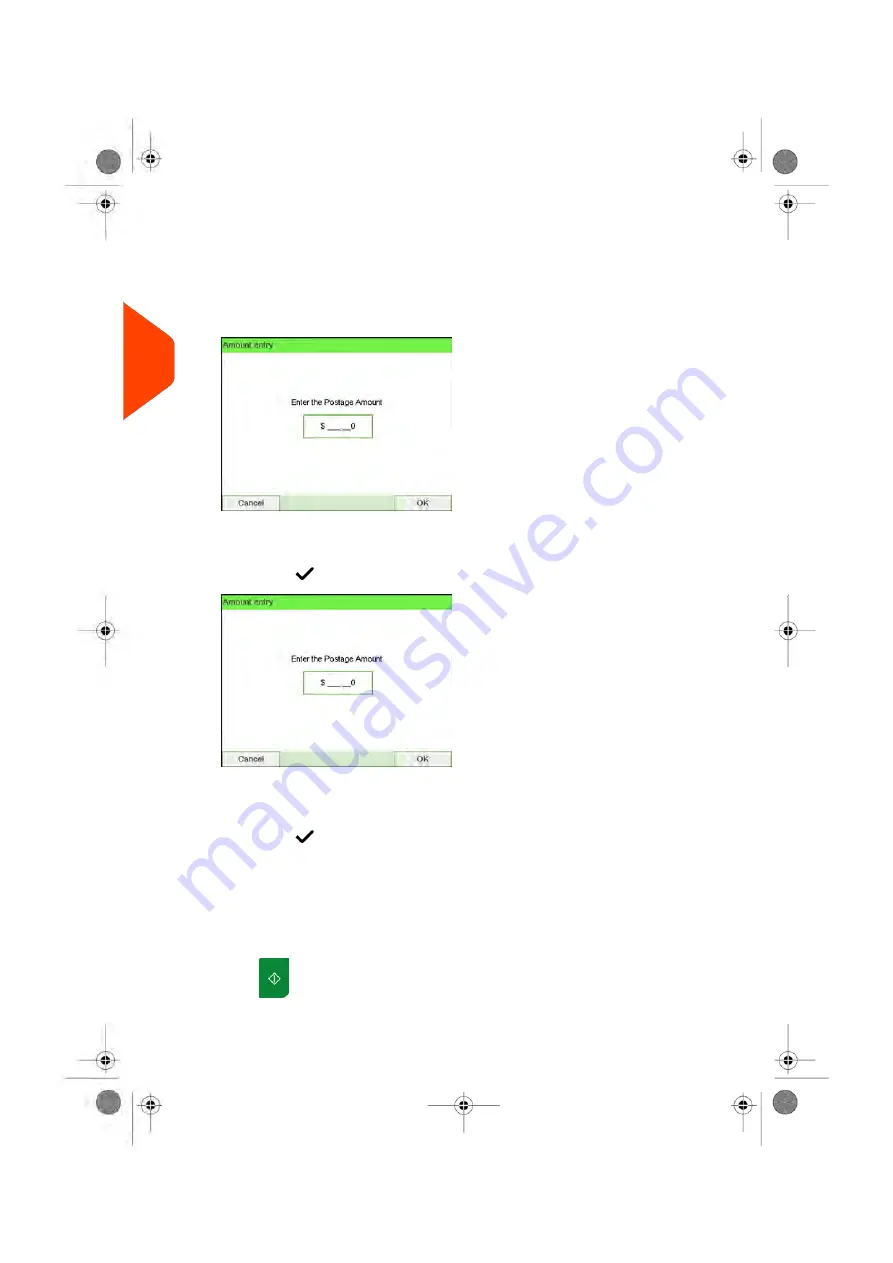
Select
Amount
and enter the desired amount.
From the home screen:
Begin to type in the statement of mailing amount (keys 1 to 9 or dot). The Amount
entry screen is displayed.
- Type the amount in and press [OK] to validate and return to the home screen.
From the Customize stamp screen:
- Type the amount in and press
[OK]
to validate.
- Press
to return to the home screen.
4.
[Amount correction]
type of stamp also allows you to correct the Date if necessary.
- Select Date and then select a date option in the Date Advance Screen.
- Press
to return the home screen.
You can also apply this optional setting:
1.
Move the stamp away from the envelope edge
for thick envelopes: see
on page 123.
On the [Amount Correction] home screen:
1.
Press
. System motors start running.
80
| Page 80 | Apr-15-2022 12:02 |
3
Processing
Summary of Contents for iX-7PRO Series
Page 1: ...User Guide iX 7PRO Series Mailing Systems with iMeterTM Postage Meter ...
Page 5: ... Page 4 TOC Apr 15 2022 12 02 ...
Page 7: ......
Page 15: ......
Page 119: ......
Page 121: ......
Page 137: ......
Page 209: ......
Page 221: ......
Page 223: ......
Page 240: ...Content 8 Reports 235 Page 235 Apr 15 2022 12 02 ...
Page 246: ...Outputs Screen USB printer USB memory key Content 8 Reports 241 Page 241 Apr 15 2022 12 02 ...
Page 247: ......
Page 249: ......
Page 255: ...2 Call is complete 250 Page 250 Apr 15 2022 12 02 9 Online Services ...
Page 302: ...Geodesic map 10 Configuring your Mailing System 297 Page 297 Apr 15 2022 12 02 ...
Page 303: ...Geodesic codes 298 Page 298 Apr 15 2022 12 02 10 Configuring your Mailing System ...
Page 327: ......
Page 361: ......
Page 387: ......
Page 389: ......
Page 551: ......
Page 553: ......
Page 564: ...A0129789 B 19 04 2022 ...


