2.
Check or change the type of imprint
.
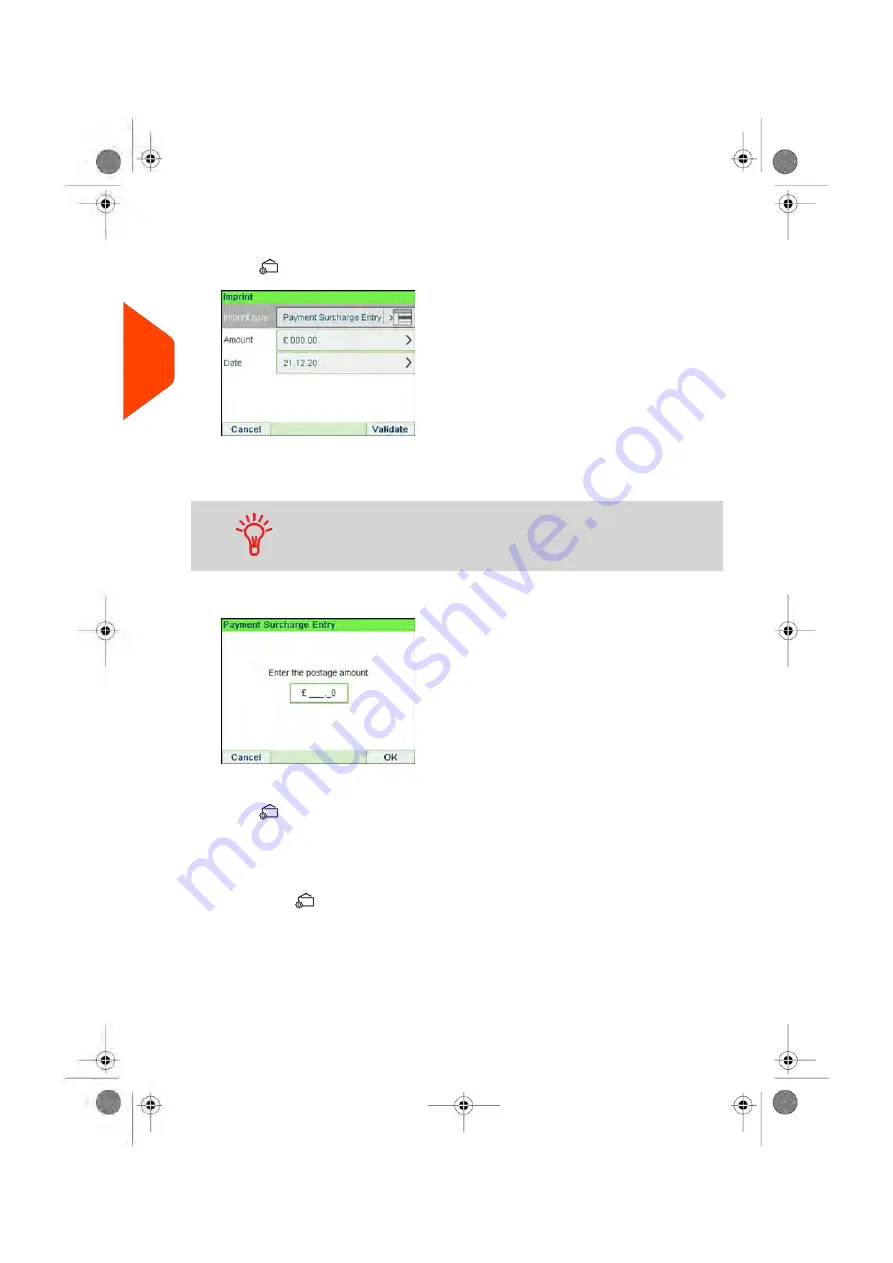
Press
to access the Imprint screen:
To change the type of imprint
, select Imprint type and then select
[Payment
Surcharge Entry]
in the Type of imprint screen. For more details, see
Change the Current 'Type of Imprint'
on page 37.
To select an option on the screen
, use related keys located on
the right hand side of the display.
3.
Select
Amount
and enter the desired amount.
Press
[OK]
to validate.
Press
to return to the home screen.
4.
[Payment Surcharge Entry]
type of imprint also allows you to correct the
Date
if
necessary.
- Select Date and then select a date option in the Date Advance Screen
- Press
to return to the home screen.
You can also apply this optional setting:
1.
Move the imprint away from the envelope edge
for thick envelopes: see
Move the Imprint (Print Offset)
on page 86.
You are now ready to print.
64
| Page 64 | Jun-21-2021 12:11 |
3
Processing
Summary of Contents for iX-5 Series
Page 1: ...User Guide iX 5 Franking Machine ...
Page 5: ... Page 4 TOC Jun 21 2021 12 11 ...
Page 7: ......
Page 15: ......
Page 17: ......
Page 33: ......
Page 97: ......
Page 99: ......
Page 109: ......
Page 111: ......
Page 125: ......
Page 167: ......
Page 169: ......
Page 175: ......
Page 177: ......
Page 192: ...Content 8 Reports 187 Page 187 Jun 21 2021 12 11 ...
Page 195: ......
Page 197: ......
Page 237: ...3 Press OK to validate 232 Page 232 Jun 21 2021 12 11 10 Configuring your Mailing System ...
Page 238: ...Geodesic map 10 Configuring your Mailing System 233 Page 233 Jun 21 2021 12 11 ...
Page 239: ...Geodesic codes 234 Page 234 Jun 21 2021 12 11 10 Configuring your Mailing System ...
Page 259: ......
Page 283: ......
Page 303: ......
Page 305: ......
Page 319: ......
Page 327: ...A0139556 B 22 06 2021 ...
Page 328: ...A0139556 B 22 06 2021 ...


