


Calling Illumination Scenes:
Static scenes from the memory bank can only be used in manual mode.
1. There should be no device selected. If one of the control LEDs of the number buttons 1- 16 is lit, press
the corresponding button to deselect.
2. Press the SCENE button.
•The control LED l
ights up.
3. Call the desired scene with the number buttons 1-16.
•The control LED ligh
ts up.
•If the button is pressed once again, the scene is deselected (control LED goes out).
•If necessary, use the PAGE button to switch between the two channel groups 1
-16 (LED A lights up) and
17-32 (LED B lights up).
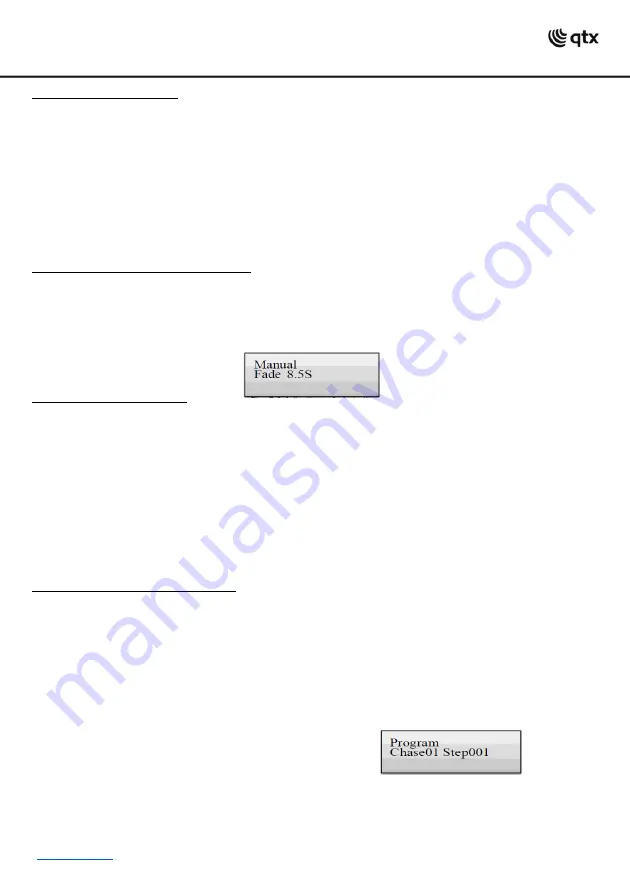
Adjusting Fade-in for the Color Channels:
It is possible to adjust a fade in time for illumination scenes affecting the RGBW color channels 1-4 and
the dimmer channel. When actuating a sliding control, the corresponding channel is moved slowly and
steadily to its target value. The controller automatically creates all necessary intermediate values. Keep
the FIXTURE button pressed and simultaneously adjust the fade in time with the pan wheel between 0-30
seconds. When turning
the wheel, the display indicates the selected value in the lower line, e.g. “Fade
8.5S“ for a fade in lasting 8.5 seconds.
Deleting Illumination Scenes:
1. Call the programming mode. For this, keep the REC button pressed until the LED above the button
lights up.
2. Press the SCENE button.
•The control LED lights
up.
3. Keep the DEL button pressed and select the scene to be deleted with the number buttons 1-16.
•The control LEDs of the memory banks containing data light.
•
If necessary, use the PAGE button to switch between the two channel groups 1-16 (LED A lights up) and
17-32 (LED B lights up).
•To confirm the deleting procedure, all LEDs of the controller flash three times.
4. After the desired scene has been deleted, switch off the programming mode. For this, keep the button
REC pressed until the LED above the button goes out.
Programming and Memorizing Chases:
For programming chases (sequences of scenes), 32 memory banks are available. A sequence of up to 100
steps can be programmed on each memory bank. Previously memorized scenes may also be compiled into
a chase in any desired order. Chases may run automatically, manually or sound-controlled.
1. Call the programming mode. For this, keep the REC button pressed until the LED above the button
lights up.
2. Press the CHASE button.
•The control LED lights
up.
3. Select the desired memory bank with one of the number buttons 1-16.
•If necessary, use the PAGE button to switch between the two channel groups 1
-16 (LED A lights up) and
17-32 (LED B lights up).
•The display indicates e.g. “Chase01 Step001“
in the lower line.
4. Press the FIXTURE button.
•The control LED lights
up.
5. Use the number buttons 1-16 to select the devices to be controlled.
•If necessary, use the PAGE button to switch between
the two channel groups 1-16 and 17-32.
6. Adjust the first illumination scene with the sliding controls and, if necessary the pan and tilt wheels.


