


pan wheel). Press the ENTER button to begin with the configuration. The display indicates “PLE
ASE
SELECT FIXTURE”.
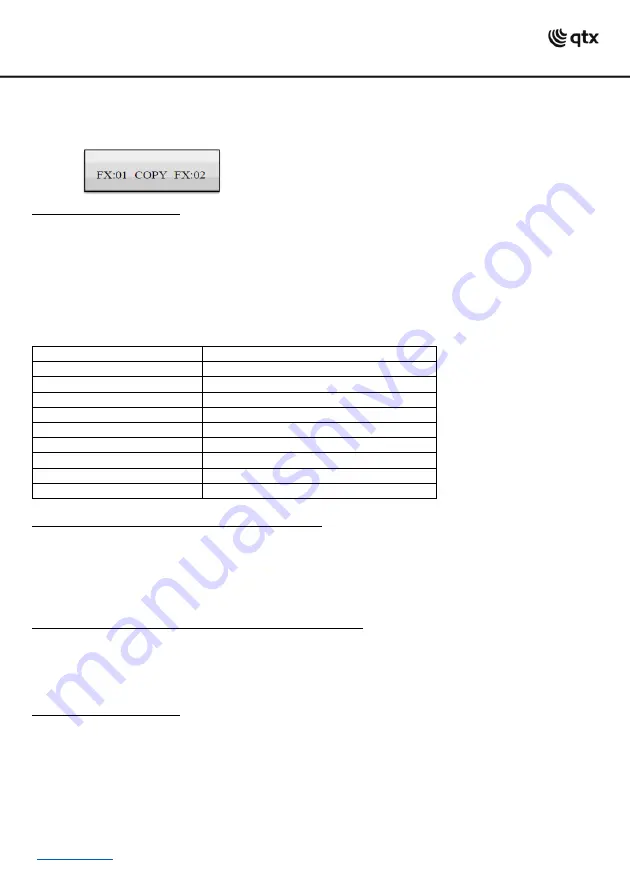
3 Keep the number button pressed of the unit to be copied.
4 In addition, press the number button you would like to copy the values to. The display shortly indicates
“COPY“.
Calling the System Settings:
1. Keep the MENU button pressed for 2 seconds to call the system settings.
•The display indicates the first menu item “01.Patch fixture”.
2. Turn the pan wheel to browse the menu items.
3. Press the ENTER button to select the desired menu item.
4. Turn the pan wheel to change a setting and confirm with the ENTER button.
5. Short press the ESC button to abort the setting procedure and return to the main menu.
6. To save your settings and exit the system settings, keep the MENU button pressed for 2 seconds.
The following system adjustments are possible:
System Setting
Function
01. Patch fixture
DMX configuration
02. Reset factory
Reset controller to factory default
03. Delete all fixture patch
Delete all DMX assignments
04. Fade mode
Fade function
05. RDM/DMX address setup
RDM/DMX address assignments
06. Data backup
Backup data to USB drive
07. Data load
Import data from a USB drive
08. Send fixture update file
Firmware update (not available)
09. Blackout mode
Blackout function
Reset factory (Reset the controller to factory settings):
1. Keep the MENU button pressed for 2 seconds to call the system settings.
2. Call the menu item
“
02. Reset factory
”
with the pan wheel and confirm with ENTER.
3. Select the setting [YES] with the pan wheel and confirm with ENTER.
•The display shortly indicates ”Reset factory Please wait ..“ and then “OK“ as soon as the factory settings
are loaded.
Delete all Fixture patch [Delete all DMX address assignments]:
All address assignments and control channel options made can be deleted and reset to the pre settings.
1. Keep the MENU button pressed for 2 seconds to call the system settings.
2. Call the menu item
“
03. Delete all fixture patch
”
with the pan wheel and confirm with ENTER.
3. Select the setting [YES] with the pan wheel if a reset is to be made. Confirm with ENTER.
•The display shortly indicates “SAVE OK“ and returns to the main menu level.
Fade mode [Fade function]:
The fade function can be assigned to all control channels or only to the pan and tilt wheels.
1. Keep the MENU button pressed for 2 seconds to call the system settings.
2. Call the menu item
“
04. Fade mode
”
with the pan wheel and confirm with ENTER.
3. Use the pan wheel to select the setting [ALL CHANNELS] if the fade function is possible for all control
channels or select [ONLY PAN/TILT] if it is only possible for the pan and tilt wheels. Confirm with ENTER.
•The display shortly indicates “SAVE OK“
and returns to the main menu level.


