


17. Power input:
Insert the jack plug of the supplied PSU.
18. Power on/off switch:
Switches the controller on and off.
Setting up:
1. Connect the power supply to the socket on the side of the unit and plug into a mains socket.
2. Connect a DMX lead to the socket on the side of the unit and a compatible DMX-512 device.
3. Switch on the controller using the switch on the side of the unit.
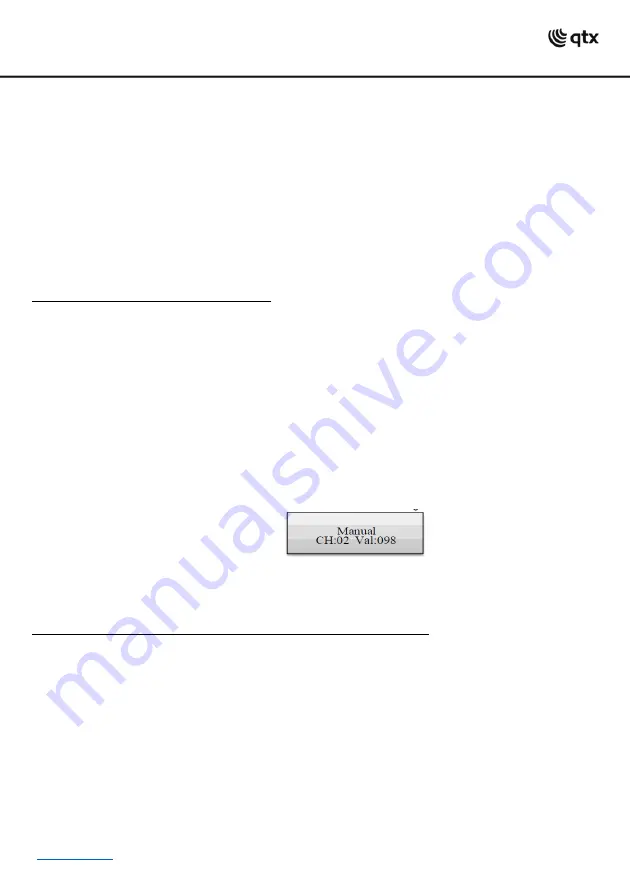
4. The LCD display will display Manual indicating the controller is in Manual mode and ready for use
Operation:
Switch on the controller with the rear power switch. The unit is in manual mode and the display indicates
“Manual” on the upper li
ne.
Manual Adjustment of an Illumination Scene:
An illumination scene contains the values of all control channels including the pan and tilt settings of the
connected light effect units.
1. Press the FIXTURE button.
•The
control LED lights up.
2. Use the number buttons 1-16 to select the units to be controlled.
•The corresponding LEDs of the buttons light.
•If a number button is pressed once again,
the corresponding device is deselected. Instead of selecting
each device individually, devices with consecutive numbers can be selected simultaneously. For this, press
the first and last number button simultaneously. Example: For selecting the devices 1 to 8, press the
number buttons 1 and 8 simultaneously. Thus, all 8 devices will be selected simultaneously. In the same
way, it is possible to deselect all the devices again.
3. Adjust the desired DMX values (0-255) for the DMX channels using the sliding controls and, if
necessary, the pan and tilt wheels.
•As soon as a fader is moved, the display indicates the numbe
r of the control channel in the lower line
and the current output value as a DMX value.
4. The 32 light effect units are combined in 2 groups (channel pages) of 16 channels each. If necessary,
use the PAGE button to switch between the two channel groups 1-16 (LED A lights up) and 17-32 (LED B
lights up) and repeat steps 2 and 3, until the desired values are assigned to all channels.
Adjusting an Illumination Scene with Movement Patterns and Color effects:
The built-in effect generator allows creating 9 different movement patterns for pan and tilt movement of
moving heads or scanners as well as 7 additional color effects for LED light effect units. The effects can be
saved together with other DMX values in a scene.
1. Press the FIXTURE button (control LED lights up) and use the number buttons 1-16 to select the
devices to be assigned to an effect.
•If necessary, use
the PAGE button to switch between the two channel groups 1-6 (LED A lights up) and
17-32 (LED B lights up).
2. Call the effect mode with the MOVEMENT button.
•The control LED lights
up.
3. Select the desired movement patterns or color effect with the number buttons 1-16.
•The selected devices will begin to
perform the movement pattern or color effect.
•Number buttons 1
-9: Create movement patterns designed for pan and tilt movement of moving heads or
scanners.
•Number buttons 10
-16: Create color effects for all kinds of LED light effect units.


