


The ADF Option
3-13
CrownCopy Options
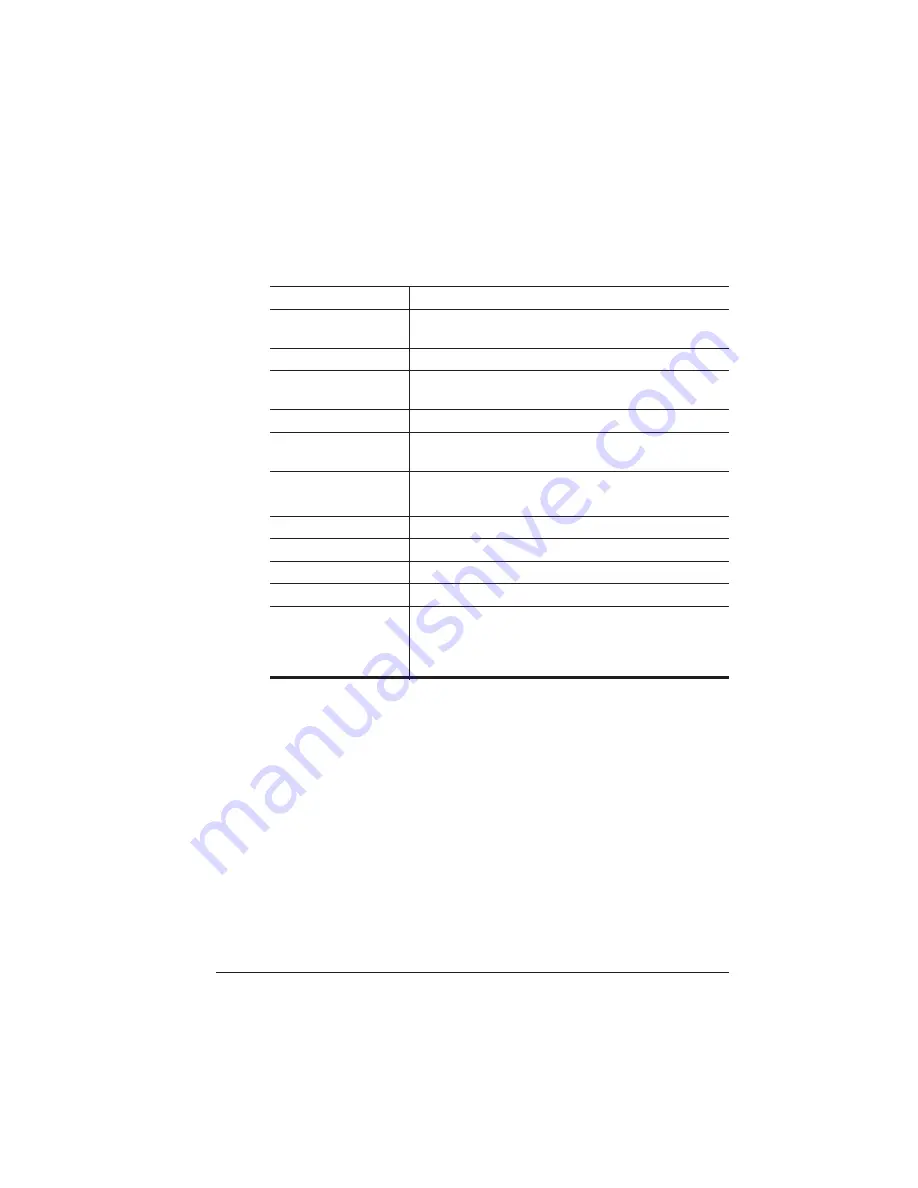
ADF Specifications
Weight
4.5 kg, 9.92 lbs
Dimensions
524mm x 320mm x 104mm
20.63” x 12.59” x 4.09”
Paper capacity
6mm/.23” stack (about 50 pages)
Operation
Temperature
5° to 35° C, 41° to 95° F
Operation Humidity
20 to 85%
Storage
Temperature
-20° to 60° C, -68° to 140° F
Paper Size
76mm to 216mm, 2.99” to 8.50” (Width)
126mm to 356mm, 4.96” to 14.01” (Length)
Paper Thickness
0.065mm to 0.145mm, .0026” to .0057”
Paper Weight
50 g/m
2
to 127 g/m
2
, 13 lbs to 33 lbs.
Paper Quality
Copy paper
Storage Humidity
20 to 85% R.H.
Paper Condition
Should not contain ink that can be transferred to
rollers. Do not scan documents with tears, holes,
wrinkles, carbon, or adhesives, with paper clips or
other fasteners, with folds or curls (more than 6mm).