8/16 Channel Digital Video Recorder
47
remote control) to begin backup of the main out picture to the USB device. During backup there
will be an “S” blinking on the screen, when it stops blinking, the backup of the picture is
complete. The USB device can be unplugged and the picture can be seen on a computer with
the Network Viewer software. Choose full screen display for still pictures.
•
If you selected “MOVIE” for the backup mode in the BACKUP SET menu, press the USB button
in shift mode in the front panel (or USB on the remote control) to mark the beginning of the main
out video to the USB device. Press the USB button again to select the end of the backup video
and begin backup. There will be an “A” blinking on the screen. This operation may take some
time. Always make sure that the USB device has enough free space before backing up. When
blinking stops, the backup is complete. The video can be seen on a computer with the Network
Viewer software.
•
To Playback the files, connect the USB Flash to a PC and run the Network Viewer program.
On the PC do a HDD scan, click on Local Search and click on Open Folder and select the Flash
Drive. Select the files and click on PLAY in Network Viewer.
12. Zoom Operation
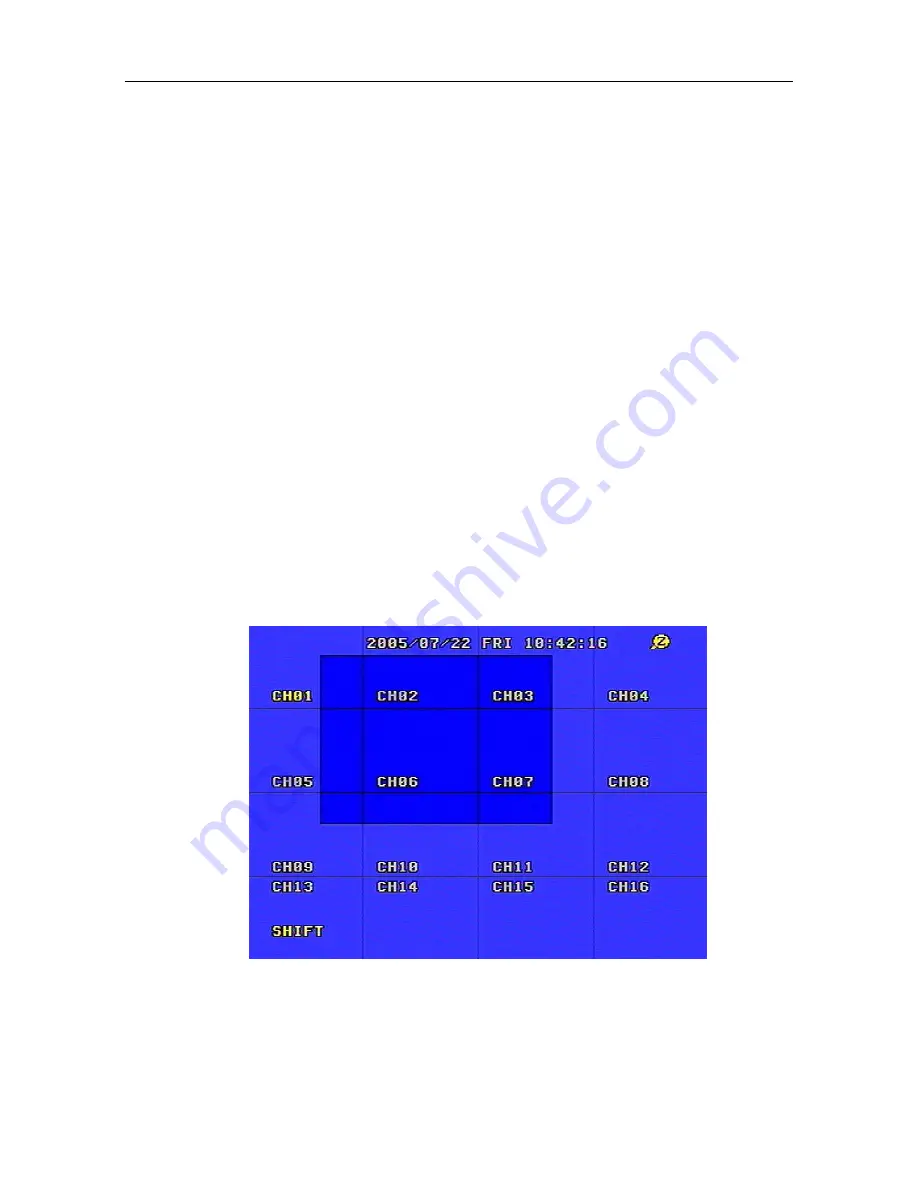
In shift mode (press the MODE key in the front panel) press the ZOOM button in the front panel (or
simply press the ZOOM key on the remote control) and the DVR will be in Zoom Mode. This is
illustrated below. Press the up, down, left or right arrow buttons to move the Zoom Area. Press the
ENTER button to zoom in. Press ADD or DEC (or –SET+ on the remote control) to zoom in and
out at different levels. Press the ZOOM button again to cancel the zoom operation.
13. Information Display
In shift mode (press the MODE key in the front panel) press the DISPLAY button in the front panel
(or simply press the DISPLAY key on the remote control) and information on the DVR will appear
on the screen. This is illustrated below. For HDD, information for both MASTER and SLAVE


