34
6.7. Positioning an object
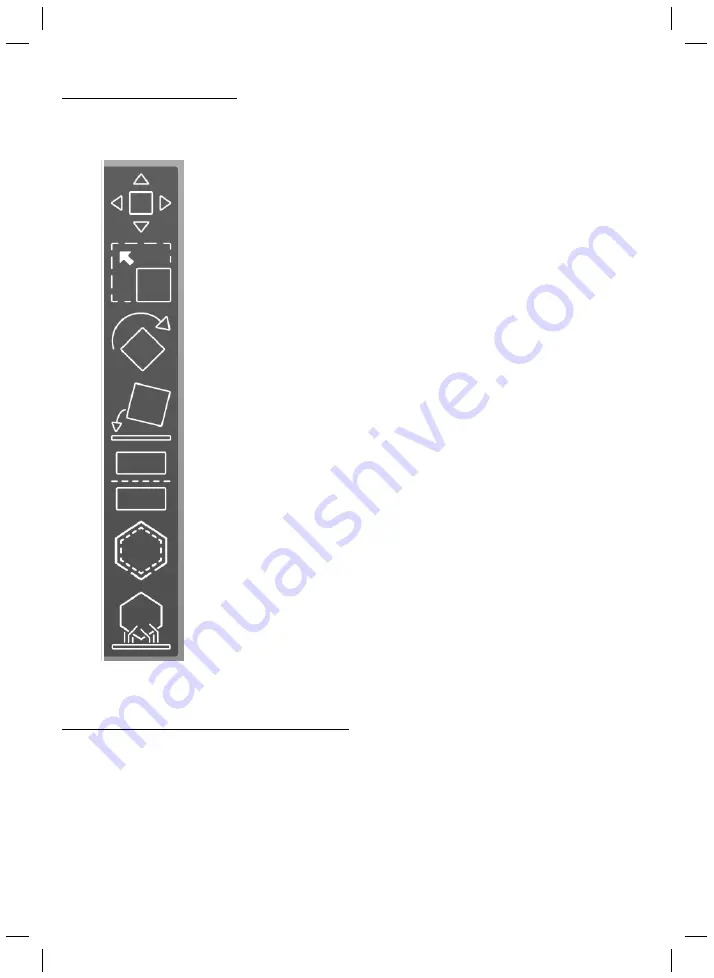
Move tool (M)
- moves the object in XYZ axes. Click and drag the
object to move it in XY axes, use the blue arrow to move it in Z axis
(up and down).
Scale tool (S)
- scales the object, either uniformly or in a single
axis. You can adjust the values in the right-side menu by entering
numbers in Scale factors section. Entering 100 resets the object to
original size.
Rotate tool (R)
- rotates the object in X, Y or Z plane. Click and
drag one of the rotation gizmos to rotate the object smoothly or in
steps (by dragging it along the circular guide).
Place on Face (F)
- displays selectable “faces” (sides) on the object.
Click on a face to automatically position the object so it lays down
flat on the selected face. Useful for objects with a flat base, or if you
want to rotate an object quickly.
Cut tool (C)
- For splitting an object. In case you have a model that
has an unwanted part (e.g. a base under a figure), you can use the
cut tool to cut the model in half. You can decide whether to keep
both parts of the model or delete one of them. Cuts can be made
only in plane.
Hollow and drill (H)
- Only available when you have the Original
Prusa SL1S selected. Allows you to create a hole inside the object
to decrease the weight and save material. Please refer to chapter
Hollowing in PrusaSlicer for more information
SLA Support points (L)
- Only available for Original Prusa SL1S.
See the next chapter for detailed explanation.
6.8. How to generate supports for SLA prints
Supports are an extremely important tool
- it’s rarely possible to print an object completely
without supports. Compared to FFF/FDM 3D printers, resin-based printers
usually require more
supports,
because the models should be printed lifted above the print platform and under an
angle to achieve better results. However,
SLA supports are thinner and easier to remove.
PrusaSlicer is fully equipped for automatic support generation, as well as manual editing.


