


2.0 Frame Assembly - Reprap Prusa Mendel Build Manual
©2012 NextDayReprap
Prusa Mendel Kit Build Manual V1.01 - 07/2012
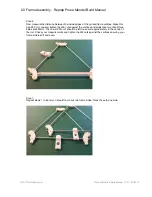
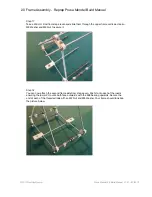
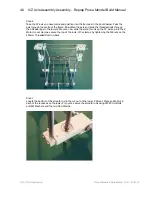
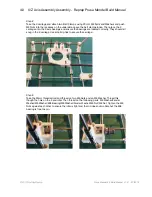
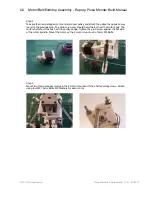
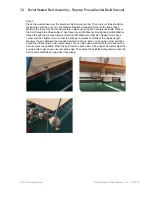
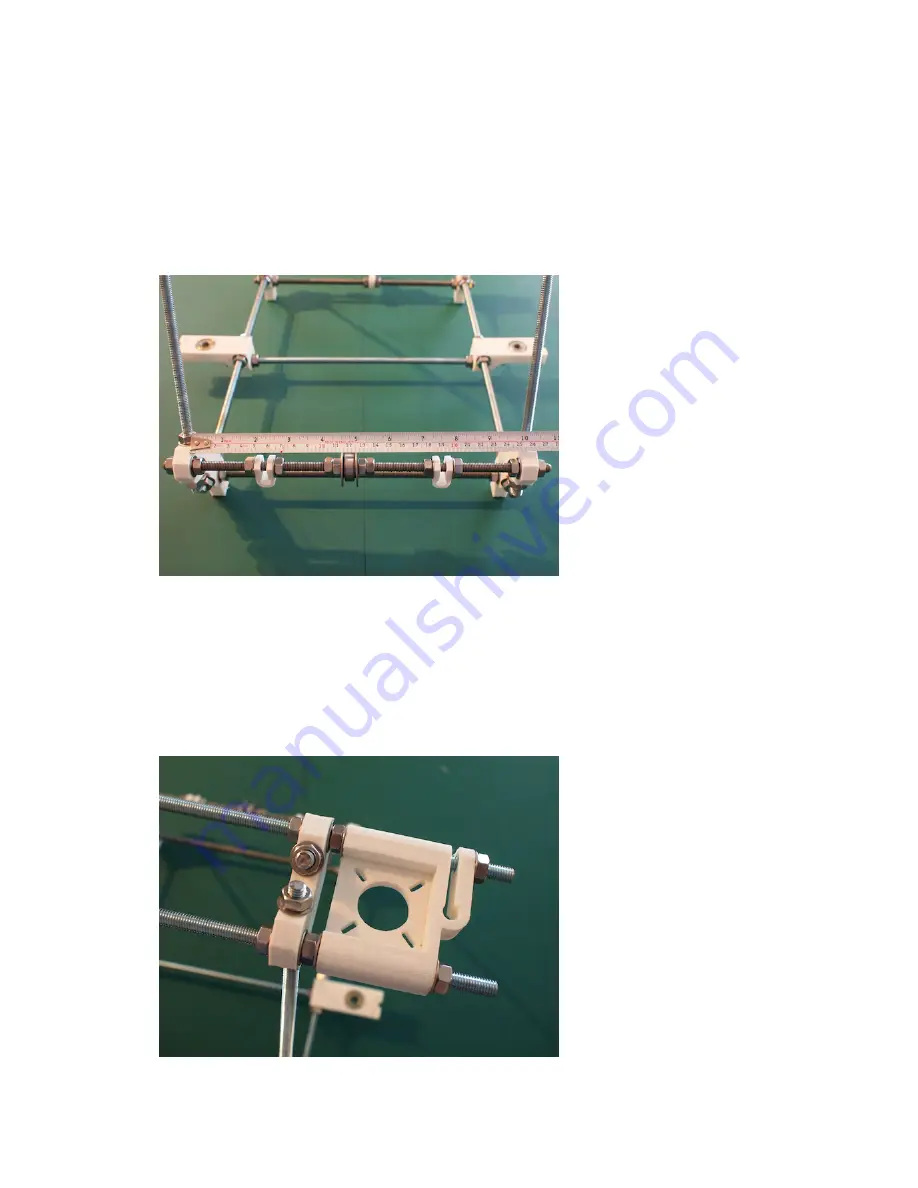
Step 20
Add a washer to each end of both 450 mm threaded bars that go through the upper vertices,
then push on the Z Motor Mounts to each side. If you had to make adjustments for leveling you
may find you need to add one or two extra M8 Washers between the frame vertices and Z
motor mounts for them to sit flat in line with the upper frame vertices. Add an M8 Washer and
M8 Nut to each rod and loosely tighten the rod clamp side, then firmly tighten the plain side.
Once attached it should look like the picture below note that the clamp is loose.
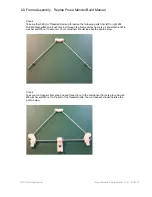
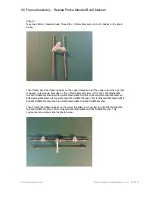
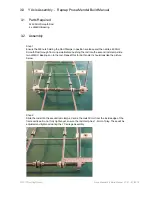
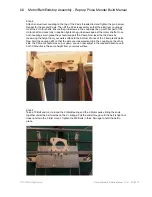
Step 19
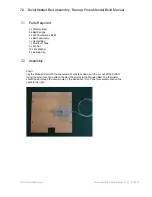
You can now adjust the width of the frame. Gently tighten the frame until the gap between the
inside edges of the vertices is 250mm. Adjust each rod gradually tightening until all are 250mm
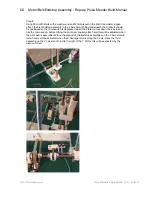
gaps once tight your frame should be solid and sturdy on a level surface if you find your frame
wobbles when on a flat surface check the spacing between vertices and ensure they are
290mm between vertices on the triangle sides and 250mm across the width. Adjust your frame
in opposite corners by approximately 2 mm at a time until until your frame is solid. The lower Z
mounts should still be loose and sit approximately central.