3–2 • User’s Guide
Chapter 3 • Using the Projection Panel
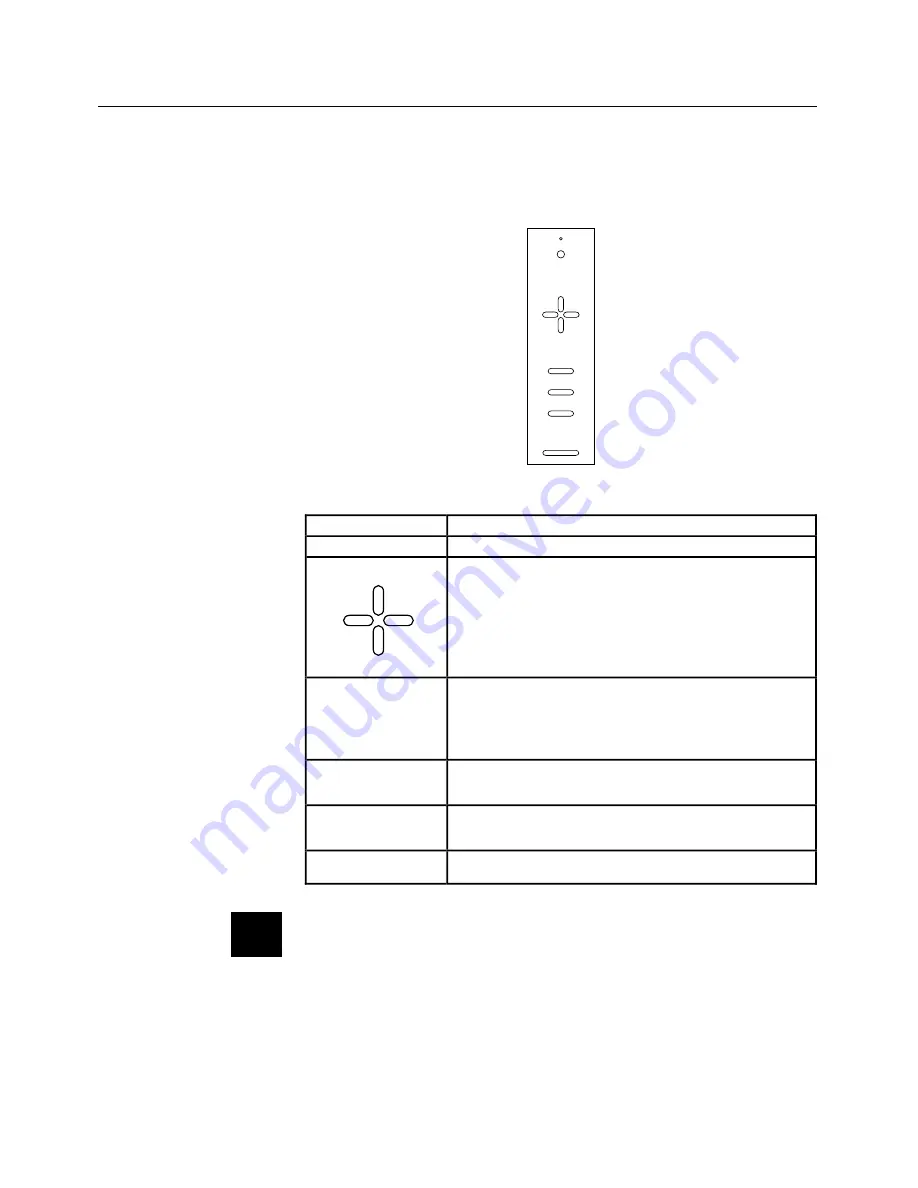
Control Panel
The projection panel’s Control Panel keys are used to adjust the
projected image and to display or hide the menu.
POWER
MENU
VIDEO
SYNC
- CO
Figure 21
Control Panel
Key
Function
POWER
Turns projection panel power on and off.
Arrow Keys
1.
Press Left/Right to select a menu function.
Press Up/Down to change the selected
value.
2.
Use the Arrow keys to adjust the position
of a full-screen image on the screen.
3.
The Arrow keys are also used to pan to
parts of the image that are not shown in
the current view (PAL, SECAM only).
MENU
Press the MENU key to display the Menu
Window in the upper portion of the projected
image. The Menu remains on-screen until the
MENU key is pressed again. Menu settings are
automatically stored when the menus are exited
or the projection panel is turned off.
VIDEO
Press the VIDEO key to cycle between
computer video, composite video, or S-VHS
input.
SYNC
Use this key if text or graphic images "shimmer".
Press SYNC repeatedly to fine tune the video
signal.
CONTRAST
Use this key (- and +) to adjust the amount of
contrast in the projected image.
Note:
The VIDEO key does not function on the non-video
model of the projection panel.
✍


