36
Manual computer adjustment
The scan system of your projector may fail to detect signal format used by certain computers as
they opted some special signal format. The manual computer adjustment function of your projector
enables you to adjust individual parameter to align with most special signal format. Your projector
comes with up to storage area to keep parameters manually adjusted by you. You may save pre-
ferred settings for certain computers as desired.
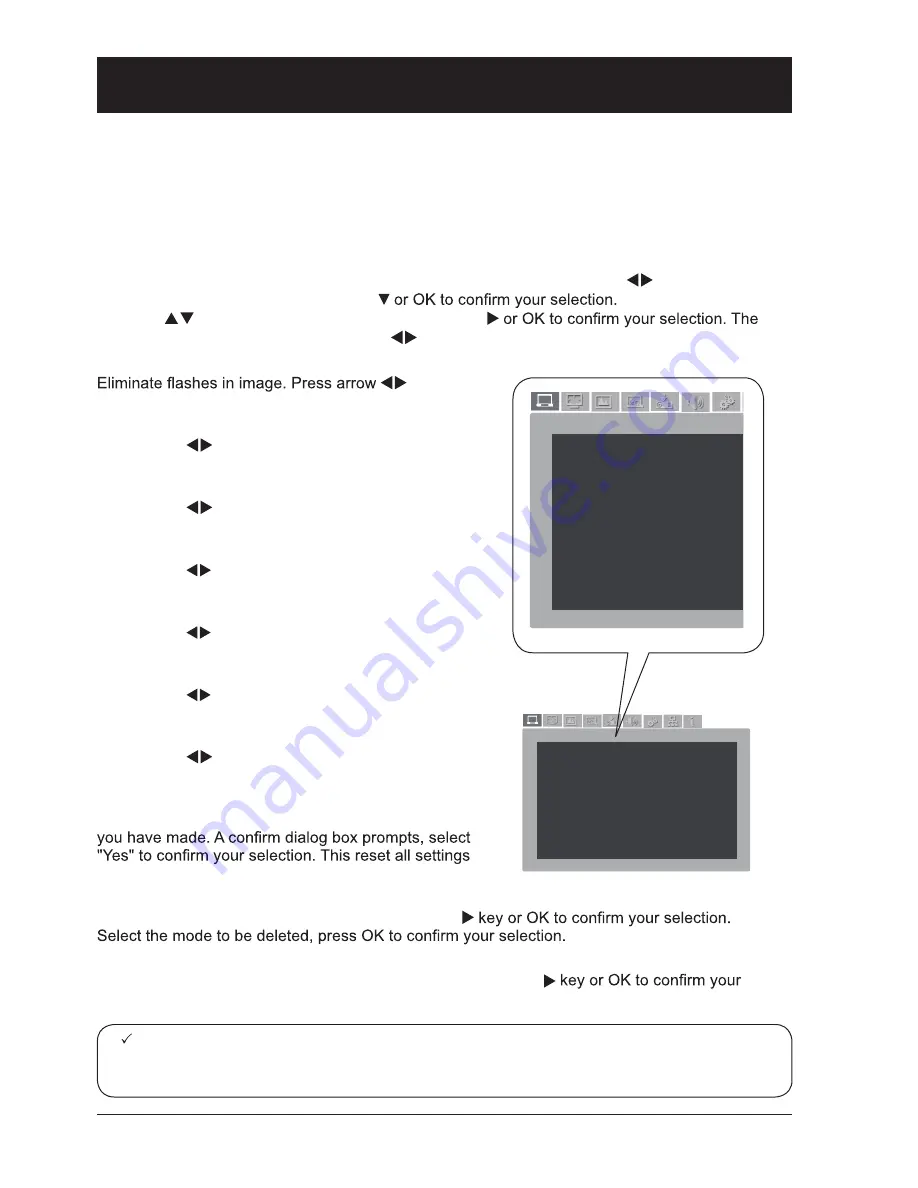
1 Press MENU key on the remote controller and the OSD displays. Press
key to select PC
adjustment symbol, press arrow key
2 Press
key to select items for adjustment, press
adjustment dialog box prompts. Press
key to adjust settings.
Fine Sync.
key to
adjust Total Dots.
Total Dots.
Press arrow
key to align number of dots in a
horizontal cycle with the computer image.
Horizontal position
Press arrow
key to adjust horizontal position of
image.
Vertical position
Press arrow
key to adjust vertical position of
image.
Clamp function
Press arrow
key to select Clamp. Try this function
to remove black strips in image.
Display area H
Press arrow
key to adjust horizontal projection
area of your projector.
Display area V
Press arrow
key to adjust vertical projection area
of your projector.
Reset
Select Reset, then press OK key to reset adjustments
to its initial status.
Mode free
Select Mode free to delete saved data, press arrow
Save
To save adjustments you have made, select Save, press arrow
selection. Select one from mode 1-5, then press OK key.
设置
PC Adjusting
Auto PC Adjusting
Phase 16
Total Dots
0
Horizontal position
0
Vertical position
0
Clamp function
1
Display area H
0
Display area V
1
Reset
Mode free
Save
设置
PC Adjusting
Auto PC Adjusting
Phase 16
Total Dots
0
Horizontal position
0
Vertical position
0
Clamp function
1
Display area H
0
Display area V
1
Reset
Mode free
Save
Note:
●
The Fine Sync, Total Dots and Clamp function will be disabled if 480i, 576i, 480p, 576p,
720p, 1035i or 1080i has been selected in the system menu.
Input signal source (computer)


