RY/TP7231RY/TP723F "
522Odru"Yktgnguu"P"Tqwvgt"
- 62 -
2. We recommend that you click
Ugvwr"Yk|ctf"
button to finish all the following settings.
3. Click
the
submenu
Jquv"qh"Ceeguu"Eqpvtqn
in the left to enter the Host List page. Add a new
entry with the Host Description is Host_1 and MAC Address is 00-11-22-33-44-AA.
4. Click the submenu
Vctigv"qh"Ceeguu"Eqpvtqn
in the left to enter the Target List page. Add a
new entry with the Target Description is Target_1 and Domain Name is www.google.com.
5. Click the submenu
Uejgfwng"qh"Ceeguu"Eqpvtqn
in the left to enter the Schedule List page.
Add a new entry with the Schedule Description is Schedule_1, Day is Sat and Sun, Start
Time is 1800 and Stop Time is 2000.
6. Click
the
submenu
Twng"qh"Ceeguu"Eqpvtqn
in the left, Click
Cff"Pgy000
button to add a new
rule as follows:
In Rule Name field, create a name for the rule. Note that this name should be unique, for
example Rule_1.
In Host field, select Host_1.
In Target field, select Target_1.
In Schedule field, select Schedule_1.
In Status field, select Enable.
Click Save to complete the settings.
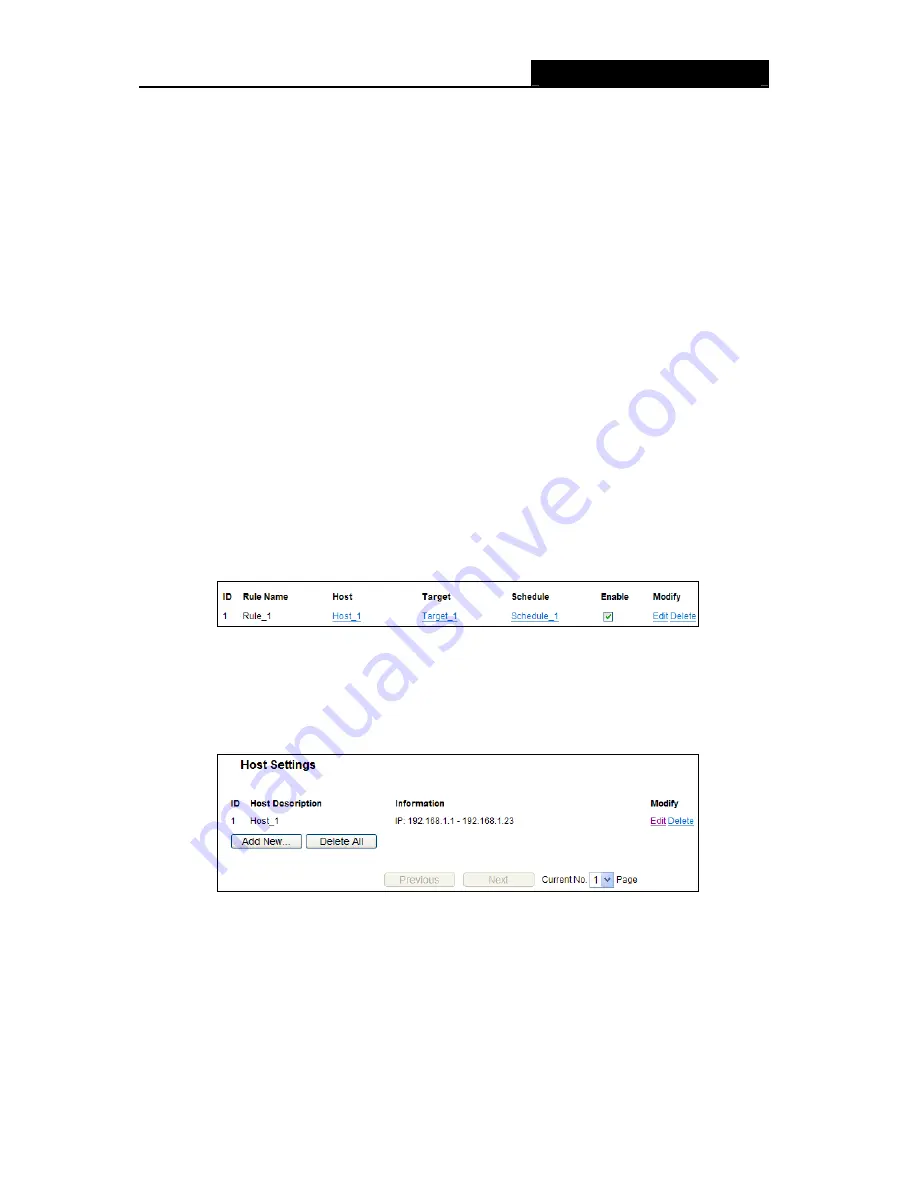
Then you will go back to the Access Control Rule Management page and see the following list.
603304"Jquv"
Choose menu “
Ceeguu" Eqpvtqn"
→
" Jquv
”, you can view and set a Host list in the screen as
shown in Figure 4-53. The host list is necessary for the Access Control Rule.
Figure 4-53 Host Settings
Jquv"Fguetkrvkqp"/
Here displays the description of the host and this description is unique.
Kphqtocvkqp"/
Here displays the information about the host. It can be IP or MAC.
Oqfkh{"/
To modify or delete an existing entry.
Vq"cff"c"pgy"gpvt{."rngcug"hqnnqy"vjg"uvgru"dgnqy0"
1. Click
the
Cff"Pgy”
button.


