21
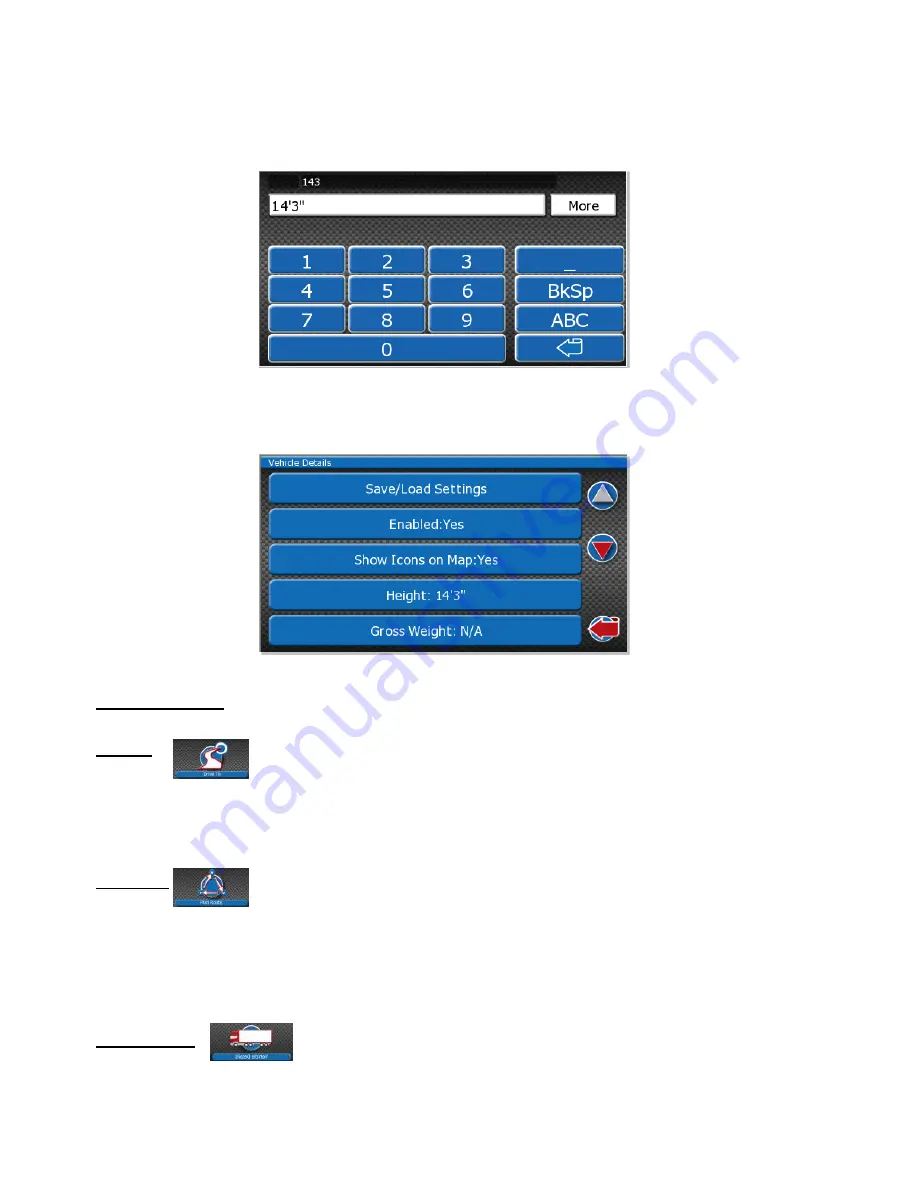
Once you have the height of your vehicle tap
the box that appears at the top of the page. You will then be taken back to the “Vehicle Details”
page. As you can see,
the “Height” now contains the number that was previously entered. Repeat the process for all of the vehicle details so
it is all entered.
When you have finished entering all of the vehicle details, press the arrow at the bottom right of the page pointing left. Your vehicle details will
now be saved and you will be taken back to the navigation menu.
Navigation Options
Drive To
Tapping the
'Drive To'
button takes you to the
Select Place
menu. This allows you to set your end point/destination. When an end point has
been selected and a GPS signal received, your route will be calculated automatically.
Plan Route
Tapping this button takes you to the
Plan Route
menu. From this menu you can plan a route with or without the GPS connected. Once in the
Plan Route menu, if you wish to plan the journey from the current position,
you do not need to change the ‘Start’ point. To change your start
or end location, tap the appropriate box.
Vehicle Details
This option allows you to amend your vehicle details in the navigation menu.


