


30
Promise
Technology
Pegasus R4i
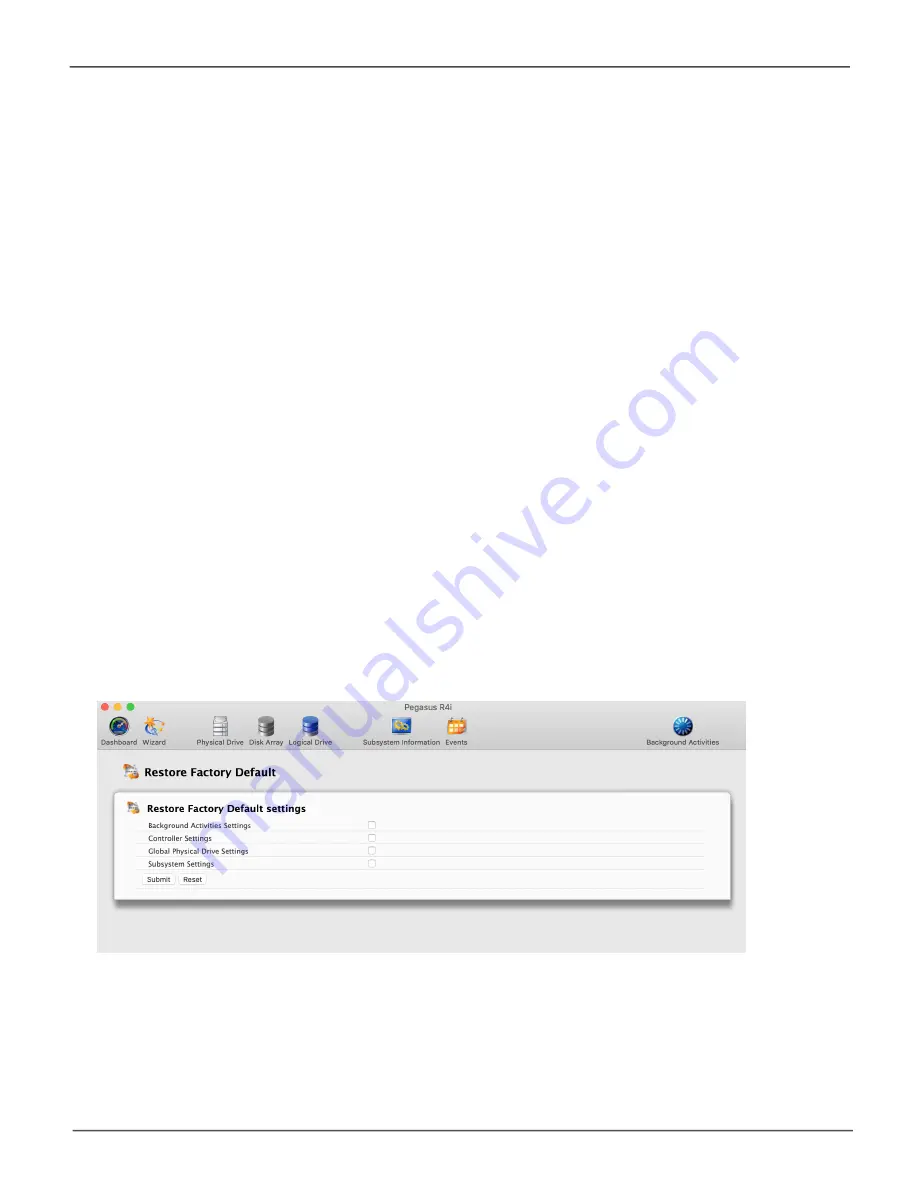
Restoring Factory Default Settings
This feature restores settings to their default values.
To restore all settings to their default values:
1. From the Admin drop-down menu in the menu bar at the top of your desktop, choose
Restore
Factory Default
.
2. In the Restore Factory Default settings screen, check the boxes beside the settings you want to
reset to default value.
•
Background activity settings
•
Controller settings
•
Physical drive settings
•
Enclosure settings
•
Smart Fan setting
3. Click the
Submit
button.
4.
In the Confirmation box, type the word “confirm” in the field provided and click the
Confirm
button.
Restore Factory Default settings