Manual: Orcabot XXL
Pro 2
version 1.0.1 Mar 2017
19
www.prodim-systems.com
2.
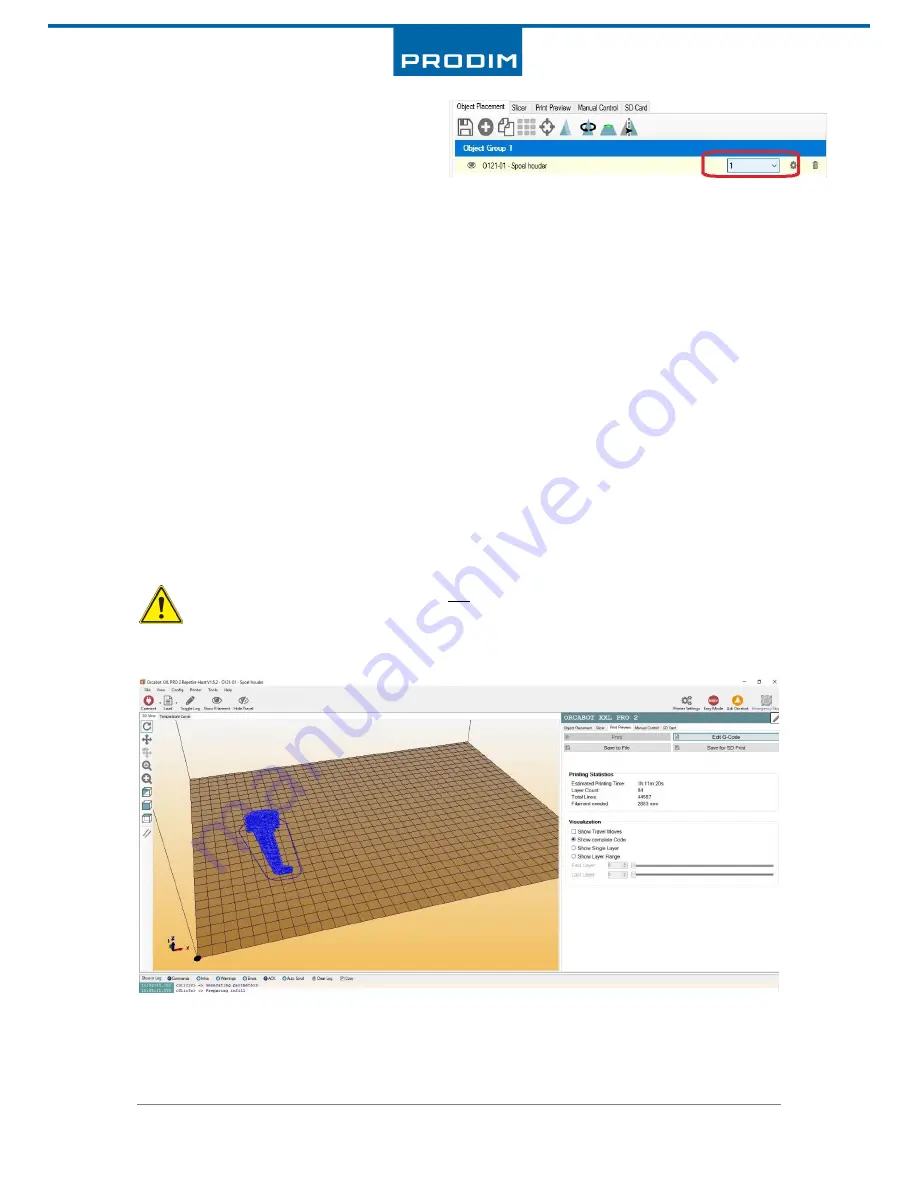
Assign the object to extruder 1.
3.
Select in the Orcabot Repetier Host
software the tab ‘’Slicer”.
4.
Select in Print settings the choice of the material. In this example we choose
XXL PRO 2 – PLA – V1.0.
5.
Select in Printer settings in which mode there will be printed. Because we will use two print
heads in this example we select XXL PRO 2 – Copy mode – V1.0.
6.
Select subsequently also in filament settings the material which is placed on the filament
spool holder (both spools should be the same material!) of the printer.
7.
Click on the big button “Slice with Slic3r”
Slicing can take considerable time depending on the size and complexity of the object.
8.
Wait until Slic3r is ready with transforming the model. After slic3r is ready slicing the
software will go automatically to the tab “Print Preview”.
In this tab we can view the (virtual) model and observe each layer separately pressing the button
visualization. Here you can also view extra information such as estimated print time, how many
layers the product consists of and how many mm filament is required. By pressing the G-code button
we can view the code (G-code) that will be read by the printer.
9.
Click “Save to File” to store the object on your SD-card.
In “Print preview” the 2
nd
product will not be shown on the (virtual) bed!
Because you selected copy mode there is automatically an extra g-code generated.
Tip! : In the file name comprise the “Copy mode”. This helps in starting the printer next time.
10.
You have now prepared a g-code with which you can start the printer. See also chapter 7.5
how to start a print.


