background image

10

15

Input Level Boost:

clicking this button will boost the input level of each corresponding

analog input on the EASERA GATEWAY by +12dB.  Use this feature for recording quiet
instruments or devices with low output.

EASERA GATEWAY CONTROL PANEL ADVANCED SETTINGS:

You can “Right Click” on the EASERA GATEWAY control panel icon to select between
three different computer optimization settings. These settings optimize the buffers and
audio streaming settings based on the speed of your processor. If you are experiencing
audio drop outs, it is recommended that you select a lower CPU setting.

High:

Computer Processor 2GHz and higher

Medium (default):

Computer Processor 1GHz to 2GHz

Low:

Computer Processor 800MHz to 1GHz 

.  

Line Outputs (3, 4, 5, 6). Balanced line level outputs.

These connectors will accept

either balanced (TRS – Tip Ring Sleeve) ¼” cables or unbalanced TS (Tip Sleeve) ¼”
cables.

Main CR Output.

The level of this output is controlled by the Main volume knob on the

front of the unit.  

Line Inputs (3 and 4).

These connectors will accept either balanced (TRS – Tip Ring

Sleeve) ¼” cables or unbalanced TS (Tip Sleeve) ¼” cables. The Line Input can also be
used as a standard line level input for devices that do not require pre-amplification (such
as a CD player, drum machine, sampler and etc.). 

2 INSTALLATION AND SETUP

3  CONTROLS AND CONNECTIONS

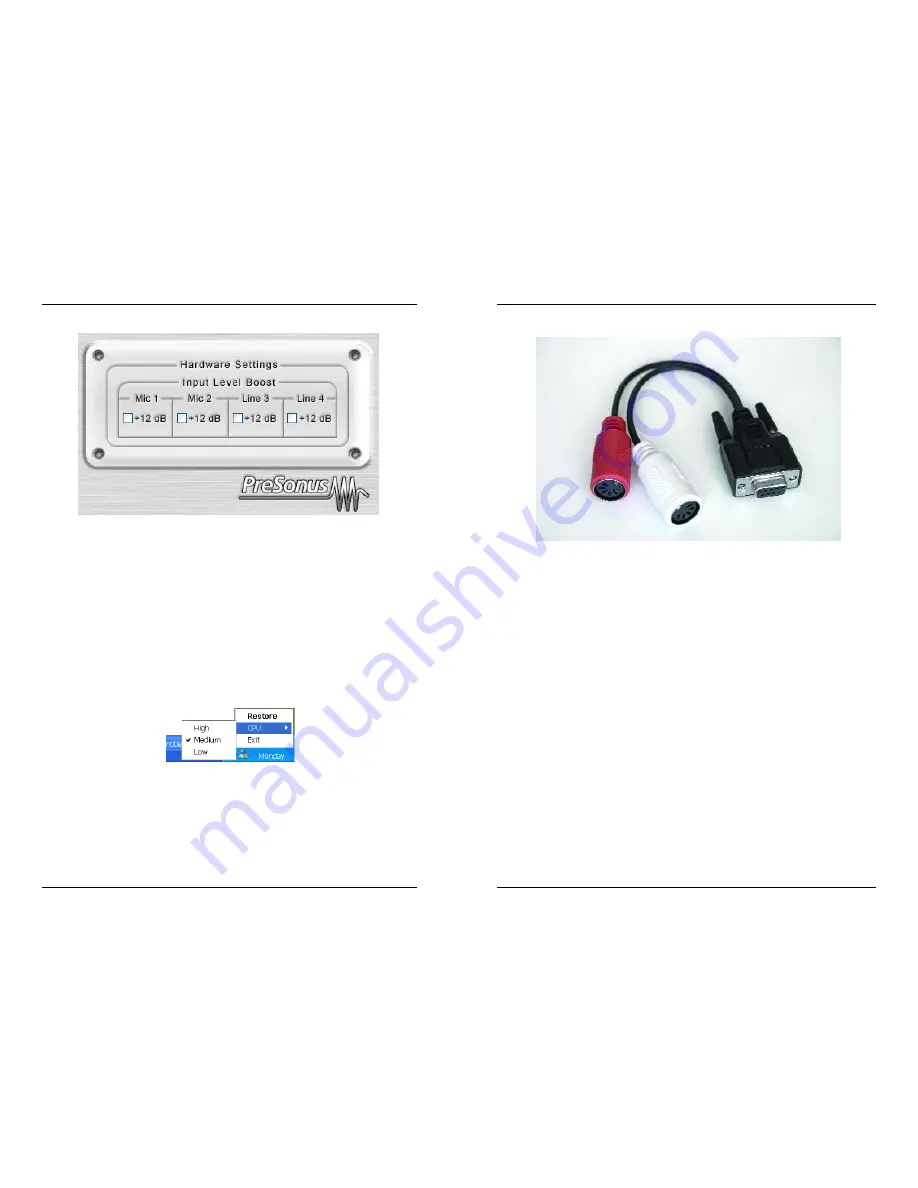
DB9 Connector Breakout Cable

Summary of Contents for EASERA

Page 1: ...rt Analog to Digital Converters 24 bit up to 96khz ADC Dynamic Range 107db DAC 24 bit up to 96kHz DAC Dynamic Range 110db IEEE1394 Speed 400mbps As a commitment to constant improvement PreSonus Audio...

Page 2: ...of any express or implied warranty including among other things damage to property damage based on inconvenience or on loss of use of the product and to the extent permitted by law damages for persona...

Page 3: ...synchronization and the Blue sync light will turn on Once you have the blue sync light you can then reset the Format sample rate to your desired setting 1 Overview 1 1 Introduction 4 2 Installation a...

Page 4: ...mic and ribbon microphones and typically require external 48V phantom power NOTE If you are using a ribbon microphone please check the manual for the mic before applying phantom power Applying phantom...

Page 5: ...you load o 2 1 COMPUTER REQUIREMENTS Below are the minimum computer system requirements for your EASERA GATEWAY Windows OS Microsoft Windows XP Computer Windows compatible computer with FireWire port...

Page 6: ...dure will also install the EASERA GATEWAY Control Panel and Mixer software Note If at any point during installation a Software Installation message appears from Windows regarding Windows Logo testing...

Page 7: ...usts the input level of each input Double clicking on the blue fader automatically sets the fader to full gain Solo by pressing Solo all other input chan nels are muted Mute Mutes input channel Macint...

Page 8: ...g function or mute the track in your software 2 Select playback channels of the main output of your audio software in the SOFTWARE PLAYBACK channel of the EASERA GATEWAY mixer The input on this channe...

Page 9: ...INTERNAL Latency Sets the amount of delay time of your EASERA GATEWAY 1 5ms 24ms Latency is the time it takes for the computer to process audio Lower latency settings demand more CPU resources In the...

Page 10: ...r CPU setting High Computer Processor 2GHz and higher Medium default Computer Processor 1GHz to 2GHz Low Computer Processor 800MHz to 1GHz Line Outputs 3 4 5 6 Balanced line level outputs These connec...

Page 11: ...with the Gateway MIDI stands for Musical Instrument Digital Interface However the MIDI standard goes well beyond just instrumentation and sequencing The MIDI inputs and outputs allow con nection and...

Page 12: ...plugged into a line input 3 or 4 rather than into an instru ment input In other words don t plug an active instrument into the combo jacks on chan nels 1 or 2 3 Input Gain Trim Control This knob prov...

Reviews: