10
Installing the Fence
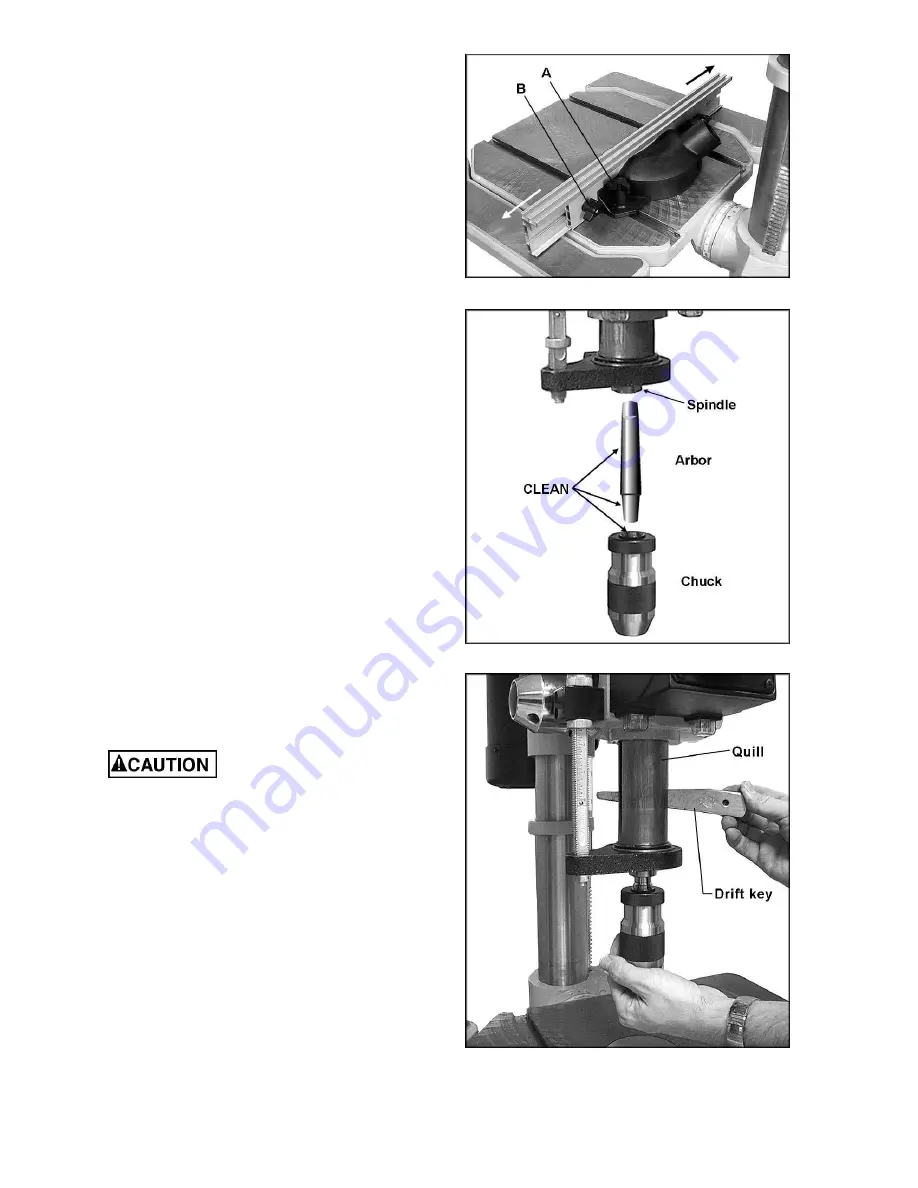
Referring to Figure 9:
Slide the fence assembly into the T-slots on the
table. The fence assembly is secured by
tightening the knobs (A. The fence can be
expanded by loosening the smaller knobs (B)
and sliding the fence halves outward. Tighten all
four knobs on the fence assembly before
operating the drill press.
A dust chute (2” diameter) is mounted to the
fence assembly for attaching a dust collection
system. The fence halves must be in the
expanded position to provide an opening for
dust exhaust.
Installing Arbor and Chuck
Referring to Figure 10:
1. Disconnect machine from power source.
2. Thoroughly clean the entire arbor and the
inside of the chuck (Figure 10) with a soft
rag and solvent such as mineral spirits. Any
grease or residue in these areas can cause
the pieces to separate and create a safety
hazard as well as damage to the tool.
3. Slide arbor up into the spindle.
4. Firmly push the chuck by hand onto the
taper of the arbor.
5. Make sure the jaws of the chuck are opened
all the way until they are inside the chuck
body. Use a single tap from a rubber mallet,
or a hammer and a block of wood, against
the bottom of the chuck to seat the chuck
securely onto the arbor.
Do not use a steel hammer
directly against the chuck, as this may
damage the chuck.
Chuck and Arbor Removal
Referring to Figure 11:
1. Disconnect machine from power source.
2. Lower the quill assembly with the downfeed
handles to expose the slot.
3. Insert the drift key into the slot.
4. Tap the drift key into the slot until the chuck
and arbor fall out.
NOTE:
Hold onto the
chuck to prevent it being damaged as it
falls.
Figure 9
Figure 10
Figure 11
Summary of Contents for 2800
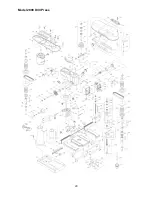
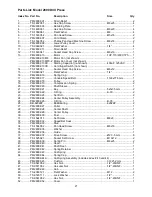
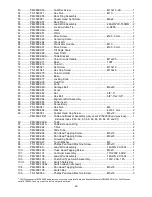
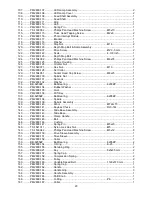
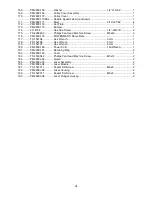
Page 20: ...20 Model 2800 Drill Press ...
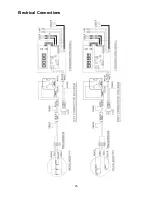
Page 25: ...25 Electrical Connections ...
Page 26: ...26 Electrical Connections ...
Page 27: ...27 ...


