


44
(3) Main Setup
3.1Main Menu
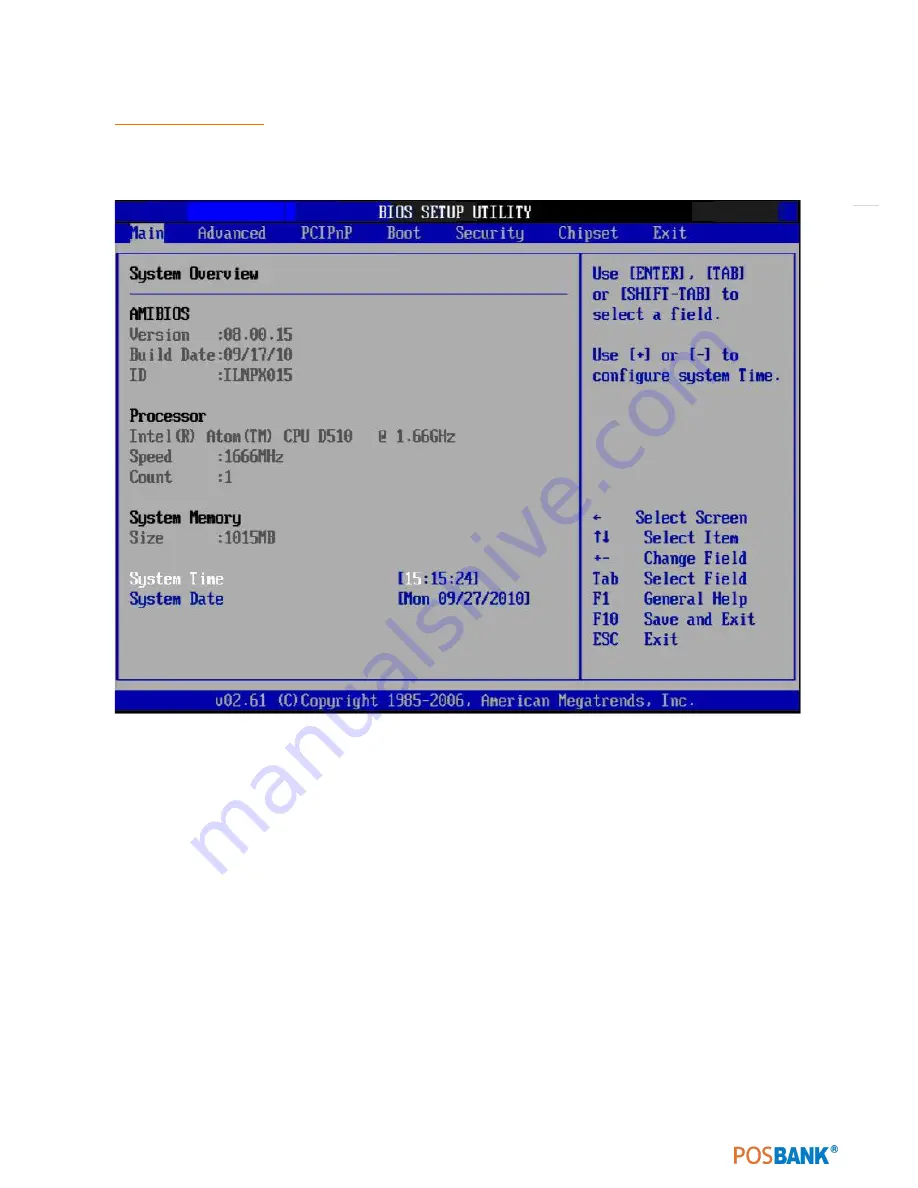
Press<Del> to enter AMIBIOSCMOS Setup Utility, the Main Menu will appear on the screen. Use arrow keys to
select among the items and press <Enter> to accept orenter the sub-menu.
The Main BIOS setup screen has two main frames. The left frame displays all the options that can be configured.
Grayed-out options can not be configured ; options in blue can. The right frame displays the key legend.
Above the key legend is an area reserved for a text message. When an option Is selected in the left frame, it is high
lighted in white. Often a text message will accom-pany it.
•
System time / System date
Use this option to change the system time and date. Highlight System Time or System Date using the
<Arrow> keys.
Enter new values through the keyboard. Press the <Tab> key or the <Arrow> keys to move between
fields.
The date must be entered In MM/ DD/ YY format. The time must be entered in HH:MM:SS or mat.
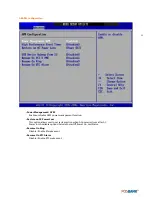
3.2Advanced BIOS Features
Select the Advanced tab from the AIMB-2l2 setup screen to enter the BIOS Setup screen.
You can select any of the items in the left frame of the screen, such as CPU Configuration, to go to the
submenu for that item.
You can display an Advanced BIOS Setup option by highlighting it using
Summary of Contents for AnyShop Eco
Page 1: ...Point of sale system AnyShop Eco User s manual PBUM 017E Rev004 130530...
Page 16: ...16 Rear view 1 USB port 2 I O port 3 Customer display CDP optional 4 HDD 5 Stand 3 4 1 1 2 5...
Page 17: ...17 Standard I O port 1 2...
Page 34: ...34 3 Side USB Board Side USB Board Connector Description A To Motherboard USB A...
Page 35: ...35 4 Power Switch Board Power Switch Board Connector Description A Power switch A...
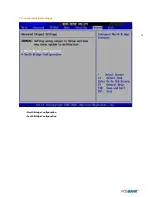
Page 58: ...58 3 13Advanced Chipset Settings North Bridge Configuration South Bridge Configuration...
Page 67: ...67 Main Unit Step 3 Detach main unit from stand Step 4 Main unit is now detached...


