16
17
- The uppermost block of the graphic bar representing the
setting of the Cadence/Altitude Display starts to flash.
- 0 DISP appears in the display.
4. Go through the Cycling feature settings (Cadence/Altitude
Display, Altitude, Wheelsize and Odometer) by following the
instructions.
You can also go directly to set just one particular function by
pressing SET/START/STOP shortly as many times as needed
until you see the corresponding text symbol in the display.
Then follow the instructions for setting that particular function.
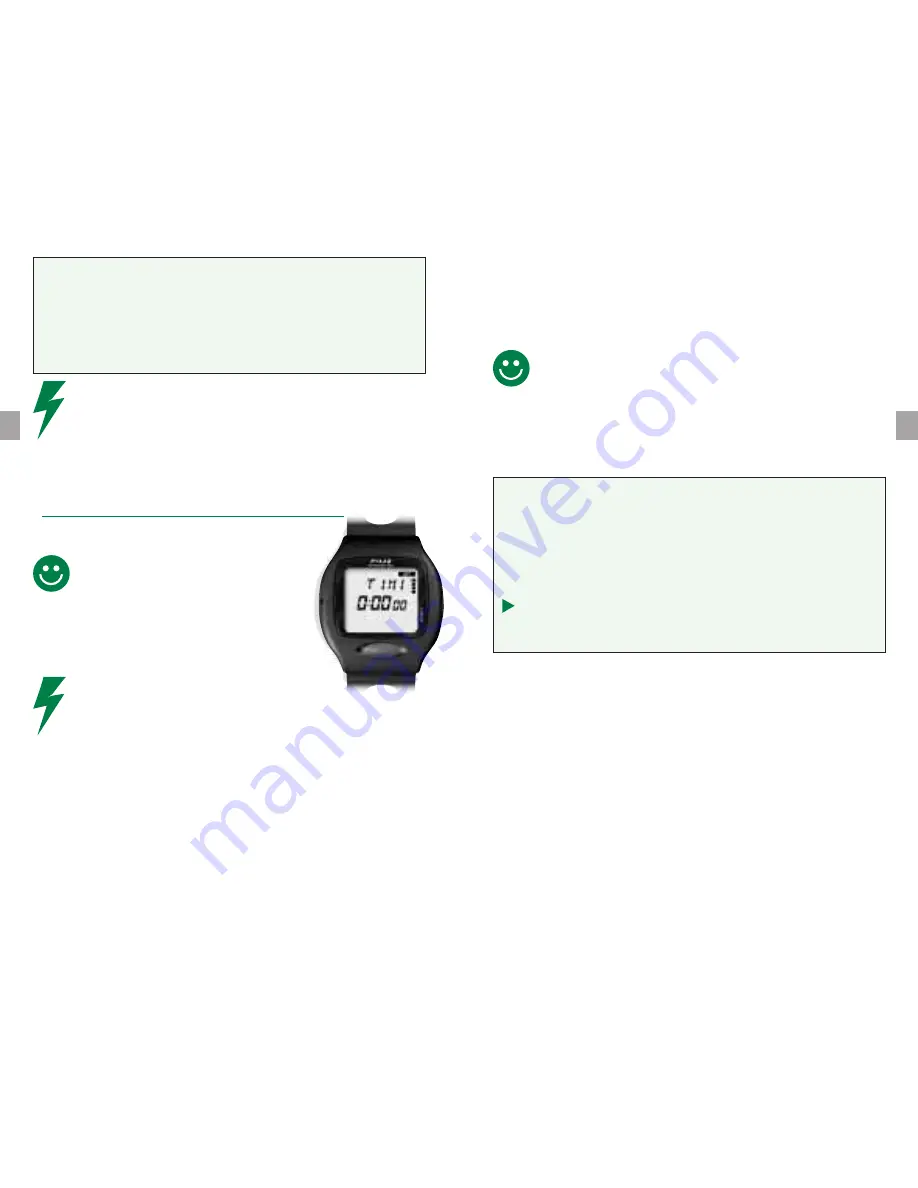
SETTING THE TIMERS 1, 2 & 3
The hours of Timer 1 are flashing.
If you don’t want to use the timers, set
the values for Timer 1 to zero. If you want
to use only the Timer 1, set the value for
Timer 2 to zero.
1. Press SIGNAL/LIGHT to select
the desired hours.
The digits run faster if you press and hold
SIGNAL/LIGHT. Release the button when the desired value is
approaching. However, if you by accident pass too quickly
the digit you wanted to set, press and hold SET/START/STOP
to restart from default settings.
2. Press STORE/LAP/RECOVERY to lock your selection.
The minutes of the Timer 1, start to flash.
3. Press SIGNAL/LIGHT to select the desired minutes.
4. Press STORE/LAP/RECOVERY to lock your selection.
The seconds of the Timer 1 start to flash.
5. Press SIGNAL/LIGHT to select the desired seconds.
6. Press STORE/LAP/RECOVERY to lock your selection.
7. Press SET/START/STOP to start setting of Timer 2.
The hours of Timer 2 start to flash.
8. Repeat the steps from 1 to 6 to set the Timer 2.
Timer 1 starts running when you start the stopwatch. Timer 2
will follow Timer 1 and Timer 3 will follow Timer 2. If you set
only Timer 1, it will not repeat itself after it’s time is up.
9. Press SET/START/STOP to start setting of Timer 3.
The hours of Timer 3 start to flash.
10. Repeat the steps from 1 to 6 to set the Timer 3.
You have the following two alternatives to continue:
1. To start setting the Heart Rate Limits 1, 2 & 3,
press SET/START/STOP.
The second block of the graphic bar representing the setting
of the Heart Rate Limits starts to flash.
LIM1 appears in the display.
The reading representing the Upper Limit 1 starts to flash.
Continue from
Setting the Heart Rate Limits 1, 2 & 3
.
2. To return to Time mode press SELECT twice.
Summary of Contents for Xtrainer Plus
Page 36: ...65...


