PX-B310U/ PX-B310SA Installation and Users Manual
10
2. Installing the
PX-B310U External USB Drive
This section explains how to physically install your PX-B310U external
USB drive in your computer.
PX-B310U Drive Features and Controls
Before proceeding, become familiar with the controls and features of
your Plextor drive. Match the parts of your drive to the illustrations
below.
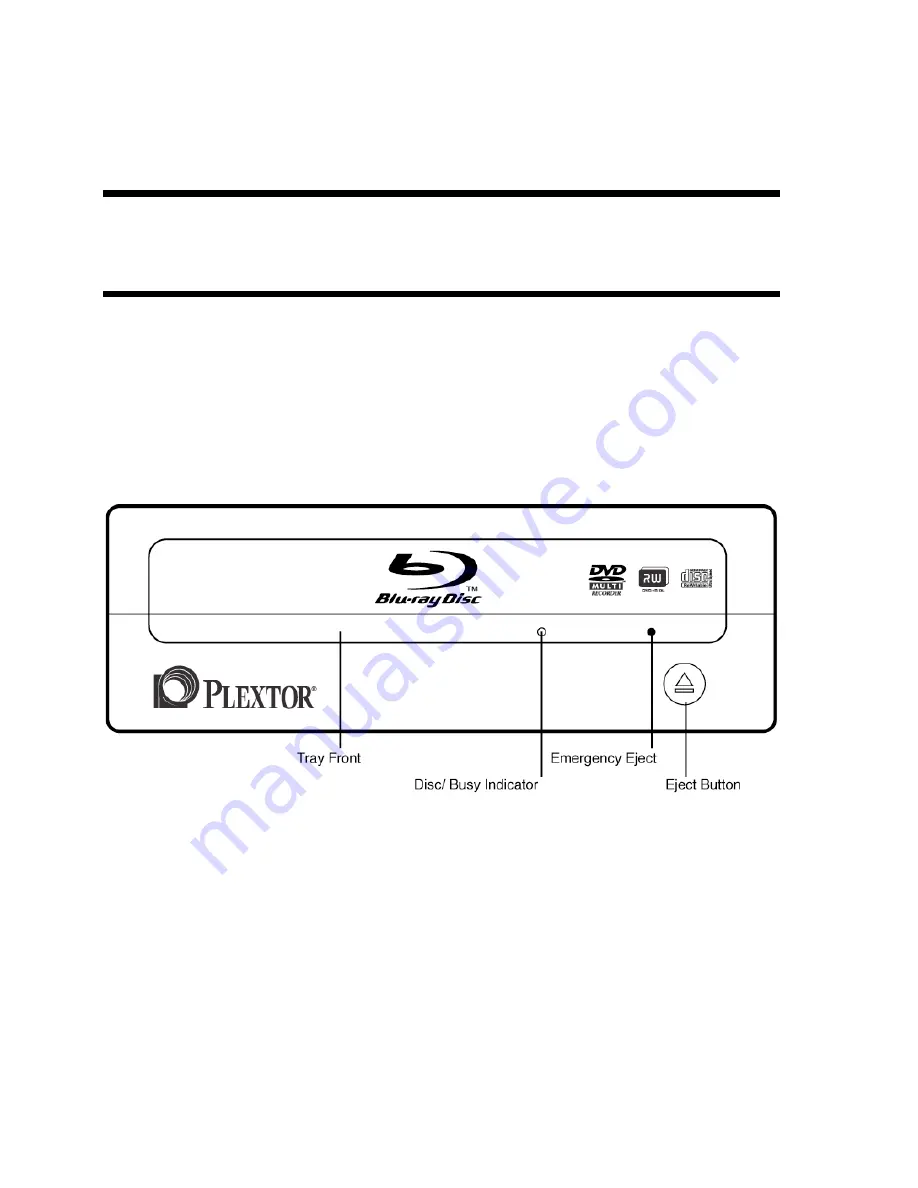
Front Panel—PX-B310U External Drive
Figure 1: Front panel of the PX-B310U external USB drive
•
Tray front door
: Attached to tray drawer.
•
Emergency eject hole
: If the automatic eject button does not work,
insert the emergency eject tool, paper clip, or other thin, rigid object
in this hole to eject tray. Turn OFF power before using this feature.
•
Disc/busy indicator
: Illuminated green for disc reading or writing.
•
Eject button
: Push once to eject tray. Push again to insert the tray
back into the PX-B310U. To prevent wear on the drive, always use
the eject button to insert the tray.


