


Adjusting Sharpness
m40L/m46L Installation Guide
39
Adjusting Sharpness
After you set the Scale Mode to the one you will use for the program, select the
Sharpness level in the
PICTURE
menu to reduce scaling artifacts. If you are not scaling
your image, you may skip this section. (For instructions on how to set Scale Mode,
see "Scale Mode Settings" on page 33)
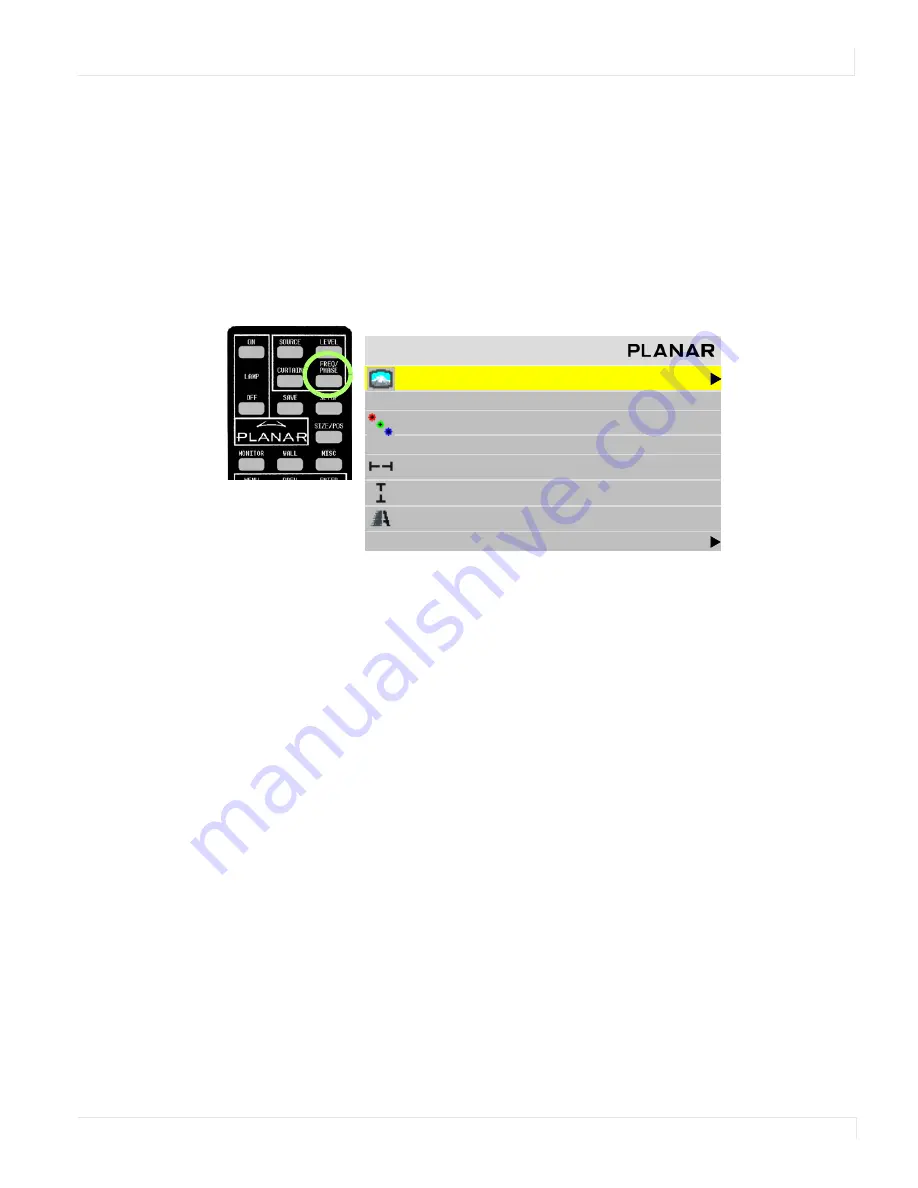
Sharpness Settings
The Sharpness setting is in the
PICTURE
menu (press
FREQ
/
PHASE
on the remote).
Sharpness settings determine how crisp the image should be. There are sixteen levels
of sharpness, where 0 is the softest and 15 is the sharpest. Seven is the default.
P i c t u r e
S o u r c e
D i g i ta l
Ve r t i c a l F r e q u e n c y ( f r a m e l o c k e d )
6 0 H z
C o l o r s pa c e
R G B
H o r i z o n ta l F r e q u e n c y
5 0 . 0 0 k H z
H o r i z o n ta l R e s o l u t i o n
1 3 6 6
Ve r t i c a l R e s o l u t i o n
7 6 8
S h a r p n e s s
4
I n p u t L e v e l s
Summary of Contents for M40L
Page 1: ...m40L m46L Installation Guide...
Page 2: ......
Page 4: ...m40L m46L Installation Guide...
Page 10: ...Table of Contents vi m40L m46L Installation Guide...
Page 24: ...About UPS Supplies 14 m40L m46L Installation Guide...
Page 50: ...Sharpness Settings 40 m40L m46L Installation Guide...
Page 52: ...Picture Position 42 m40L m46L Installation Guide...
Page 60: ...Viewport Adjustment 50 m40L m46L Installation Guide...
Page 84: ...Controlling With RS232 Commands 74 m40L m46L Installation Guide...
Page 94: ...Deleting a Configuration 84 m40L m46L Installation Guide...
Page 108: ...98 m40L m46L Installation Guide...