Page
25
of
33
Modification 16 – ENGINE FAIRINGS INSTALLATION
NOTE:
Mounting engine cowling requires patience and attention to detail. While going through
this manual make sure you take your time, ensuring each step is carried out properly.
1. Place upper and lower cowling on the workbench, fit them together and tape one to the
other using masking tape.
2. Examine the halfway seam between the two cowlings. It should be a clean seam with no
uneven gaps or wavy parts. Use sandpaper to even out any uneven seam gaps.
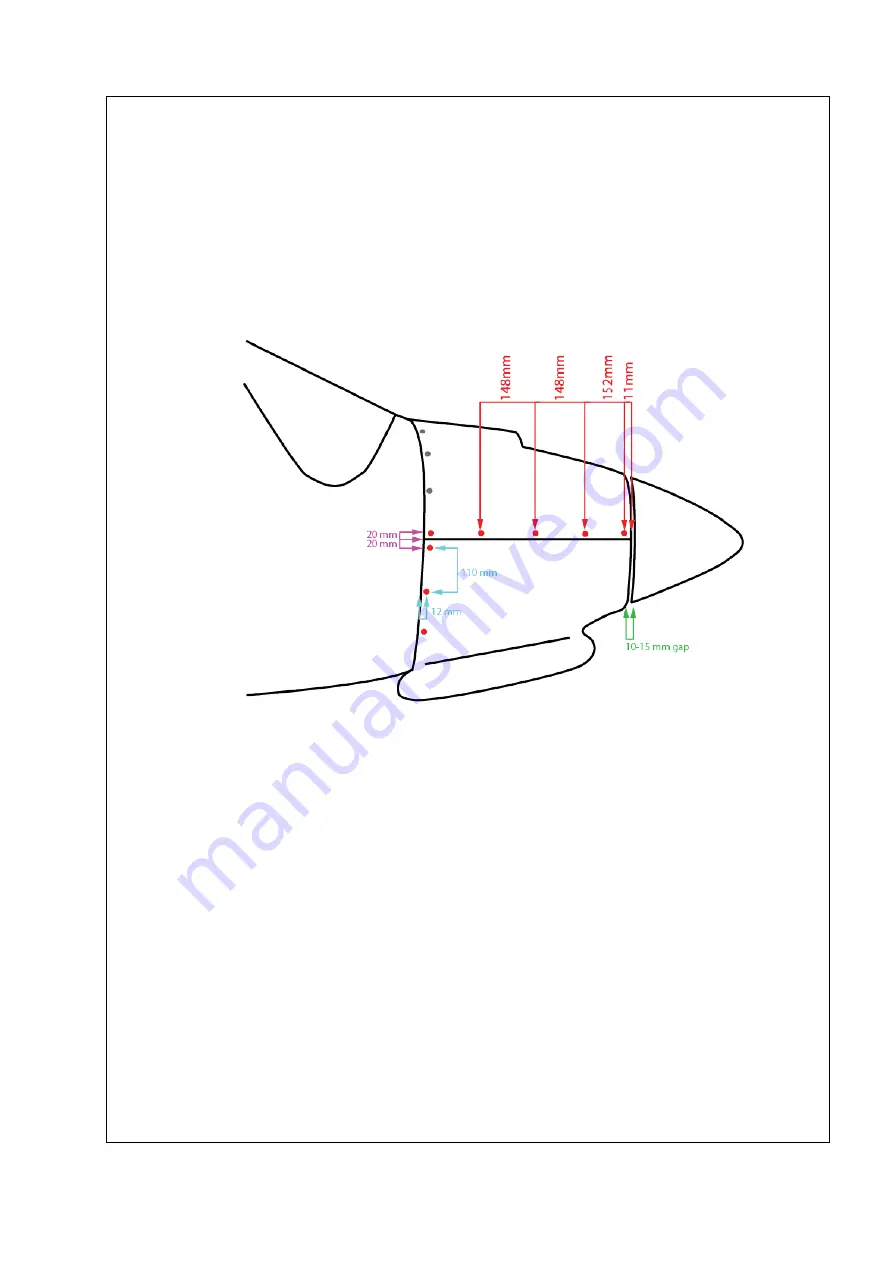
Figure: 16-001: Measurements guide at engine cowlings installation
3. .. Once you’ve got a nice fit between the upper and lower cowling drill Ø3 mm holes
through both, 11 mm above the connecting seam between the upper and lower cowling.
Drill four holes according to the Figure 16-001.
4. Separate the upper and lower cowling and redrill the holes in the upper cowling with a
Ø6.2 mm drill bit.
5. Fit the upper cowling with the quick connect bolt´s.
NOTE:
If you’ve been provided with two different types of quick connect bolt´s, be sure to fit the
cowling’s seam with those with a smaller washer.
6. Check to see that quick connect bolt slides through the hole nicely and enlarge the hole
with a file if necessary. When quick connect bolt is sliding nicely, fit the end of the quick
connect bolt with the split washer, to ensure to it can’t fall out of place.


