Recording
06
65
En
6
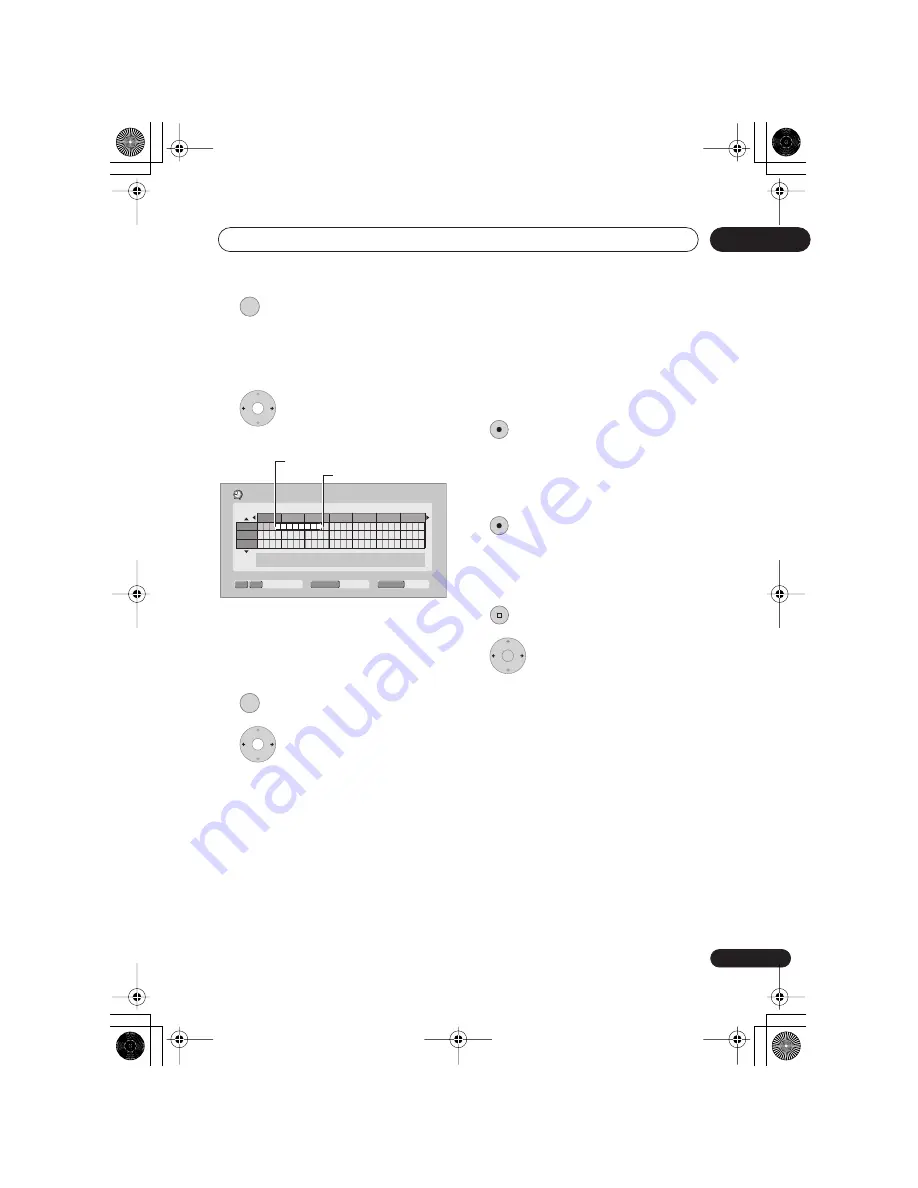
Set the start time.
The start date and time is displayed in the
middle of the screen.
• You can go back and reset the start time
if you need to by pressing
RETURN
.
7
Move the cursor to the
recording end time on the grid.
As you move the cursor around the grid, an
arrow stretches from the start time to the
current cursor position, representing the
length of the recording. A recording of up to
six hours can be set.
8
Set the end time.
9
Select ‘Yes’ to set the timer
recording and exit, or ‘No’ to go back to
the Easy Timer Recording screen.
• You can check the timer recording
details you just set from the Schedule
Area in the GUIDE Plus+ system; see
The Schedule Area
on page 46.
Extending a timer recording in
progress
You can extend a timer recording beyond the
programmed end time. This can be useful if
a broadcast program overruns, for example.
Canceling or extending the timer
1
Press and hold for three seconds
during a timer recording.
Recording continues, but the timer indicator
disappears from the front panel display
indicating that the timer has been canceled.
2
Press repeatedly to extend
recording in 30 minute blocks.
Stopping a timer recording
1
Press during a timer recording.
2
Select ‘Yes’ to confirm.
Preventing use of the recorder
before a timer recording (child
lock)
You can make all the front panel and remote
control buttons inoperative using the child
lock feature. This is useful when you set a
timer recording and want to make sure that
the timer settings are not changed before
recording has finished.
ENTER
Easy Timer Recording
Pr 7
SAT
1/01 11:45
HDD
HDD/DVD
SP
REC MODE
11:00
12:00
13:00
14:00
15:00
16:00
17:00
– 13:45
1/01
2/01
3/01
Recording start time
Recording end time
ENTER
REC
REC
STOP REC
ENTER
DVR645H_WY_EN.book 65 ページ 2006年7月5日 水曜日 午前10時25分


