16
Sentinel & PimaGuard
Installation Guide
P
ROGRAMMING
Sentinel 1
Sentinel configuration
1. IO Range: enter the physical address of the first card. For example: 1C00, 3C00, 5C00 (see page 8).
2. Click OK; to set other Sentinels, repeat the process from step #6, with each Sentinel.
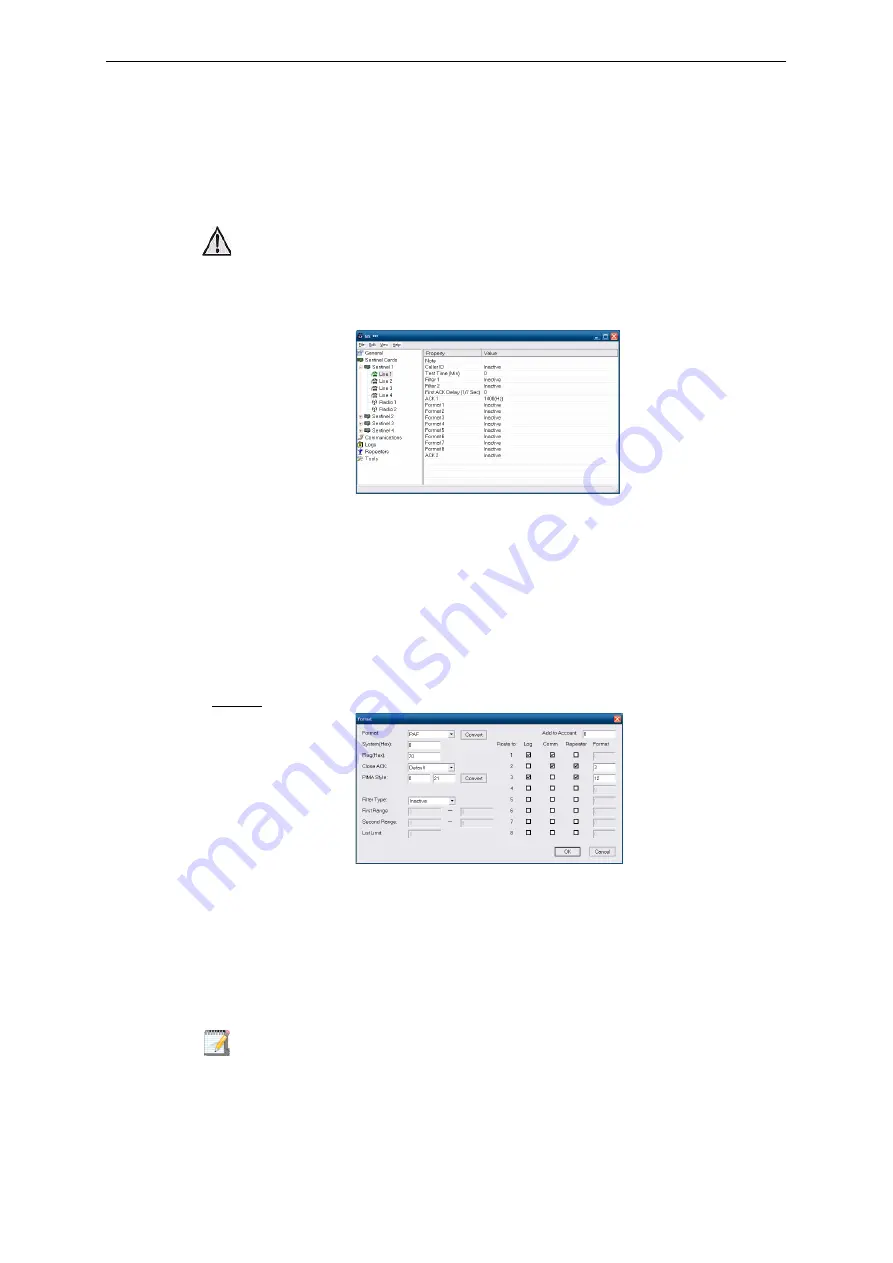
Line 1 configuration
3. Double-click ‘Line 1’. The Line configuration window pops up;
Figure 11. Line 1 configuration windows
4. Caller ID: is used mainly for repeating calls that contain no valid information, because of either a fault
or a deliberate communication interference. When this happens, the PimaGuard sends a fault report in
4X2 format with the code ‘7D’ and the caller ID. The caller ID number is written to the log, even if the
line protocol does not support this feature.
5. Test time: set the line testing interval. The Sentinel will perform 3 tests during every interval, and only if the
3 fail, a report will be generated. See Appendix C, page 28.
6. Click OK. The pop-up window is shut down and the ‘Line’ settings are displayed in the PimaGuard
window.
7.
On the right pane, double-click ‘ACK 1’ and select the first opening ACK from the drop-down list.
8. Set a delay (in 1/7 of a second; 7=one second) if needed and Click OK.
Formats
Figure 12. Line formats window
9. Double-click ‘Format 1’.
10. Format: select the format from the drop-down list. Press ‘Convert’ if you need the PIMA format style in
order to program a PIMA alarm system.
11. System: enter the system number as a Hexadecimal number. See Appendix F, page 60.
12. Flag: do not change the data in this field unless instructed otherwise by PIMA. See "Programming Line &
13. Close ACK: change the default ACK only if the alarm system uses a non-default closing ACK itself.
• The Sentinel’s faults are reported by a 2 byte number. See "Fault Codes" on
We recommend to consult our support team, before changing the default ACK, Flag or System.


