9
10
1. Go to support on www.photocentricgroup.com
and select LC Pro. Click on ‘Downloads’ and
download the latest version of Photocentric
Studio.
2. Extract the Photocentric Studio zip folder
and run the .msi application Note: If Windows
Defender prevents the installation from starting
simply click ‘More Info’ then ‘Run Anyway’ to
begin the installation process.
3.The set up wizard will then load on your screen.
To proceed with the installation simply click
Next.
4. Now select the location for your installation to
be saved to. If you wish to change the location
simply click Browse and select a new location
of your choice. Once the location has been
selected click Next.
5.Once you have selected the location of the
installation click Next to begin the installation of
the software.
6. Installation has now completed, click Close and
you can now open the software. When opening
the software you will see a section to enter your
license number which can be found on the USB
in the envelope of the ancillary box, click on this
section and enter your license number provided
into the field as shown.
1.1.2 SOFTWARE
INSTALLATION
PHOTOCENTRIC STUDIO
MINIMUM COMPUTER
REQUIREMENTS
• Dual Core processor or above
• Windows
• Software NOT compatible with MAC and
Linux
• 2 GB RAM memory or above
NOTE:
The software comes with a 30 day trial. If you
wish to use the trial before activating your
license simply click ‘Continue Evaluation’.
7. Go to your computer desktop, right click and open
“Display Settings”. Set your screens to “Multiple
Displays” and “Extend this display mode”,
keeping your computer monitor as the main
screen. Make sure that the printer’s screen is set
to a resolution of 3840 x 2160. There are videos
online if you need further help. If Photocentric
Studio software doesn’t recognise 4k resolution
and only 2k the carry out the following;
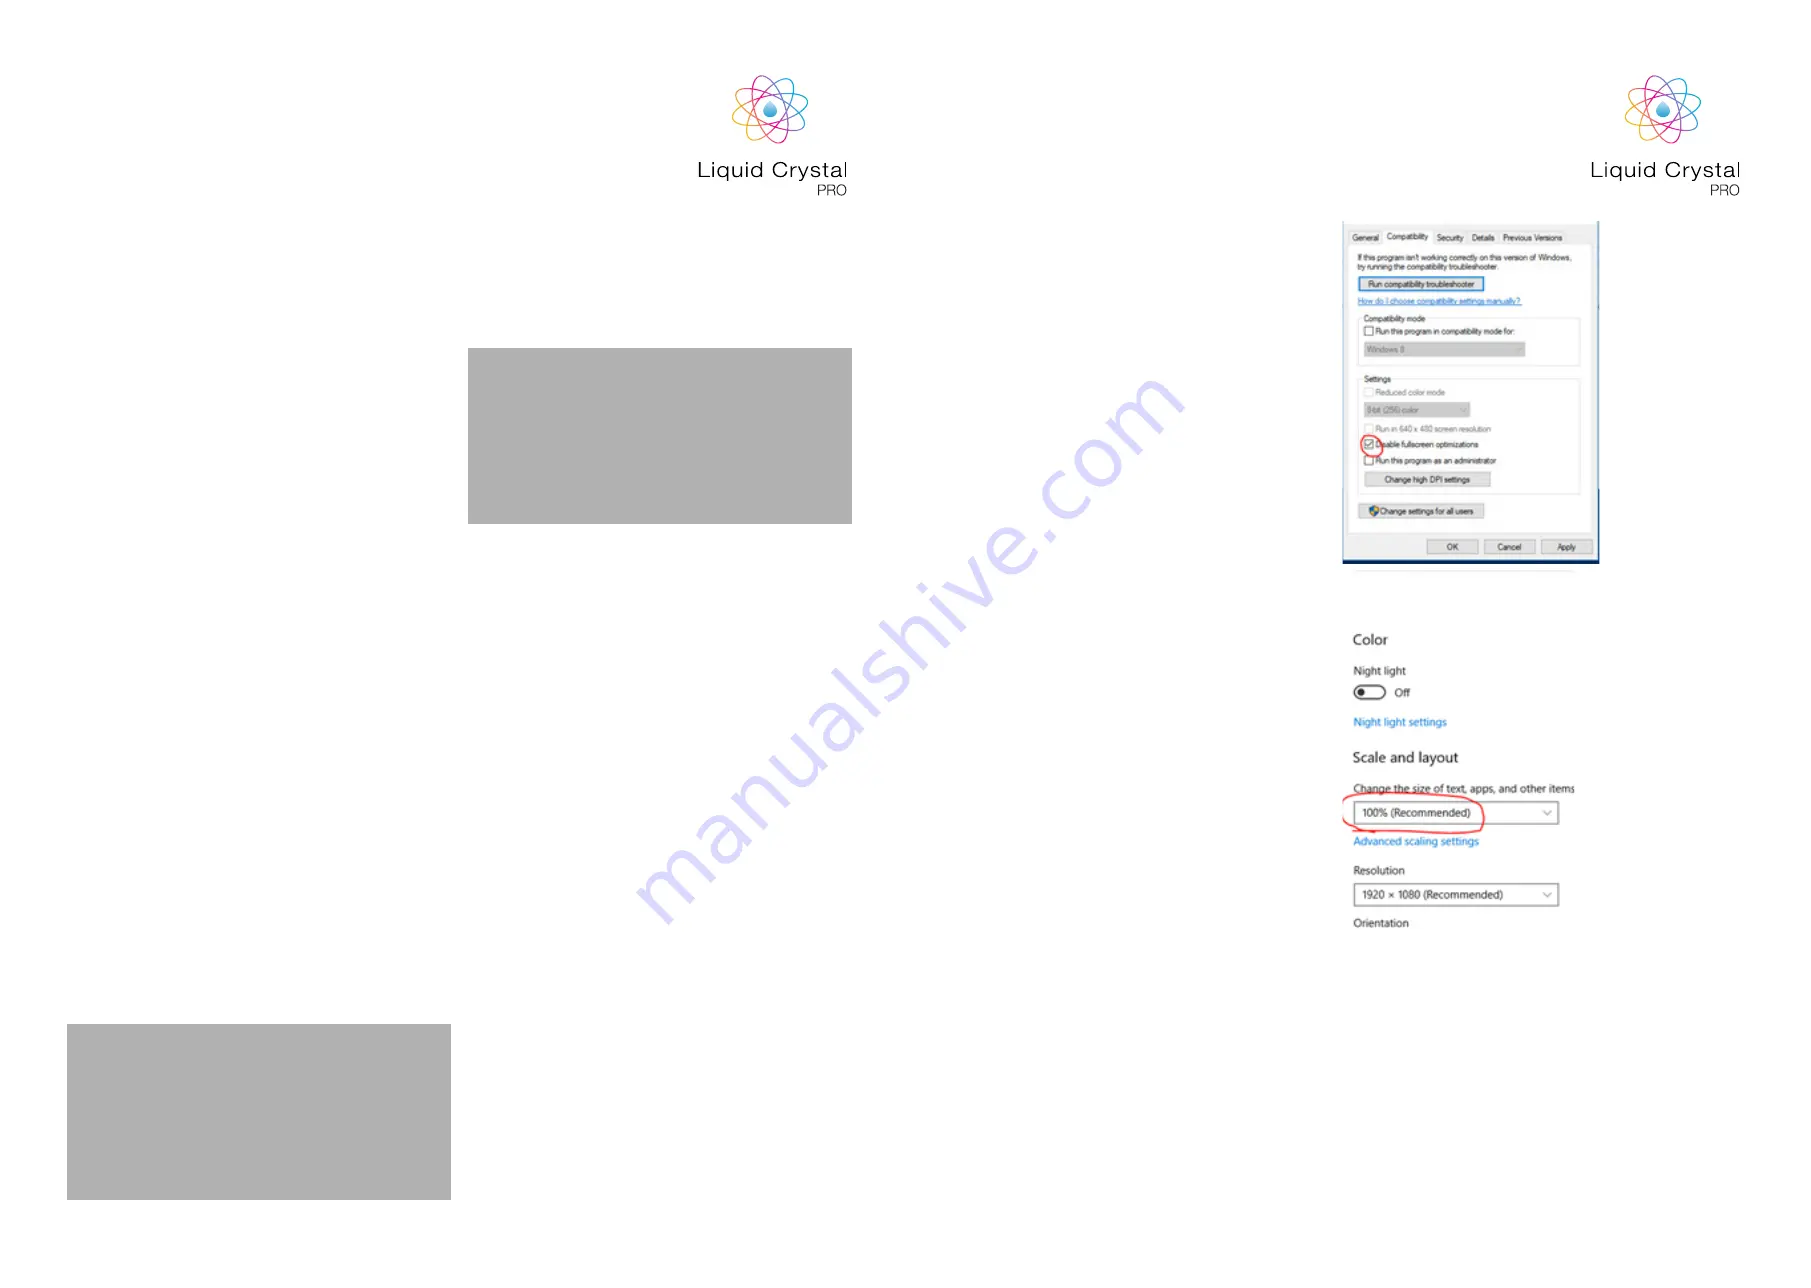
On Windows 8, right click on software shortcut,
Properties then Click on ‘Disable fullscreen
optimization’.
On Windows 10 go to windows display settings,
choose printer screen, change scale and layout
from 200% to 100%.
When this is complete reboot the software.
1.2.1 CONNECTING
TO THE PRINTER
1. Open the Print Controller by click on the print
controller icon on the far right of the screen.
2. Refresh ports and choose com port display of
the printer.
3. Press Connect


