OPUS
Liquid Crystal
OPUS
Liquid Crystal
5. Please refer to the selected Photocentric Resin
Cleaners’ TDS for guidelines on wash cycle time and
subsequent steps.
- Photocentric Resin Cleaner TDS
- Photocentric Resin Cleaner 30 TDS
Parts can be cleaned in 15 minutes using Photocentric
Resin Cleaner or alternatively, in 10 minutes using
Photocentric Resin Cleaner 30.
6. Once the print has been washed, rinse using water
to remove excess resin and solvent. For Photocentric
Resin Cleaner, rinse using hot water. For Photocentric
Resin Cleaner 30, rinse using warm water.
7.Photocentric highly recommends using
compressed air to dry parts thoroughly.
Alternatively, leave rinsed parts aside to dry.
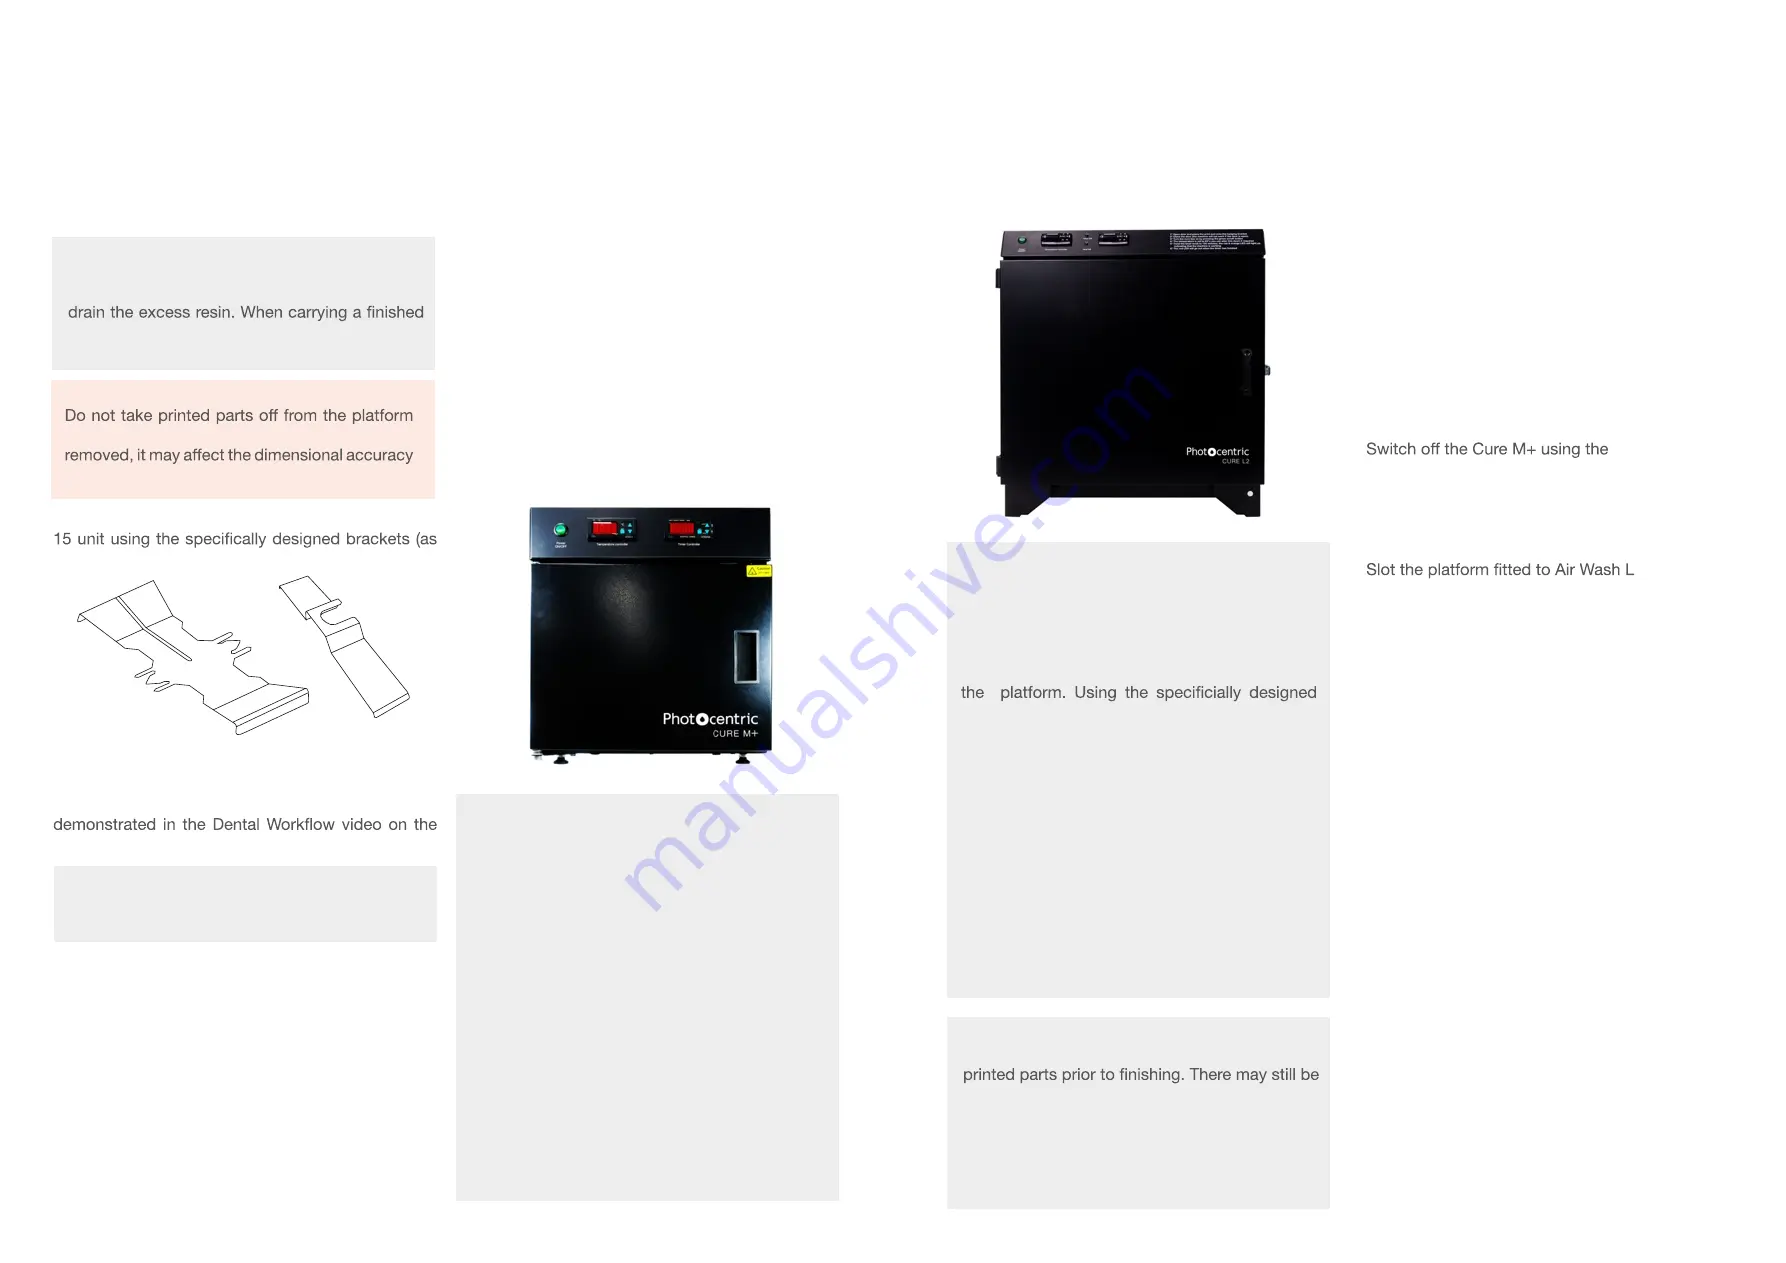
Cure M+
1. Switch on the Cure M+ using the
power switch at the front.
2. Place platform on the base of the cure
unit and close the door, securing with the
safety latch on the right-hand side.
3. Set the timer for 60 minutes at 60°C
or until parts are fully cured.
4. Remove the platform from Cure M+. Please
refer to Section 8.1 for further guidance
on removing parts from the platform.
5.
power switch at the front.
Cure L2
1.Switch on the Cure L2 using the
power switch at the front.
2.
bracket into the Cure L2 with parts facing
down, securing the handles on the inserts.
3. Set the timer for 60 minutes at 60°C
or until parts are fully cured.
4. Remove the platform and the bracket from the
Cure L2. Please refer to section 8.1 for further
guidance on removing parts from the platform.
8.1 REMOVING PARTS FROM
THE PRINT PLATFORM
To remove parts from the print platform, Photocentric
recommend thermal shocking (with the exception of
Durable UV80 resin).
1. Upon removing platforms from the cure unit,
submerge fully in cold water.
2. Parts will become immediately free from the
platform.
Alternatively, parts can be removed from the
platform using the scraper or cutters provided in the
Accessory Box.
Cut through the supports to free parts.
All parts produced using LC Opus will need to be
post-cured using UV light and heat to fully cure the
resin and achieve the correct material properties.
Photocentric recommends using the Photocentric
Cure M+ and Cure L2
8. POST-CURING
Cure M+
External dimensions are:
440 (W) x 270 (D) 390 (H) mm.
Internal dimensions are:
350 (W) x 270 (D) x 260 (H) mm.
You can cure parts with 160mm height on the
platform.
Photocentric Cure M+ can be purchased from
this
webpage
The user manual for Cure M+ can be downloaded
from this
webpage
. Or from
LC Opus Resource
Hub.
Here, you can also browse guidance on the
following:
- Using your cure unit
- Programs
- Maintenance
- Environmental Operating Conditions
Cure L2
External dimensions are:
700 (W) x 600 (D) x 700 (H) mm.
Internal dimensions are:
500 (W) x 350 (D) x 550 (H) mm.
You can cure parts with 220mm height on
Air Wash L bracket, one or two Opus
platform(s) can be post-cured simultaneously.
Photocentric Cure L2 can be purchased from
this
webpage.
The user manual for Cure L2 can be downloaded
from this
webpage
, Or from
LC Opus Resource
Hub.
Here, you can also browse guidance on the
following:
- Using your cure unit
- Programs
- Maintenance
- Environmental Operating Conditions
Photocentric Cure M+
Photocentric Cure L2
NOTE:
Wear gloves when handling platforms with
traces of liquid resin or cleaning product on the
surface. Handle the parts with care.
NOTE:
Wear heat resistant gloves when handling
platforms after curing.
14
13
3.Grip the handles of the print platform securely and
gently pull towards you to remove it.
4. Place the platform into either Air Wash L or Wash
shown below).
When using Wash 15, ensure the basket is removed
prior to parts being washed. This has been
LC Opus Resource Hub.
Air Wash L Bracket
Wash 15 Bracket
NOTE:
Wear gloves and safety glasses when working
with Photocentric Resin Cleaners.
NOTE:
After removing the print platform from the printer,
it can be helpful to tilt it and hold it over the vat to
print to your cleaning station, use paper towel or
a suitable tray to catch any drips.
WARNING
prior to the Cleaning and Post-Curing steps. If
of parts.


