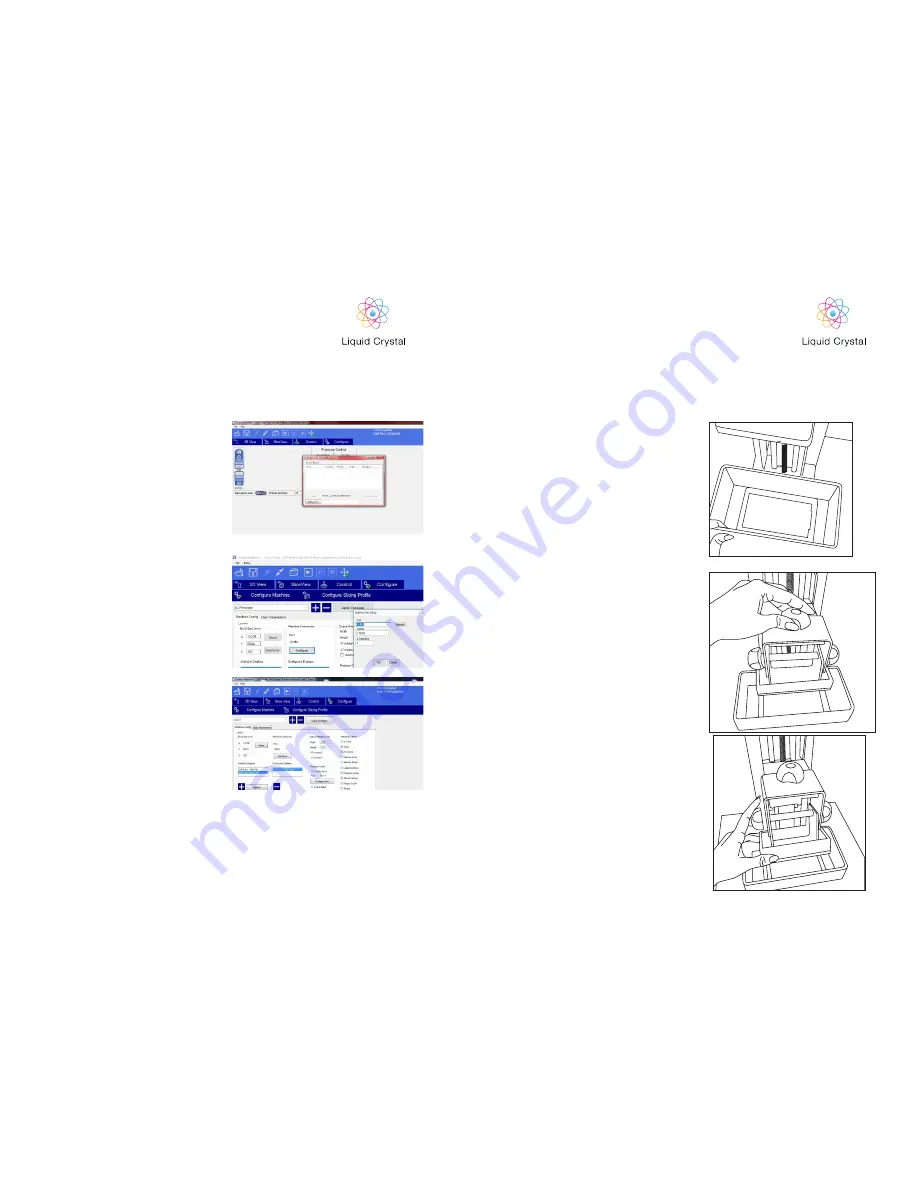
6. Execute the Creation Workshop software by
double clicking on “CreationWorkshop.exe”. If
the software requires a license number insert the
license number supplied.
7. In Creation Workshop, click on “Configure”, and
then open the subfolder “Configure Machine”. In
the configuration folder connect the printer to the
computer by clicking on the button “Configure”
in the Machine Connection section. Select the
port you have connected the USB to and set the
speed to 115200 and data bits to 8. Press “OK”
on available displays and then select refresh.
Once refreshed, choose Display 2560x1440 and
press + to add it to Configured Screen and then
press, Apply Changes. Now click [CONNECT
ICON] to connect your computer and the Liquid
Crystal.
8. If you are experiencing difficulties to start or
connect your printer, go to our website www.
photocentricgroup.com, and visit “Support”.
You will find videos that will run you through the
issues you may find due to specific computer
settings. Should you still find difficulties, please
contact your national supplier or contact us at
[email protected].
9
10
Ensure that the screen is clean (wipe with a little
liquid soap and warm water if it’s dirty) and dry.
Place the vat centrally over the screen.
Ensure the base of the vat film is clean. Wearing
gloves wipe the bottom of the vat film with a
piece of abosorbent paper. You can use soapy
water or IPA to help cleaning. Make sure the
print platform is clean by scrubbing with liquid
soap and water and wipe dry. Place the platform
on the print arm.
Tighten the upper bolt and loosen the two side
bolts on the print platform.
In Creation Workshop, go to the control tab and
press the home button (located at the top of the
z-Axis controls).This will lower the platform until
the home switch is activated. Align the platform
so that it is directly over the screen and tighten
the central bolt.
Wearing gloves, press down hard in the middle
of the metal platform and then tighten the two
side bolts. Press ‘+10’, and the platform will lift
10mm, pour the amount of resin you need, then
press ‘-10’ to return it to screen height and you
are homed!
2. THE HOMING
PROCEDURE
PRECISION
PRECISION


