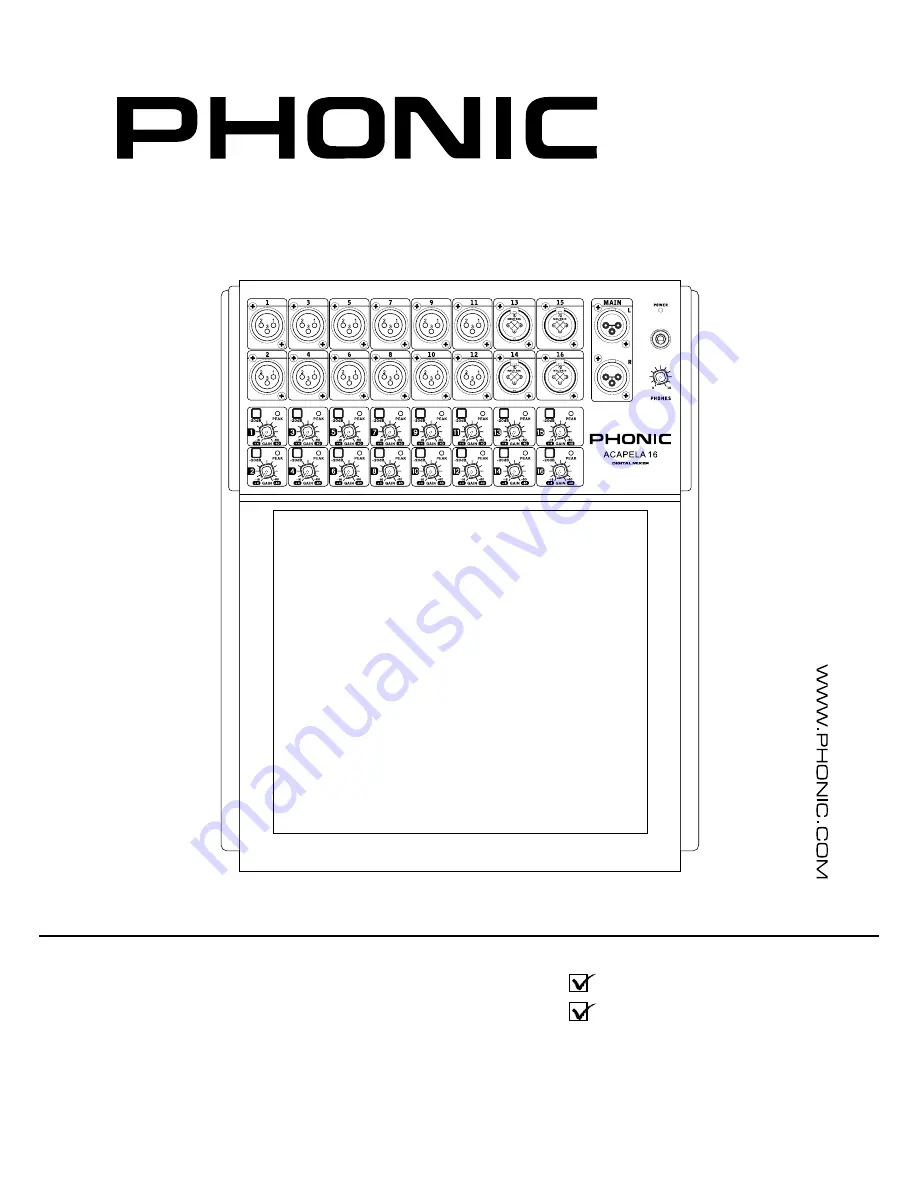
ACAPELA 16
DIGITAL LIVE MIXERMEZCLADORA DIGITAL EN VIVO
User's ManualManual del Usuario
Page 1: ...ACAPELA 16 DIGITAL LIVE MIXER MEZCLADORA DIGITAL EN VIVO User s Manual Manual del Usuario...
Page 2: ...during lighting storms or when unused for long periods of time 14 Refer all servicing to service personnel Servicing is required when the apparatus has been damaged in any way such as power supply cor...
Page 3: ...ION 5 FRONT PANEL 6 REAR PANEL 7 SOFTWARE CONTROL 8 PARAMETERS 27 SPECIFICATIONS 28 APPENDIX DIGITAL EFFECT TABLE 1 DIMENSIONS 3 CONTENTS USER S MANUAL Phonic reserves the right to improve or alter an...
Page 4: ...digital mixer or you want to make full use of the wireless control features the aim of this manual is to answer all the questions that may come up the first time you use this mixer If you really want...
Page 5: ...o signals below a particular user defined frequency allowing as the name suggests high frequency sounds to pass through High Shelf Filter the high shelf filter will reduce or increase all audio signal...
Page 6: ...password is phonic the password can be changed in the Acapela software 6 If a connection is not established we suggest rechecking the IP address user name and pass word used 7 If a connection is estab...
Page 7: ...ter on 2 Connect the Acapela mixer to the computer via an appropriate USB cable 3 Let Windows find the device and install an ap propriate driver 4 Enter the Windows Control Panel and select Sounds and...
Page 8: ...he gain controls and 20 buttons This LED will light up when the corresponding channel s signal is coming in too hot Turn the gain down a touch so that the peak LED doesn t light up If this doesn t hel...
Page 9: ...ne place to another as well as performing firmware updates when available 13 Ethernet Connection The Ethernet connection is included to allow con nection to wireless hubs in the local area While you c...
Page 10: ...u buttons themselves will bring up master overview pages showing all channel properties on a single page Different mixes can be selected by using the left and right arrow buttons on the right hand sid...
Page 11: ...ities of the Acapela 16 you are able to control the internal software using iPad tablets Mode Buttons At the top of the Network tab s main screen you can find 2 buttons Wi Fi and Ethernet Users can se...
Page 12: ...not be able to con nect to the wireless network The default key is 87654321 When connecting directly to the Acapela 16 through the Wi Fi connection you will be prompted to enter the key as your Wi Fi...
Page 13: ...u will find your previously saved Scenes on the left hand side of the menu Any pre saved Scenes can be immediately recalled by selecting them on screen and pushing Load You can rename any Scene by sel...
Page 14: ...have its named changed by pushing the name at the bottom of the screen Give each channel its own name to help identify the respective signal These names are not mirrored within the Acapela 16 software...
Page 15: ...wer button You can also use this to check the on off status of the phantom power for individual channels INV This means inverted phase and will allow you to invert the phase of the incoming signal Thi...
Page 16: ...yellow the threshold of the dynamic process has been triggered Touching the onscreen window will open up the dynamics menu Delay The delay window will show the currently activated delay in millisecond...
Page 17: ...nd off As with the EQ all dynamic processors will be bypassed if this button is left inactive Also like the EQ function the accompanying graph will display the properties of the currently selected Dyn...
Page 18: ...ht arrows Solo Button This will activate the solo function on the currently selected channel When a channel is soloed the signal will be diverted to the control room mix for monitoring If the current...
Page 19: ...post status of the channel determines whether the send from the respective channel will be pre fad er before the fader or post fader taken after the fader A pre fader send is indicated by green while...
Page 20: ...r The meters on each channel send and the Master Group Mix control can be adjusted using the Pre Post Meter buttons The button for the channels is located directly above the Channel 4 button while the...
Page 21: ...all the way to the right will be a completely saturated effect sound Parameters These controls will be found at the bottom of the EFX window and will depend on the EFX program selected For information...
Page 22: ...se Just select the onscreen icon and the channel select menu will appear You ll see channels 1 to 18 AUX 1 to 4 Group 1 to 4 Multi 1 to 4 and the Main L and R mixes are all available Phonic recommends...
Page 23: ...ux mix es Group mixes Main mix and EFX mixes will be sent to the control room in other words the signals will be soloed By pushing the SOLO SAFE button first you can also determine whether the signal...
Page 24: ...esired position Settings At the bottom of the screen users can view the current settings for the currently selected PEQ including gain frequency and Q These can all be adjusted up and down as necessar...
Page 25: ...the level of the currently selected mix touch and hold the onscreen virtual fader and slide your finger up and down the screen Pre Post Button This adjusts the currently selected mix s meter between t...
Page 26: ...ions for channels 1 to 16 page 2 offers channels 17 and 18 and the last page includes Multi 1 to 4 and the main mix Phantom Power The phantom power page offers 16 individual phantom power buttons allo...
Page 27: ...fers these functions for channels 17 and 18 Page 3 not only offers delay settings for Multi 1 to 4 and Main but also includes a few other user adjustable delay parameters Here you can select the dedic...
Page 28: ...ess Dynamic Chart This graph gives a visual represen tation of the dynamic processor s function Currently active processes will be indicated in orange while the process you re currently adjusting is i...
Page 29: ...ms to 8 sec Expander Dynamics Threshold 50 dB to 0dB 1dB steps Ratio 1 1 1 1 1 1 3 1 1 5 1 1 7 1 2 1 3 1 3 5 1 4 1 5 1 6 1 8 1 10 1 20 1 Attack Release 1 ms to 8 sec Delay Delay Time 0 to 6000 ms 0 1...
Page 30: ...UT Fs 48 kHz 1 2ms Distortion THD N THD N less than 0 007 4 dBu 20 20 kHz unity gain 20 kHz BW Frequency Response CH INPUT to STEREO OUT Fs 48kHz 0 1 5dBu 20 Hz 20 kHz 4dBu into 600 Hum Noise 20 Hz 20...
Page 31: ...ust have been handled and used as prescribed in the instructions accompanying this warranty Any tampering of the product or attempts of self repair voids all warranty This warranty does not cover any...
Page 32: ...English Espa ol English Espa ol...
Page 33: ...USB 5 PANEL FRONTAL 6 PANEL TRASERO 7 SOFTWARE DE CONTROL 8 PAR METROS 27 ESPECIFICACIONES 27 APENDICE TABLA DE EFECTO DIGITAL 1 DIMENSIONES 3 NDICE Manual del Usuario Phonic se reserva el derecho de...
Page 34: ...s de 4 entradas combo XLR TRS Frecuencia de muestreo digital interno seleccionable hasta 48 kHz en resoluci n de 24 bits Interfaz detallada de pantalla GUI visible en el monitor externo Software cont...
Page 35: ...mo su nombre indica deja pasar solo sonidos de alta frecuencia High Shelf Filter Filtro limitador de alta frecuencia Ese filtro reducir o aumentar las se ales de audio por debajo de una determinada fr...
Page 36: ...uede cambiar en el software de Acapela 6 Si no se establece una conexi n le sugerimos volver a comprobar la direcci n IP el nombre de usuario y contrase a que se utiliza 7 Si se establece una conexi n...
Page 37: ...eje que Windows encuentre el dispositivo e instalar un controlador adecuado 4 Introduzca el Panel de control de Windows y seleccione un dispositivo de sonido y audio 5 Entonces vaya a la pesta a Audio...
Page 38: ...Gain y botones 20 Este LED se ilumina cuando la se al del canal correspondiente se vuelve excesiva Gire el control del Gain para que el LED de pico no se encienda Si esto no ayuda el bot n 20 puede s...
Page 39: ...irmware que realizan cuando est n disponibles 13 Conexi n Ethernet La conexi n Ethernet se incluye para permitir la con exi n de hubs inal mbricos en el rea local Mientras que usted puede conectar de...
Page 40: ...en general aparecer mostrando las propiedades de todos los canales en una sola p gina Diferentes mezclas pueden seleccionarse con los botones de flecha izquierda y derecha en la parte derecha de la p...
Page 41: ...e no ir en busca de este men al utilizar el iPad Mediante el uso de las capaci dades Wi Fi o Ethernet del Acapela16 Usted puede controlar el software interno del Acapela 16 utilizando una tableta iPad...
Page 42: ...idad Encryption Cifrado Seleccione el modo de encriptaci n cuando se selecciona la autenticaci n abierta o compartida El cifrado se puede seleccionar entre 64 y 128 bits Key Clave Ingrese la clave de...
Page 43: ...ontrar sus escenas guardadas anteriormente en el lado izquierdo del men Las escenas guardadas anteriormente se pueden recuperar inmediatamente seleccion ndolas en la pantalla y pulsando Load Puede cam...
Page 44: ...Cada canal puede tener su nombre cambiado empujando el nombre en la parte inferior de la pantalla D a cada canal su propio nombre para ayudar a identificar la se al correspondiente Estos nombres no s...
Page 45: ...entaci n fantasma apropiado Tambi n puede utilizarlo para comprobar el estado on off de la alimentaci n fantasma para canales individuales INV Esto significa fase invertida y le permitir invertir la f...
Page 46: ...listo Cuando est amarillo el umbral del proceso din mico se ha activado Tocar el icono deseado en pantalla para abrir el men correspondiente Delay La ventana de retardo mostrar el retardo activado act...
Page 47: ...e puede encontrar al lado de la tabla de la curva de ecualizaci n Dynamic Processor On Off y Pantalla Este bot n cambia el procesador de din mica ne encendido y apagado Al igual que el EQ todos los pr...
Page 48: ...uarios pueden seleccionar el canal del cual desean ver las propie dades pulsando las flechas izquierda y derecha Solo Button Esto activar la funci n solo en el canal seleccionado en ese momento Cuando...
Page 49: ...l env o del canal respectivo ser pre fader antes del fader o post fader tomado despu s del fader Un env o pre fader se indica en verde mientras que env os post Fader se indican en azul Aux Mix En la p...
Page 50: ...Los medidores en cada canal de env o y el control de groupo de mezcla maestra se pueden ajustar con los botones del medidor Pre Post El bot n de los canales se encuentra justo encima del bot n de Cha...
Page 51: ...lvaasernadam squelase aloriginal deslizando completamente a la derecha ser un efecto de sonido completamente saturado Parameters Parametros Estoscontrolesseencuentran enlaparteinferiordelaventanadeEFX...
Page 52: ...tiene que seleccionar el icono de la pantalla y el men de selecci n de canal aparecer Ver los canales 1 a 18 AUX 1 a 4 Grupo 1 a 4 Multi 1 al 4 y las mezclas MAIN L y R estar n disponibles Phonic rec...
Page 53: ...as auxiliares mezclas de grupo mezcla principal y mez clas EFX se enviaran a la sala de control es decir las se ales ser n en SOLO Al pulsar primero el bot n SOLO SAFE tambi n se puede determinar si l...
Page 54: ...s lo tocarlos y moverlos a la posici n deseada Ajustes En la parte inferior de la pantalla los usu arios pueden ver la configuraci n actual del PEQ seleccionado incluyendo el gain la frecuencia y el Q...
Page 55: ...ado el fader virtual en pantalla y deslice el dedo hacia arriba y abajo de la pantalla Bot n Pre Post Apague u enciende accionando el bot n ON Cuando est encendido se ilumina el bot n On Off Apague u...
Page 56: ...a 2 incluye canales 17 y 18 y la ltima p gina incluye Multi de 1 a 4 y la mezcla principal Phantom Power Alimentaci n Fantasma La p gina de alimentaci n fantasma ofrece 16 botones de alimentaci n fant...
Page 57: ...stas funciones para los canales 17 y 18 P gina 3 no s lo ofrece ajustes de retardo para Multi 1 a 4 y principal sino que tambi n incluye algunos otros par metros de retardo ajustables por el usuario A...
Page 58: ...Gr fico din mico Este gr fico da una representaci n visual de la funci n del procesador din mico Procesos activos actualmente se indicar n en color naranja mien tras que el proceso que est actualmente...
Page 59: ...or Din mica Umbral 50 dB a 0dB 1 dB steps Proporci n 1 1 1 1 1 1 3 1 1 5 1 1 7 1 2 1 3 1 3 5 1 4 1 5 1 6 1 8 1 10 1 20 1 Ganancia de salida 0 dB to 18 dB 0 5 dB steps Ataque Liberaci n 1 ms to 8 sec L...
Page 60: ...rant a v lida el producto deber de haber sido manejado y utilizado como se describe en las instrucciones que acompa an esta garant a Cualquier atentado hacia el producto o cualquier intento de reparar...
Page 61: ...ied Early Out 0 to 100 Adds a delay between early reflections and the reverb Hi Ratio 0 to 100 High frequency reverb ratio Density 0 to 100 Reverb density Level 0 to 100 Determines the level of reverb...
Page 62: ...ow pass filter cut off frequency FB 0 to 99 Determines the feedback gain of the flanger effect Phaser L F O 0 1 to 20 Hz Low frequency oscillation Wave Sine Triangle Determines the modulation waveform...
Page 63: ...ndice 3 Acapela 16 DIMENSIONS DIMENSIONES 401 15 8 89 3 5 82 3 2 394 15 5 324 12 8 401 15 8 89 3 5 82 3 2 394 15 5 324 12 8 All measurements are shown in mm inches Todas las medidas est n mostradas en...
Page 64: ......