>
1
Press the
y
Standby button to switch on the projector.
–
The Standby indicator starts blinking green.
–
When the projection lamp is on, the Standby indicator lights up green and the start-up
screen (when enabled) appears for several seconds.
2
Select the required source (Auto, Data, RGBsync,YPbPr or RGBsog, S-Video,Video) by
pressing the Source button.
–
The sources that can be selected are shown on the screen.
•
The required source can also be selected via the ‘Source’ option in the ‘Featues’ menu of the
On Screen Display (OSD) menu.
–
When only one input source is connected, this source will automatically be selected (‘Auto
Source’). When more input sources are connected, the source with the highets priority will be
selected (Data, RGBsync,YPbPr or RGBsog, S-Video, Video). Source selection can be changed in the
‘Features’ menu.
3
Switch on the computer or start video playback.
–
A feedback message appears on the screen, indicating the selected source. ‘Feedback’ should
be enabled in the ‘Set up’ menu.
Direct key feedback
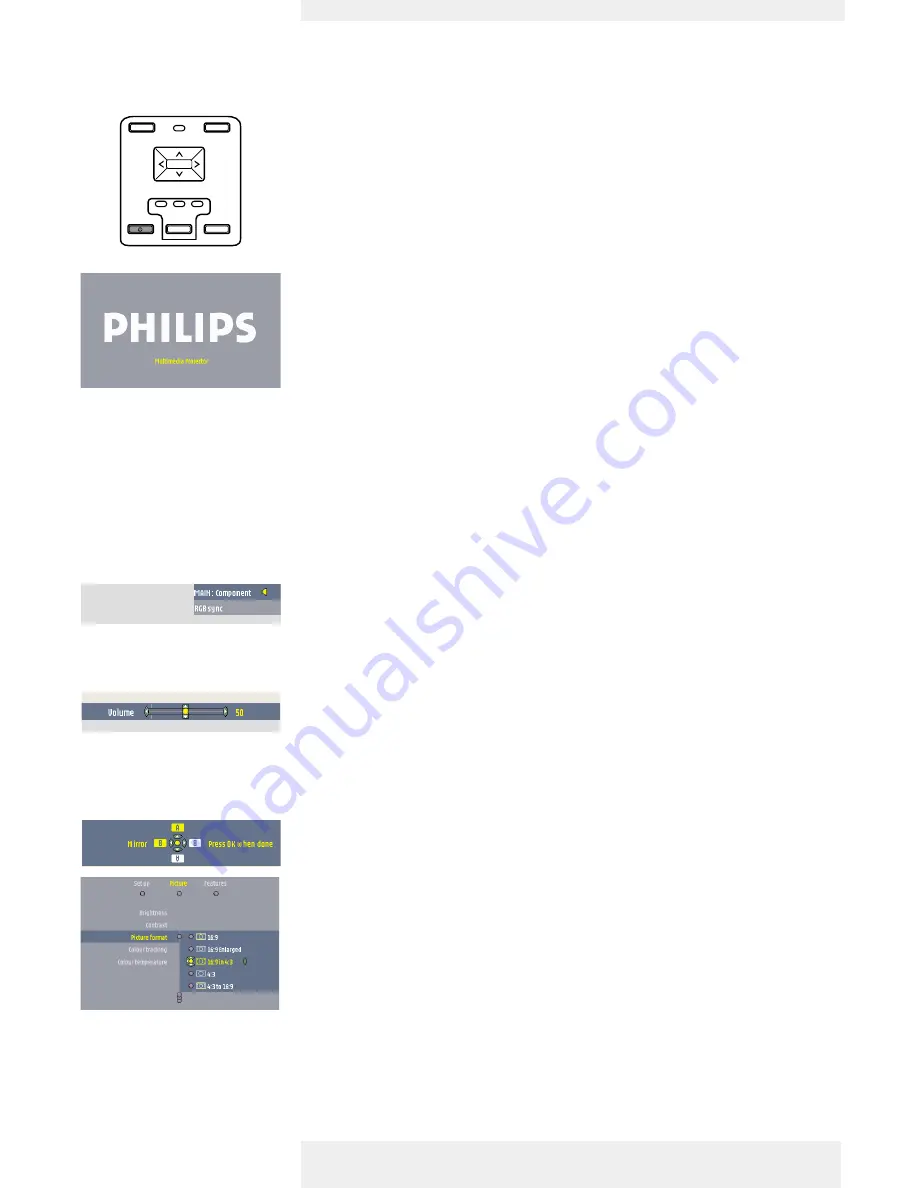
Direct key feedback is given when settings/adjustments are made directly via the remote control or
local keyboard. Feedback is given by means of a slider, a simple dialog or a list of options.
Sliders are used when setting e.g.:
– volume;
– picture size;
– keystone correction;
– brightness;
– contrast;
– colour tracking.
Dialogs are used when setting e.g.:
– keystone correction;
– child lock.
Lists are used when setting e.g.:
– picture format;
– source.
General
Notes
Messages
Philips Multimedia Projector
20
English
User guide
bClever SV1
5. Operation
Preparation
S-VIDEO
DATA
VIDEO
MENU
PICTURE SIZE –
PICTURE SIZE +
VOLUME –
SOURCE
OK
PICTURE SIZE –
PICTURE SIZE +
VOLUME –
SOURCE
AV MUTE
STANDBY
MENU
OK


