Copyright@2014 Phicomm Europe GmbH – Print version only for private use
79
DELETE PHOTOS OR VIDEOS
1.
Open the camera app.
2.
Tap on ❸
View photo / video
.
3.
Select the photo / video you would like to delete.
4.
Tap on the menu key.
5.
Tap on
Delete
and confirm with
OK
.
CAMERA SETTINGS PHOTO MODE
Following camera settings can be set before you take a photo.
CAMERA SETTINGS
1.
Tap on the camera app.
2.
Tap on ❷
Photo mode
.
3.
Tap on ❹
Camera settings
.
4.
Select the setting you want to adjust and make the appropriate
changes for:
Location info
Silent Mode
Storage location (select between internal and external
storage)
Timer
Set shutter key
SET EFFECT
1.
Open the camera app.
2.
Tap on ❷
Photo mode
.
3.
Tap on ❺
Effect
.
4.
Select a setting you want to adjust and make the appropriate
changes.
SET SHOT MODE
1.
Open the camera app.
2.
Tap on ❷
Photo mode
.
3.
Tap on ❻
Shot mode
.
4.
Choose between
Normal shot
,
Zero Shutter
, Panorama,
HDR
and
Anti-shake
.
SET FLASH MODE
1.
Open the camera app.
2.
Tap on ❷
Photo mode
.
3.
Tap on ❼
Flash mode
.
4.
Choose between
Auto
,
On
and
Off
.
Copyright@2014 Phicomm Europe GmbH – Print version only for private use
80
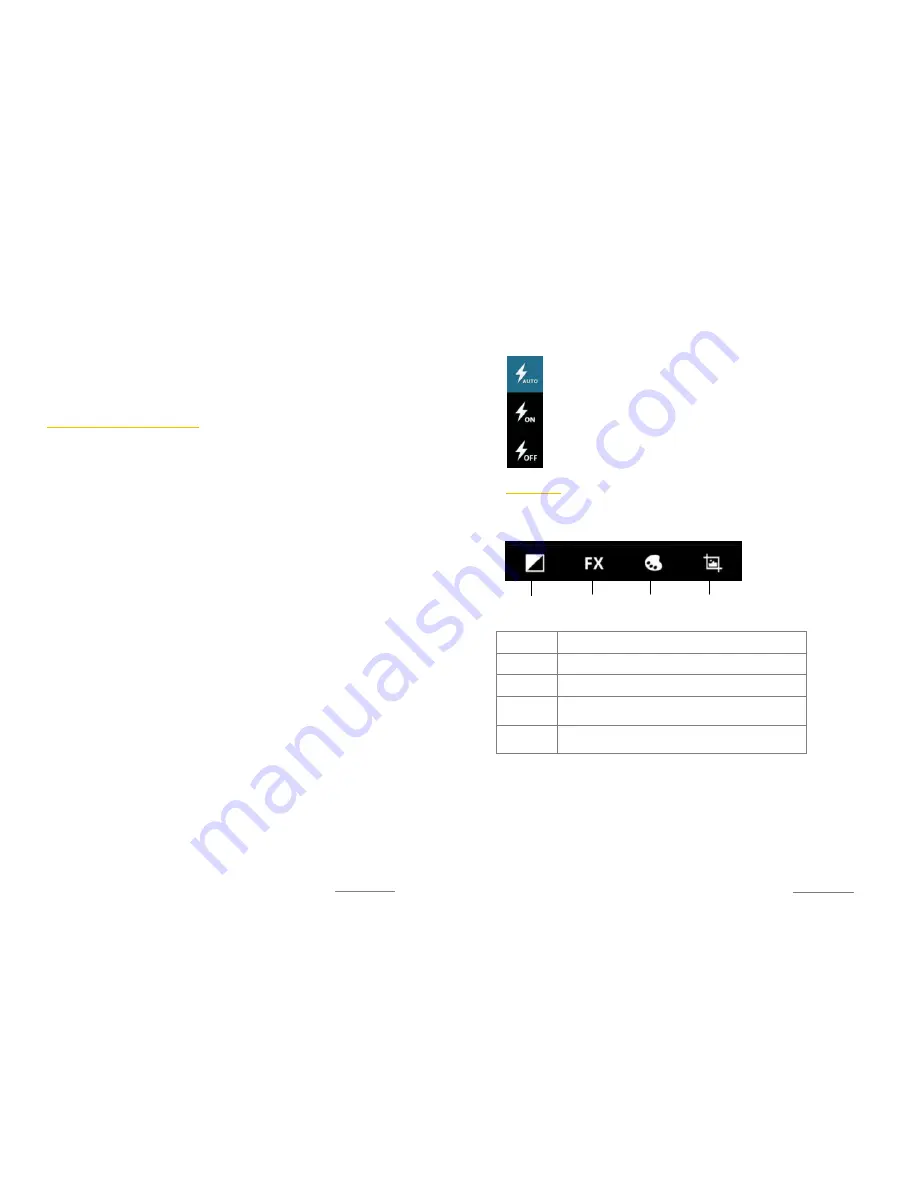
You can turn on the flash when taking pictures with low light
conditions. Sometimes the pictures qualitity, even in poor light is
better without flash.
Auto
(Standard)
The camera automatically detects whether a flash is
needed or not.
On
You can use the flash when the background is brighter
than your subject.
Off
The flash is turned off.
EDIT PHOTO
You can edit your photos after recording.
OVERVIEW PHOTO EDITING
Number
Functions
①
Fill light / Highlights / Shadows / Auto-fix
②
i.a. Posterize / Lomo / Documentary / Vignette
③
Warmth / Saturation / B&W / Sepia / Negative /
Tint / Duo-tone / Doodle
④
Crop / Red Eye / Straigthen / Rotate / Flip /
Sharpen
TURN PHOTO
1.
Open the camera app.
2.
Tap on ❸
View photos / videos
.
3.
Swipe to the left or right to scroll through your photos / videos.
4.
Tap on the menu key.
5.
Select
Rotate left
or
Rotate right
. The photo rotates in the
direction you selected.
③
①
②
④
Summary of Contents for CLUE C230
Page 1: ...I803wa USER MANUAL...


