7
Continued On Next Page
☛
❑
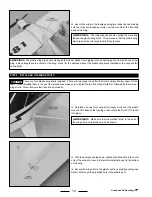
While holding the horizontal tail in place and aligned, secure it to
the fuselage by threading eight small screws through the predrilled
holes in the fuselage and into the plastic tape on the horizontal tail.
✦
IMPORTANT
✦
Four screws should be installed on the top and
four on the bottom. Tighten the screws gently. Overtightening them
can strip the plastic tape.
PRO TIP
X 8
If you have a problem threading the screws into the plastic tape, carefully use a push-pin to make a pilot hole in the
plastic tape for each of the screws.
STeP 3: INSTALLING THe VeRTICAL TAIL
❑
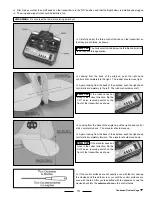
Carefully slide the front portion of the vertical tail down into the
mounting slot in the fuselage.
❑
Push the vertical tail down in position. When aligned properly, the
tab in the base of the vertical tail should fit into the notch in the middle
of the horizontal tail, and the vertical tail should be pushed down firmly
against the top of the horizontal tail.
❑
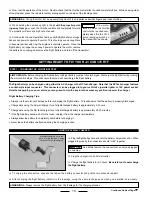
While holding the vertical tail in place and aligned, secure it to
the fuselage by threading four small screws through the predrilled
holes in the fuselage and into the plastic tape.
✦
IMPORTANT
✦
Two screws should be installed on each side.
Tighten the screws gently. Overtightening them can strip the plastic
tape.
PRO TIP
X 4
If you have a problem threading the screws into the plastic tape, carefully use a push-pin to make a pilot hole in the
plastic tape for each of the screws.


