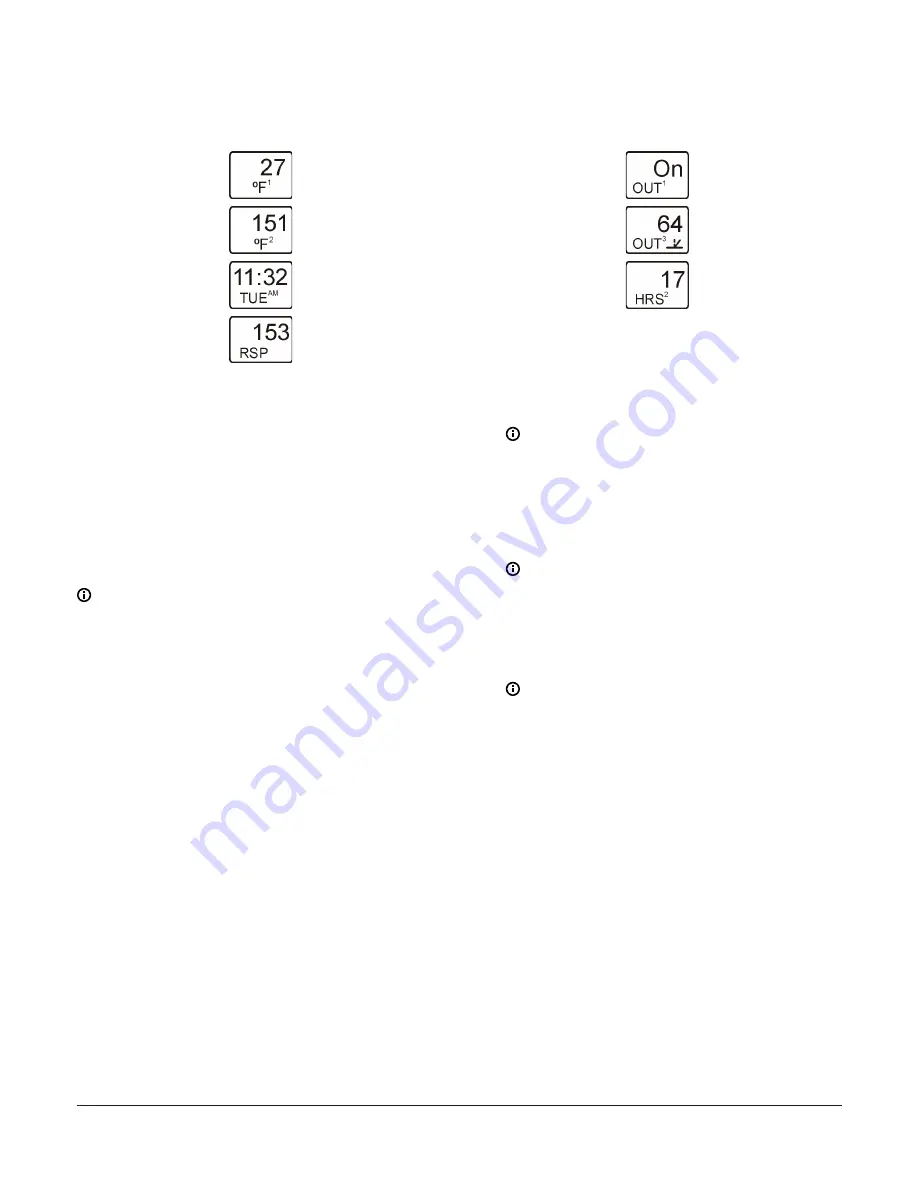
current time and day is 11:32 A.M. on Tuesday, and the
current calculated Reset Setpoint is 153°F.
Figure 6: Main screens
The
System Status
screens include all of the Main
screens, plus additional status screens for all the outputs
in your control system, including the following:
• Relay Output Status screens, which display output
number and relay status (On/Off).
• Analog Output Status screens, which display output
number, the current analog signal strength (as a % of
the total signal strength), and the control ramp icon.
• Runtime Hours Status screens, which display the
runtime (ON) hours for the Relay Outputs in your
control system.
See the System Status Screens row in the setup screens
.
Note:
• System Status screens (except Runtime Hours
Status screens) are view-only; selections cannot
be made in Status screens.
• When a Runtime Hours Status screen is displayed,
you can press and hold
Down
for 5 seconds to
clear the displayed runtime hours and reset the
Relay Output’s total runtime hours to 0.
Press
Next
repeatedly to scroll through and view the
System Status screens for your control system.
In the following figure, the screen examples show Relay
Output 1 is On; Analog Output 3 signal strength is 64
(%) and the control ramp icon indicates that the Analog
Output is set up with SP<EP and OSP<OEP; and Relay
Output 2 has 17 hours of total runtime (relay ON).
Figure 7: System Status screens
Accessing the System 450 Setup
screens
1.
Apply power to your module assembly. After a
startup check, the (available)
Main
screens appear
and automatically scroll on the LCD.
Note:
The only Main screen displayed, prior
to setting up your control system in the UI, is
the default time and day status screen, which
displays
– –:– –
,
MON
, and
AM
.
2.
In any of the
Main
screens, press and hold
Up
and
Down
simultaneously for 5 seconds to go to the
Sensor Setup Start
screen and access the rest of the
System 450 setup screens.
Note:
The Sensor Setup Start screen is the first
screen displayed when you access the System
450 setup screens. From the Sensor Setup Start
screen, you can navigate to all of the remaining
setup screens for your control system.
3.
Press
M
repeatedly to scroll through all of the Setup
Start screens. (See
.)
Note:
All Setup Start screens are view-only;
selections cannot be made in Setup Start
screens. In any Setup Start screen, you can
return to the Main screens by pressing
Up
and
Down
simultaneously. Also, the UI returns to
the Main screens after 2 minutes of inactivity in
any screen in the UI.
4.
Press
Next
in any Setup Start screen to go to the
setup screens. (See
System 450 Series Reset Control Modules with Real-Time Clock and Relay Output Installation Guide
7


