6 Installation and start-up
17
▪
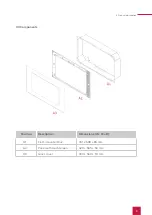
Insert the flush-mounted box and lead the Ethernet, KNX and power
supply cables through the holes in the flush-mounted box.
▪
Screw the flush-mounted box to the wall.
Tip:
During the filling of the edges, the template can be used as a splash guard.
6.2.2 Installing the flush mounted box in a cavity wall
▪
Mark a recess of 312 x 528 mm on the wall.
▪
Make the recess in the wall according to your mark.
▪
Install separate mounting corners flush with the wall.
▪
Insert the flush-mounted box and lead the Ethernet, KNX and power
supply cables through the holes in the flush-mounted box.
▪
Fasten the flush-mounted box with four screws in the
corners.
6.3 Connecting the power supply
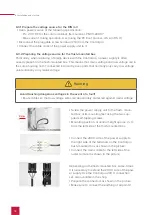
Warning
Avoid electric shock when touching live parts!
▪
Disconnect all associated circuit breakers before working on the device.
▪
Cover live parts in the surroundings.
Summary of Contents for Controlpro PNX11-20001
Page 1: ...V 2 1 1 Controlpro User manual EN...
Page 27: ...Declaration of conformity 27...
Page 28: ...www peaknx com...

