16
6 Installation and start-up
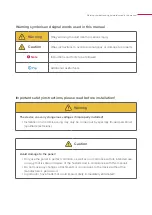
Caution
Avoid damage to the panel!
▪
The panel may only be installed upright and in landscape orientation to ensure the
ventilation of the computer by convection.
▪
The supply voltage of the device may only lie within the specified range of 15 to 20 V
DC! Higher voltages (also 24 V DC) will damage the device.
6 Installation and start-up
The panel can only be inserted into a wall cut-out in masonry or cavity walls. Use the Controlpro
flush-mounted box (PNX11-20006) or a compatible one, e.g. that of the Gira Control 19.
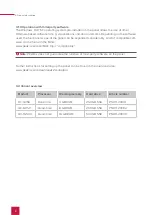
6.1 Information for electricians
Note:
We recommend fusing the panel separately, because in rare cases it must be com-
pletely disconnected from the power supply, see section 9.1.2 Disconnecting the panel from the
power supply.
6.2 Installing the flush-mounted box
Tip:
Choose the installation height of the panel according to the height of the primary user
so that the top edge of the panel is at his/her eye level. If there are multiple users of different
heights a compromise must be found. A slightly lower screen prevents fatigue of the arms
during operation.
Tip:
If you have ordered a PEAKnx flush-mounted box for the panel you can use the sup-
plied template to mark the recess.
6.2.1 Installing the flush mounted box in brickwork
▪
Mark a 312 x 528 mm recess on the wall, but leave bevels in the corners.
These will later be used for fixing the flush-mounted box.
▪
Make the recess in the wall with a depth of 65 mm.
Summary of Contents for Controlpro PNX11-20001
Page 1: ...V 2 1 1 Controlpro User manual EN...
Page 27: ...Declaration of conformity 27...
Page 28: ...www peaknx com...


