


Appendix
pco.dimax User’s Manual V1.00 © PCO AG, Germany
33
For some NIC you have the opportunity to set parameters manually
affecting the stability of the data transfer. The most important one is called
Number of Descriptors
. Set the value of this parameter to its maximum. To
do so open the windows device manager and right-click on the NIC, that is
connected with your camera, and select Configuration under Properties.
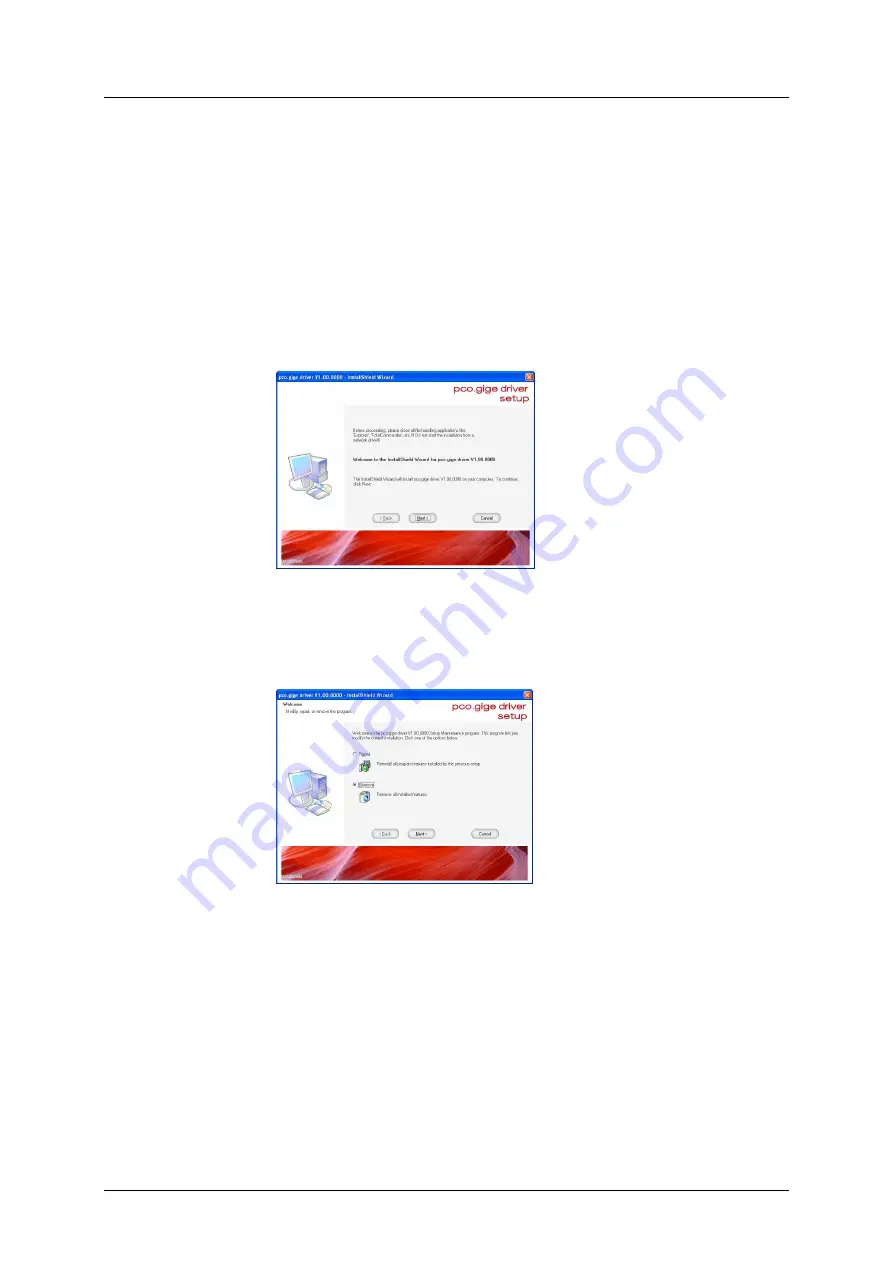
A3-2 PCO GigE Intermediate Driver
Automatic Installing
Open the GigE Driver Install Shield calling the “setup.exe”. Please follow the
instructions shown by the dialog-window.
How to uninstall:
•
open the file “GigE_Uninstall.exe”
Start->Programs->Digital Camera Tools->pco.gige->UnInstall pco.gige
•
or call the GigE Driver InstallShield (“setup.exe”) and follow the
“Remove” instructions
Manual Installing
•
Locate and right click "My Network Places" in the Start Menu and
choose “Properties”.
•
A new window "Network Connections" opens. Right-click on the
corresponding Local Area Connection to the NIC for which you want to
configure the network component settings and select “Properties”.
•
A new window „Local Area Connection Properties” opens. Click „Install“.
•
Select “Service” in the resulting Select Network Component Type dialog
box and then click “Add”.
•
A new window opens. Click „Browse…” and choose the file
“PcoGigE_m.inf” in “…\GigE_SW_USER_XP\GigE_Driver_XP\” on the
driver CD or respective folder on your PC.
•
Click “OK”. Ignore the warnings and press “OK”.


