Copyright © Parallax Inc.
ELEV-8 Quadcopter Kit (#80000)
Version 1.
1
Page 19 of 26
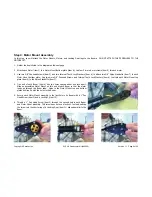
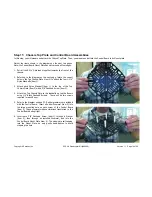
Step 11: Chassis Top Plate and Control Board Assemblies
In this step, you will prepare and attach the Chassis Top Plate. Then, you prepare and attach the Control Board to its Mount plate.
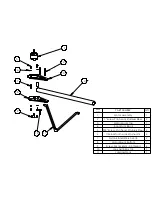
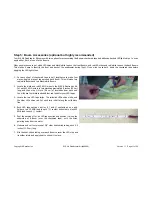
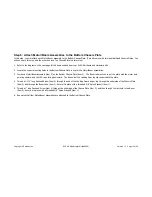
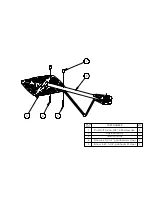
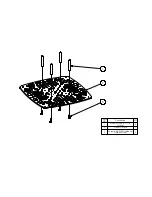
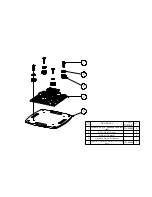
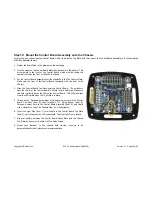
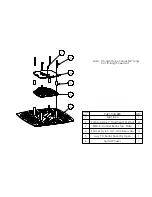
Gather the items shown in the diagrams on the next two pages.
Note: the Control Board Mount Plate has slots around all four edges.
1.
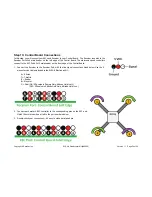
Pull all the ESCs’ 3-pin leads together towards the front of the
chassis.
2.
Referring to the diagram on the next page, locate the correct
holes in the Top Chassis Plate (item 2) to attach the four 1-1/4”
Nylon Standoffs (item 1).
3.
Attach each Nylon Standoff (item 1) to the top of the Top
Chassis Plate (item 2) with a 3/8” Panhead Screw (item 3).
4.
Attach the Top Chassis Plate to the standoffs on top the Booms
using 1/4” Black Panhead Screws. There will be two screws
required for each Boom.
5.
Refer to the diagram on page 21. Rubber grommets are included
with the Control Board. Insert a Rubber Grommet (item 3) into
the large mounting hole on each corner of the Control Board
(item 4). These grommets reduce vibrations transferred to the
Control Board during flight.
6.
Insert each 3/8” Panhead Screw (item 1) through a Washer
(item 2), then through an installed Grommet, and into the
Control Board Mount Plate (item 5). The screws are self-tapping
into the Mount Plate, so only gently hand-tighten to avoid
stripping the hole.

