Copyright © Parallax Inc.
ELEV-8 Quadcopter Kit (#80000)
Version 1.
1
Page 11 of 26
Step 5: Boom Accessories (optional but highly recommended)
Your ELEV-8 Quadcopter Kit comes with two options for accessorizing the Booms: checkered tape and adhesive-backed LED light strips. You can
apply either, both, or none to the Booms.
Many people choose to put white LED strips and black/white tape on the front Booms, and red LED strips and red/white tape on the back Booms.
This makes it easy to identify the front and back of the quadcopter during flight. If you wish to use both, apply the checkered tape before
applying the LED light strips.
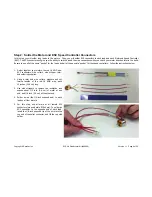
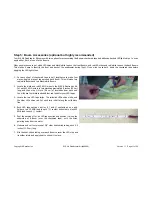
1.
Cut each sheet of checkered tape in half lengthwise to make four
pieces. Apply a piece of tape around each Boom. This will make two
red/white Booms and two black/white Booms.
2.
Locate the black and red 22 AWG wires in the ELEV-8 Electronics Kit.
Cut each 22 AWG wire into two pieces approximately 8 inches (20 cm)
long, and then strip 1/4 inch (0.6 cm) of insulation from each end.
You will have four black leads and four red leads for your LED tapes.
3.
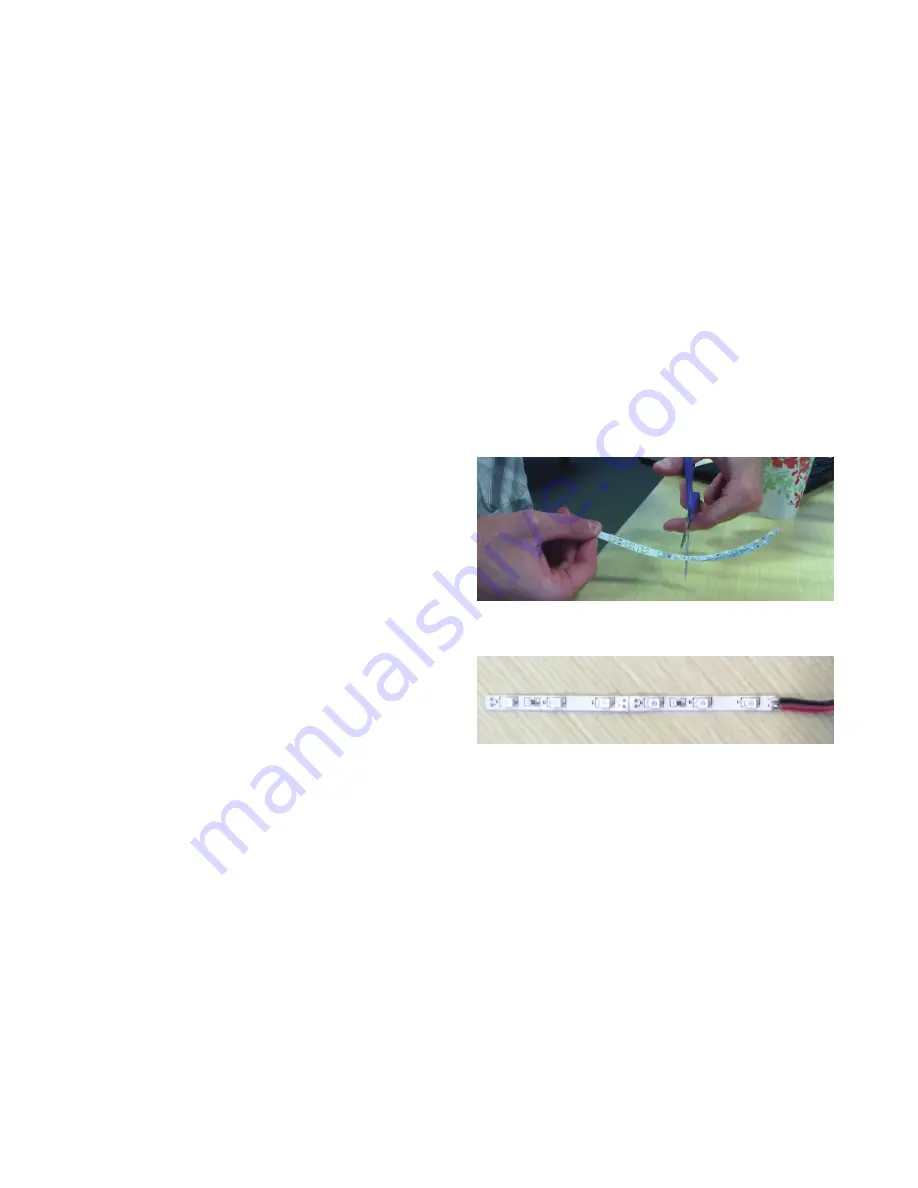
Locate the two LED tape strips. The yellowish LEDs shine white, and
the clear LEDs shine red. Cut each strip in half along the solid black
line.
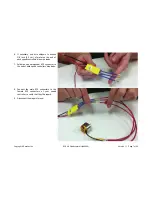
4.
Each LED tape section has tiny (+) and (–) contacts on one end.
Solder a red 22 AWG lead to each (+) contact and solder a black 22
AWB lead to each (-) contact.
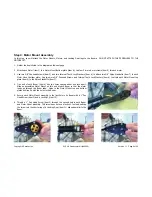
5.
Peel the backing off of an LED tape section and position it along the
underside of a Boom (over the checkered tape), with the wires
pointing away from the motor.
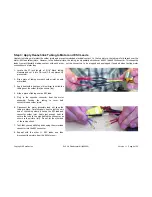
6.
Measure and cut four pieces of 3/4” clear heat-shrink tubing, each 4.5
inches (11.5 cm) long.
7.
Slip the heat-shrink tubing over each Boom to cover the LED strip and
its solder joints, and apply heat to shrink it in place.


