BA_PH_UT300_EN_18-21.docx
23
Create a Tool
Up to 500 tools can be stored in the program memory of the UT-300 unit.
Select
to create a new tool:
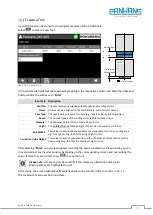
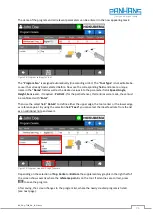
Figure 20: Creating a tool
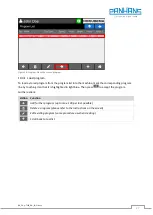
Fill in all relevant fields (see table below) by tapping in the respective column one after the other and
finally confirm the entries with "
Enter
".
Input field Description
Tool No.
The tool number is assigned automatically (in ascending order).
Name
A name can be assigned to the tool here (e.g. manufacturer name).
Tool Type
The tool type is entered in this field (e.g. rebate cutter or jointing cutter).
Speed
The nominal speed of the milling cutter is entered here in rpm.
Diameter
The diameter of the cutter is entered here in mm.
Height
The purely effective cutting height of the cutter is entered here in mm.
Spindle Mo.
This value is used in spindle assembly to compensate for the non-cutting area,
e.g. for a spacer ring
→
Enter the ring height in mm.
Correction Value Height
This value is used for special cutters with a shoulder as compensation for the
non-cutting area
→
Enter the shoulder height in mm.
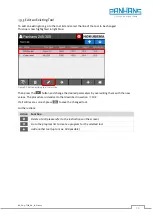
After pressing "
Enter
" an overview appears including the newly created tool. Please check your en-
tries and correct any incorrect entries by tapping on the corresponding column and overwriting the
value. If all entries are correct, press
to save the tool.
Please note:
A tool can only be saved if all the necessary information was given.
Missing entries are highlighted in red.
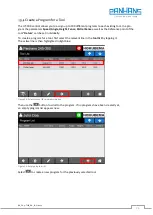
After saving, the screen automatically switches back to the tool list (refer to section
10.1 ).
The created tool can now be found there.
4
Correction
Value Height
4
= non-cutting area
Cutter
Spindle Mo.
Cutter
Distance ring
Shoulder
mm
mm

