W
atching External Inputs
28
Watching External Inputs
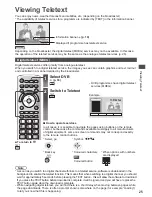
Connect the external equipment (VCRs, DVD equipment, etc.) and you can watch through the AV input.
•
To connect the equipment
(p. 11, 12, 85 - 87)
The remote control is capable of operating some functions of selected external equipment.
“Operating the equipment with the TV remote control” (p. 29)
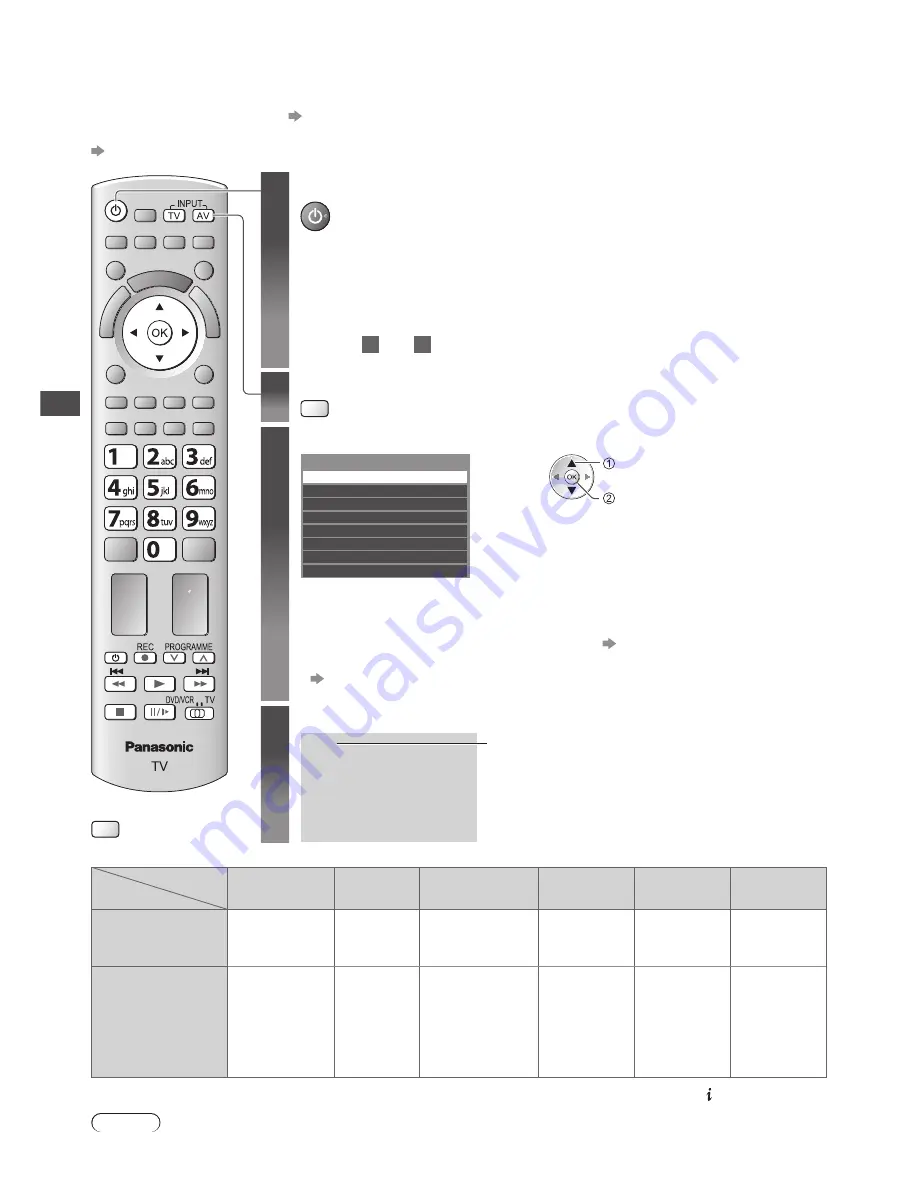
1
Turn the TV on
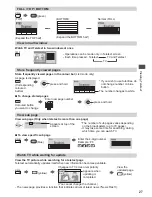
When connecting with SCART as example 2 or 3 (p. 11, 12)
Receives input signals automatically when playback starts
•
Input signals are automatically identified by the SCART (pin 8) terminal.
•
This function is also available for HDMI connections (p. 85).
If input mode is not switched automatically
Perform
2
and
3
•
Check the setup of the equipment.
2
Display the input selection menu
AV
3
Select the input mode connected to the equipment
AV1
AV2
COMPONENT
HDMI1
HDMI2
HDMI3
TV
Input Selection
SD Card/USB
select
watch
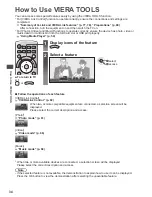
•
You can also select the input using the AV button on the remote control
or the side panel of the TV (except [SD Card/USB]).
Press the button repeatedly until the desired input is selected.
•
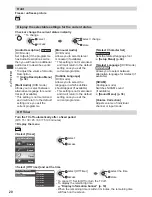
[SD Card/USB] : Switches to Media Player
“Using Media Player”
(p. 59)
•
You can label or skip each input mode (except [SD Card/USB]).
“Input Labels” (p. 54)
Skipped inputs will not be displayed when the AV button is pressed.
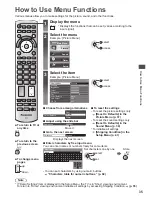
4
View
AV1
Displays the selected mode
■
To return to TV
TV
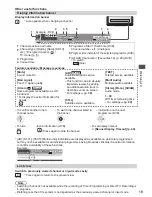
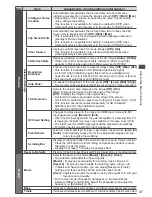
Terminal
AV1
AV2
COMPONENT
HDMI1
HDMI2
HDMI3
Manual input
(default setting
in “Input Labels”)
AV1
AV1-RGB
AV2
COMPONENT
HDMI1
HDMI2
HDMI3
Auto input
(EC mode or
VIERA Link)
EC/AV1
EC/AV1-RGB
−
−
EC/HDMI1
Applicable
for
EC mode
and
VIERA Link
EC/HDMI2
Applicable
for
VIERA Link
EC/HDMI3
Applicable
for
VIERA Link
•
If the above information is permanently displayed on the top left of the screen, press the button to clear.
Note
•
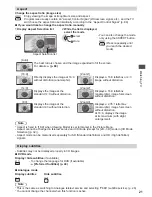
If the external equipment has an aspect adjustment function, set it to [16:9].
•
For details, see the manual of the equipment or ask your local dealer.


