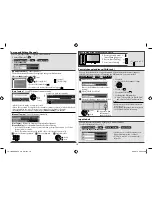
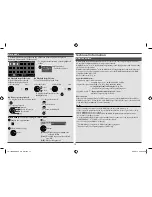

You can perform tuning or skip unwanted channels.
1
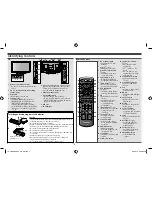
Select TV mode
TV
2
Main Menu
Setup
Tuning Menu
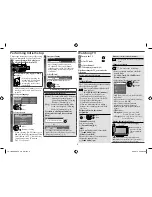
3
Select a function
Tuning Menu
Channel List Edit
Auto Tuning
Manual Tuning
Access
Access
Access
[Channel List Edit]
- Hides channels
The hidden channels cannot be displayed except in this function.
Select a channel and reveal / hide
Channel List Editor
OK
[Reveal]/[Hide]
Select
: [reveal]
: [hide] (skip)
•
To reveal all channels
Y
•
To retune each channel (Manual Tuning)
R
[Auto Tuning]
- Set all TV channels automatically
Auto Tuning
All tuning data will be erased
Start Auto Tuning
EXIT
RETURN
Start
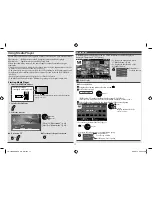
Settings are made automatically
OK
Start
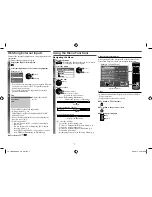
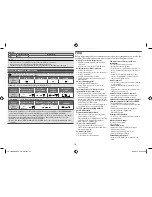
Auto
Tuning
Auto Tuning
1
CH2
Scan
EXIT
0%
100%
•
All the previous tuning settings are erased.
•
When the operation is completed, the channel at channel position [1] will be displayed.
•
Search begins in the order from the lower channels to the higher channels.
•
If tuning has not been done completely
[Manual Tuning] (see below)
[Manual Tuning]
- Sets TV channel manually
0
Fine Tuning
Manual Tuning
Sound System
Colour System
CH57
Auto
B/G
Manual Tuning
0%
100%
[Fine Tuning]
: Refines the tuning of an individual channel
[Manual Tuning]
: Set channel manually after Auto Tuning.
–
Set Sound System and Colour System, and then perform this function. Set Colour
System [Auto] normally.
–
If a VCR is connected only with the RF cable, select channel position [0].
Select a channel position
Select a channel
Search & store
CH
OK
Store
Search
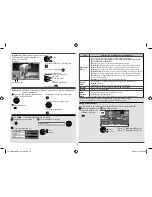
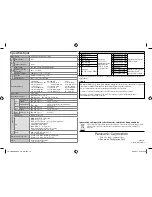
You can lock channels / AV input terminals. When the locked channel / input is
selected, a message appears; by entering the PIN number, you can watch it.
Main Menu
Setup
Child Lock
Enter the PIN number (4 digits)
•
To cancel
Select the locked channel / input
OK
•
To lock all
G
•
To cancel all locks
Y
•
To change the PIN number
Select [Change PIN] in [Child Lock]
and enter a new PIN number twice.
Notes
•
Make a note of the PIN number in case
you forget it.
•
Performing [Shipping Condition] erases
the PIN number and all settings.
*
* * *
Child Lock-PIN Entry
Please enter new PIN
PIN
(Enter the PIN number twice at first
setting)
Select [Child Lock List]
Child Lock
Change PIN
Child Lock List
Access
Select the channel / input to be locked
1
2
Lock
3
Lock
4
Lock
5
Lock
6
Lock
7
Lock
8
Lock
Name
Input
TV
TV
TV
TV
TV
TV
TV
TV
TV
TV
TV
TV
TV
TV
TV
TV
Type
Child Lock List - TV and AV
Lock
OK
Lock
Select
: Appears when
the channel /
input is locked
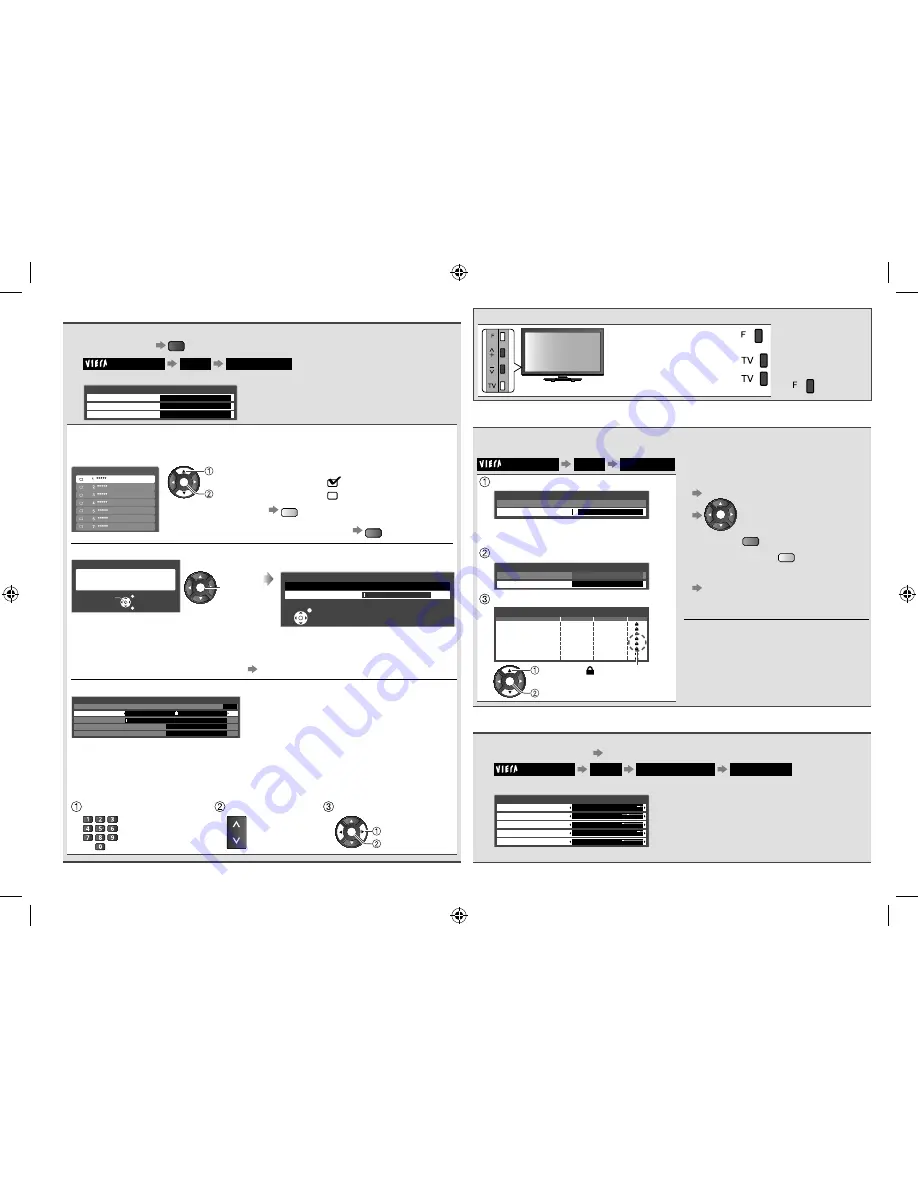
You can label the input mode or skip any unused terminal.
To select the input mode (p. 7)
1
Main Menu
Setup
Display Settings
Input Labels
2
Select an input terminal and set
Input Labels
AV1
TV
AV2
PC
HDMI
DVD
TV
AV2
PC
HDMI
•
The labels you set will be displayed in
[Input Selection] menu or banner.
•
If [Skip] is selected, you cannot select
the mode.
Tuning and Editing Channels
Control channel audience (Child Lock)
Input Labels
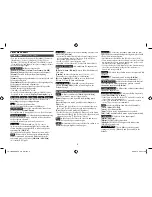
Auto Tuning using the buttons on the TV
1
Press repeatedly until
[Auto Tuning] appears
•
To return to TV
2
Access [Auto Tuning]
3
Start [Auto Tuning]
10
TH-L32XM5KMTX_fold_EN.indd 10
TH-L32XM5KMTX_fold_EN.indd 10
6/1/2012 8:26:12 AM
6/1/2012 8:26:12 AM