background image

Please read these instructions carefully before using this product and save this manual for future use.

Contents

Getting Started

Useful Information

Troubleshooting

Get

ting St

arted

U

seful In

formati

on

Troubleshooting

Appendix

Appendix

OPERATING INSTRUCTIONS
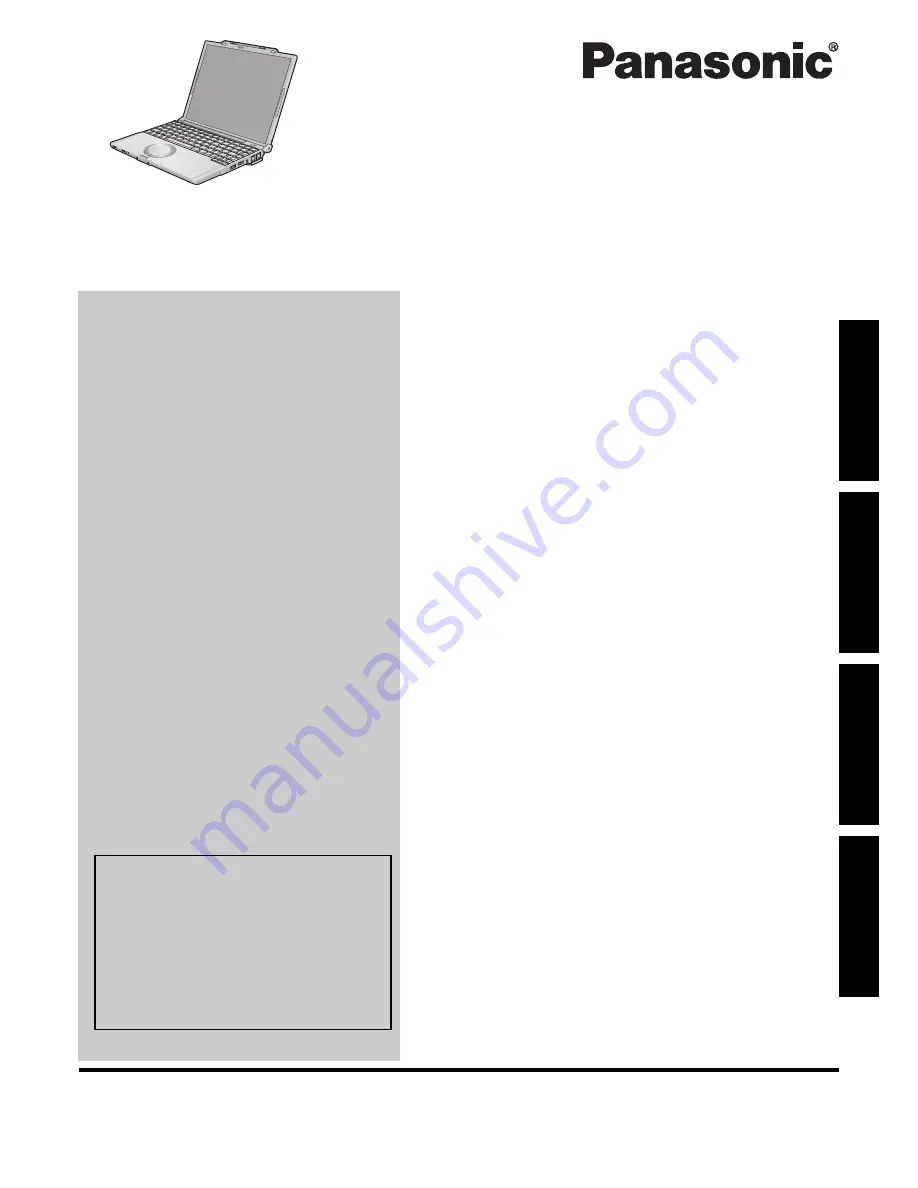
Personal Computer

Model No. 

CF-T5


series

Introduction

.................................................2

Read Me First

..............................................3

Description of Parts

.....................................11

First-time Operation

.....................................13

On-screen Manual

.......................................20

Handling and Maintenance

.............................21

Expanding Memory

......................................23

Hard Disk Backup/Restore Function

..................25

Hard Disk Data Erase Utility

...........................26

Reinstalling Software

....................................27

Troubleshooting (Basic)/Error Code/Message

.......28

Hardware Diagnostics

...................................32

LIMITED USE LICENSE AGREEMENT

..............34

Specifications

............................................36

LIMITED WARRANTY

..................................38

For further information about the com-
puter, you can refer to the on-screen 
manual.
To access the on-screen manual 

page 20 “On-screen Manual”

For your technical support office, refer to 
“LIMITED WARRANTY.”

Summary of Contents for Toughbook CF-T5MWETABM

Page 1: ...n of Parts 11 First time Operation 13 On screen Manual 20 Handling and Maintenance 21 Expanding Memory 23 Hard Disk Backup Restore Function 25 Hard Disk Data Erase Utility 26 Reinstalling Software 27...

Page 2: ...ial Co Ltd No patent liability is assumed with respect to the use of the information contained herein 2007 Matsushita Electric Industrial Co Ltd All Rights Reserved Disclaimer Computer specifications...

Page 3: ...15 to 5 25 GHz to reduce the potential for harmful interference to co channel Mobile Satellite sys tems High power radars are allocated as primary users of the 5 25 to 5 35 GHz and 5 65 to 5 85 GHz ba...

Page 4: ...of the product Panasonic assumes no liability for customer failure to comply with these precautions When in a hospital or other health care facility observe the restrictions on the use of mobiles Swit...

Page 5: ...ctions themselves but should contact the appropriate elec tric inspection authority or electrician as appropriate NOTICE The Ringer Equivalence Number REN assigned to each terminal device provides an...

Page 6: ...on the bottom of the computer Declaration of Conformity DoC Hereby we declare that this Personal Computer is in compliance with the essential requirements and other relevant provisions of the Directi...

Page 7: ...d by wireless devices like for example mobile phones Because this product operates within the guidelines found in radio frequency safety standards and recommenda tions we believe this product is safe...

Page 8: ...ulation which may result in a fire Pull the plug and wipe it with a dry cloth Pull the plug if the computer is not being used for a long period of time Insert the AC Plug Completely If the plug is not...

Page 9: ...bject the AC Adaptor to Any Strong Impact Using the AC adaptor after a strong impact such as being dropped may result in electric shock short circuit or fire Take a Break of 10 15 Minutes Every Hour U...

Page 10: ...nts overcharging of the battery by recharging only when the remaining power is less than approx 95 when Economy Mode ECO is enabled 75 of capacity The battery pack is not charged when the computer is...

Page 11: ...chscreen Reference Manual Using the Touchscreen H Speaker I LAN Port If the Mini Port Replicator is connected to the computer connect the LAN cable to the LAN port on the Mini Port Replicator You cann...

Page 12: ...SIM card slot under this cover is not used for this model Do not open the cover For other models Refer to the additional instruc tions G Microphone Jack Use a condenser microphone If you use other typ...

Page 13: ...amaged and may cause malfunction of the battery pack and the computer A Press and hold the latch B located at the front Be careful not to press the SIM card slot cover C by mistake B Lift open the dis...

Page 14: ...r Once you turn off the computer wait for ten seconds or more before you turn on the computer again Do not perform the following operation until the hard disk drive indicator turns off Connecting or d...

Page 15: ...ing the AC adaptor plugged into an electrical outlet Note that the computer consumes electricity even when the computer power is off If the battery pack is fully charged the battery will fully dischar...

Page 16: ...ly 20 seconds before the end of the track If this occurs make the following settings A Click Start Control Panel Hardware and Sound Sound B Click Speakers Properties C In Speakers Properties screen cl...

Page 17: ...ick OK and exit the Advanced settings screen Set the USB power saving function to Disable A Click Start All Programs Panasonic USB Power Save Mode Switching Utility B Click Disable and click OK C Clic...

Page 18: ...ust the length of the hand strap by the following steps 1 Peel back the tape A on the hand strap 2 Adjust the length of the band 3 Close the tape on the hand strap firmly At the time of purchase the s...

Page 19: ...endix 2 Thread the stylus strap of the tether from B in the direction of the arrow 3 Pass the stylus through the strap 4 Fasten the strap to the hook C 5 To store the stylus push the end into D CAUTIO...

Page 20: ...e desktop Alternatively click Start All Programs Panasonic On Line Manuals Important Tips Only for model with Bluetooth Supplementary Instructions of Bluetooth To access the Supplementary Instructions...

Page 21: ...e locations circled in the illustration at right Avoid leaving metallic object or magnetic media in contact with these areas The touch pad is designed to be used with a finger tip Do not place any obj...

Page 22: ...ation message select Execute and press Enter 5 At the reconfirmation message select Execute and press Enter 6 Press F10 At the confirmation message select Yes and press Enter The computer restarts To...

Page 23: ...rnal components insert objects other than the module or allow foreign particles to enter Doing so has been known to cause damage fire or electric shock Matsushita Electric Industrial Co Ltd will bear...

Page 24: ...slightly and will return after locking If it is hard to press down the RAM module do not try forcibly but check the module s direction 4 Set the cover and battery pack back NOTE If the RAM module is...

Page 25: ...til restoration is complete 1 Turn on the computer and when Panasonic boot screen disappears press and hold F8 If Enter Password is displayed during the following procedure input the Supervisor Passwo...

Page 26: ...ts up If the password is requested enter the Supervisor Password 3 Press F9 At the confirmation message select Yes and press Enter 4 Select the Boot menu then select USB CDD and press F6 until USB CDD...

Page 27: ...settings and click Next Reinstall Windows to the whole Hard Disk to factory default You will have a single partition Reinstall Windows to the operating system partition You can keep the partition stru...

Page 28: ...ct Safe Mode then press Enter Follow the on screen instructions 1 Supervisor Password or User Password set with the Setup Utility Press F9 in the Setup Utility page 31 To start the Setup Utility to re...

Page 29: ...not a malfunction Password Even after entering the password a message appears requesting to type it again If lights up press NumLk to disable the ten key mode and then input If lights up press Caps L...

Page 30: ...Touch Pad to Enable in the Main menu of the Setup Utility The drivers for some mice may disable the touch pad Check your mouse s operating instructions Cannot input using the touchscreen When mouse d...

Page 31: ...orrect Start the Setup Utility and set the correct date and time If the problem persists the internal clock battery may need to be replaced Contact your tech nical support office 0280 Previous boot in...

Page 32: ...he touch pad for operations When not using the touch pad you can operate using the internal keyboard instead If the touch pad does not operate properly press Ctrl Alt Del to restart the computer or sl...

Page 33: ...stic check on a specified hardware component or run an extended diagnostic check on the hard disk The extended diagnostic check is only for the hard disk The extended diagnostic check is more detailed...

Page 34: ...transfer of the single Product which was accompanied by the Programs to such other party At the time of such a transfer you must also transfer all copies whether in printed or machine readable form o...

Page 35: ...ouvez ni modifier ni tenter de modifier les Logiciels E Vous ne pouvez c der les Logiciels et en octroyer la licence une autre partie qu en rapport avec votre cession du Produit unique qui est accompa...

Page 36: ...pliant 8 Card Slots PC Card Slot 1 Type I or Type II Allowable current 3 3 V 400 mA 5 V 400 mA SD Memory Card Slot 9 1 Data transfer rate 8 MB per second RAM Module Slot 1 DDR2 SDRAM 172 pin 1 8 V Mic...

Page 37: ...onal device is attached When Economy Mode ECO is enabled the operating time becomes approximately 20 shorter than when it is disabled To switch USB Power Save Mode A Click Start All Programs Panasonic...

Page 38: ...esentatives at 1 800 LAPTOP5 If the prob lem is not handled to your satisfaction then write to the Consumer Affairs Division at the address indicated below SOFTWARE LIMITED WARRANTY Panasonic Computer...

Page 39: ...for any software warranty claim Claim Procedure In the event of a defect in material or workmanship in the media during the sixty 60 day warranty period and you return it transportation costs prepaid...

Page 40: ...onal ENERGY STAR Office Equipment Program The international ENERGY STAR Office Equipment Program is an international program that promotes energy saving through the use of computers and other office e...

Reviews: