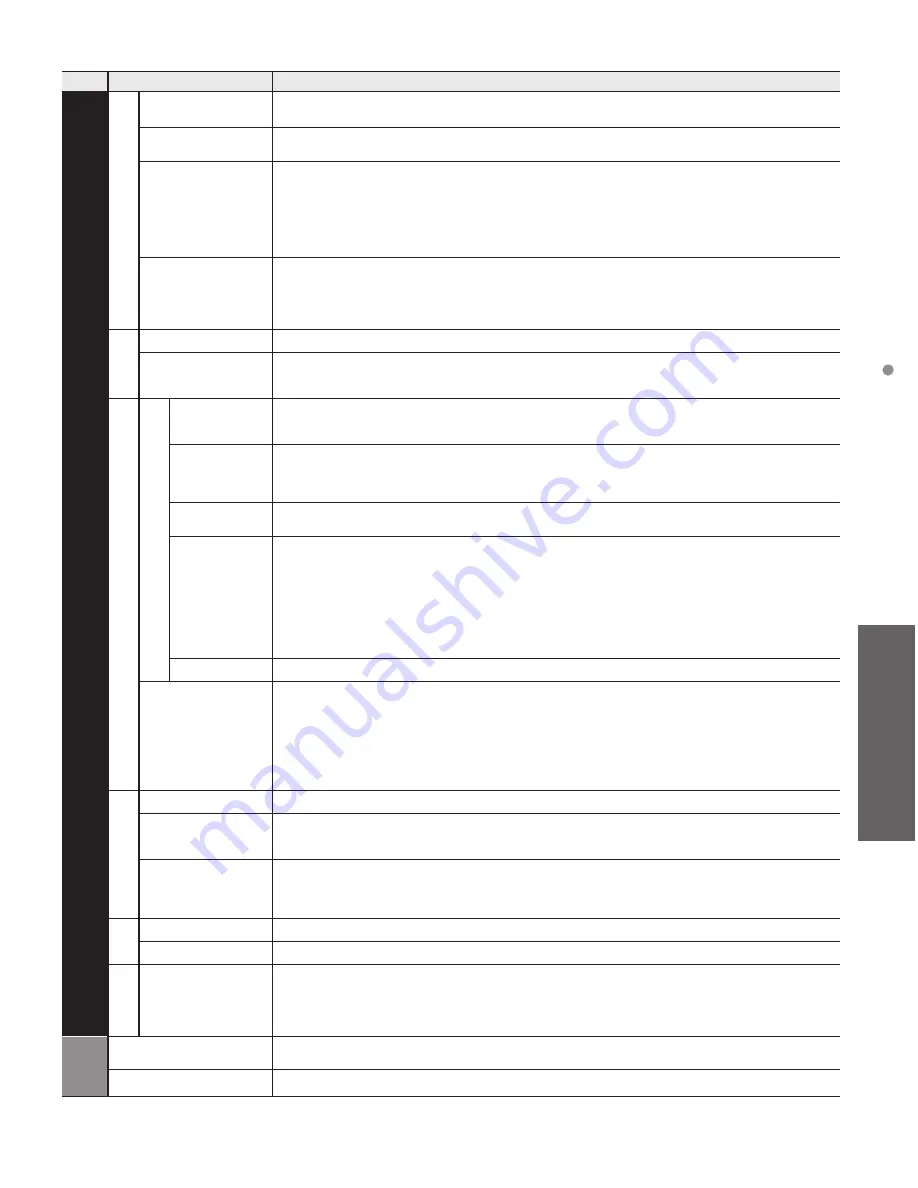
25
Advanced
How to Use Menu Functions
Menu
Item
Adjustments/Configurations (alternatives)
Setup
ANTENNA/Cable setup
ANTENNA/Cable
signal
Selects signal source connected directly to the ANTENNA/Cable In terminal.
(Cable/Antenna)
•
When using a Cable or Satellite box, it is recommended to connect the box to an AV IN terminal and skip this setting.
Auto program
Press OK to start scanning automatically. After the scanning is completed, select “Apply”.
•
All previously saved channels are erased.
Manual program
Change the channel setting or channel display.
Edit: Edit these items.
Caption: Changes the station identifier. (maximum 7 characters available)
Favorite: Registers channels to the Favorite List from Set favorite.
Add: Adds (Yes) or skips (No) channels
Apply: After the editing is completed, press OK to save the settings.
Cancel: Cancel the changes.
Signal meter
Check the signal strength if interference is found or freezing occurs on a digital image.
If the signal is weak, check the antenna.
If you cannot figure out the problem, consult your local dealer.
Not available if "Cable" is selected in "ANTENNA/Cable signal".
Available only for digital antenna channels.
Language
Menus language
Selects the screen menu language.
(English/Español/Français)
Preferred SAP
language
Selects the preferred language for hearing or visually impaired, if offered during digital broadcast.
(English/Spanish/French)
•
Preferred language takes precedence over preferred audio type. (Available only in the U.S.)
Display customization
Closed Caption
Mode
(CC on mute/On/Off)
CC on mute: To display Closed Captions when the audio is muted. (When not using, select Off)
On: To display Closed Captions.
Analog
(CC1-4/T1-4)
Choose the Closed Caption service of Analog broadcasting.
CC1-4: Information related to pictures (Appears at the bottom of the screen)
T1-4: Textual information (Appears over the entire screen)
Digital
(Primary/Second./Service 3/4/5/6)
The Digital Closed Caption menu lets you configure the way you choose to view the digital captioning.
Digital setting
Set display settings in digital programs.
Size: Select the text size.
Font: Select the text font.
Style: Select the text style (Raised, Depressed, etc.).
Foreground: Select the color of text.
Foreground opacity: Select the opacity of text.
Background: Select the color of text box.
Background opacity: Select the opacity of text box.
Outline: Select the outline color of text (Identify the setting options on the screen).
Reset to defaults
Resets all Closed Caption settings to factory default settings.
Input labels
Selects the terminal and label of the external equipment. Devices connected to external input
terminals can be labeled for easier identification during the input selection.
Label:
Input name/Not used/Blu-ray/CABLE/SATELLITE/DVD/DVD REC/DVR/GAME/
HOME THTR/RECEIVER/MEDIA CTR/MEDIA EXT/VCR/CAMERA/MONITOR/
AUX/OTHER/Customize
•
When the INPUT is labeled as “Not used”, then it will not appear in the Input select menu.
•
Select “Customize” to enter your own labels for the input (ex. “Computer”)
VIERA
Link settings
VIERA Link
To use all VIERA Link functions, set to On after everything is connected.
(On/Off)
Power on link
(Yes/No)
Yes: The TV is turned on automatically and switches to the appropriate HDMI input whenever
VIERA Link compatible equipment is initially turned on and the Play mode is selected.
Power off link
(Yes/No)
When Yes is selected and the TV is turned off, all connected VIERA Link compatible equipment is also
automatically turned off.
•
The TV remains on even if the VIERA Link compatible equipment is turned off.
System
Factory defaults
Clears all TV settings and memory to factory defaults.
License
Displays the software license information.
Other settings
Power save
Reduces screen brightness to lower power consumption. Eye-friendly for viewing in a dark room.
(Saving/Standard)
Help
TV Self-test
Verifies proper function of the TV for picture and sound.
•
Follow the instructions on the screen to complete the self test.
Version
Displays TV's software (firmware) version.


