Using the remote control
48 - ENGLISH
Basic Operation
Note
■
z
The signal displayed for the <INPUT 3> button and
the <INPUT 4> button changes depending on the
type of input module inserted.
■
z
Pressing the <INPUT> button on the control panel
changes the signal in the order of [Input 1]
→
[Input
2]
→
[Input 3]
→
[Input 4].
Correcting the keystone effect
You can correct the keystone effect that occurs when
the projector is installed with tilt or when the screen is
tilted.
■
z
The amount and range of the correction differ
depending on the input signal.
■
z
With certain settings, the image may distort for a
moment.
■
z
To achieve the corrected image, the signal
undergoes digital compression before projection
and lines and text may be altered slightly from
those of the original image.
■
z
For details on the correction, refer to [Keystone] in
the [Screen] menu.
button
1) Press the <KEYSTONE> button on the
remote control.
■
z
Each press of the button switches the display
between the standard keystone effect correction
display and the corner correction display.
■
■
Standard keystone effect
correction
Corrects the keystone effect vertically and horizontally.
1) While [Keystone] is displayed, press
▲▼◀▶
of the direction in which you
want to make the correction.
Note
■
z
Pressing the <KEYSTONE> button on the remote
control for at least three seconds while [Keystone]
is displayed returns the image to the uncorrected
state.
■
■
Corner correction
Corrects distortion at the corners of the image.
1) While [Keystone] is displayed, press
the <ENTER> button and select the
corner to correct.
■
z
Each press of the button moves the selected
corner clockwise.
2) Press
▲▼◀▶
to correct the
distortion.
Note
■
z
Pressing the <KEYSTONE> button on the remote
control for at least three seconds while [Keystone]
is displayed returns the image to the uncorrected
state.
Selecting picture quality
mode
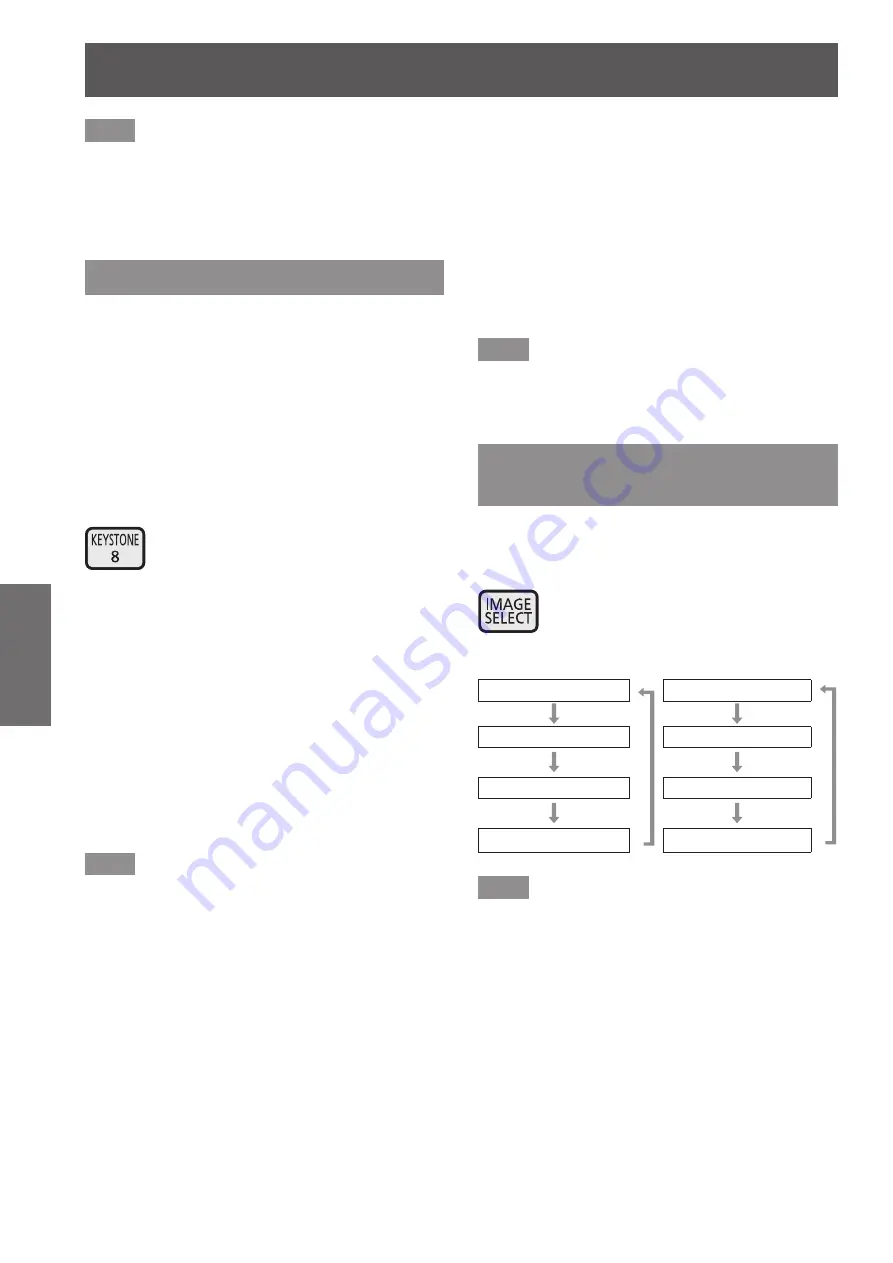
Pressing the <IMAGE SELECT> button on the remote
control displays the menu for the currently selected
[Image select], then each subsequent press of the
button changes the mode.
button
For computer input
For video input
[Standard]
[Standard]
[Real]
[Cinema]
[Dynamic]
[Dynamic]
[Image 1] - [Image 10]
[Image 1] - [Image 10]
Note
■
z
For details, refer to “[Image select] menu”
(
page 59).


