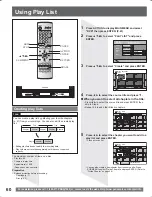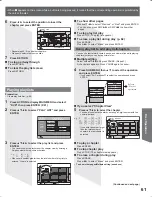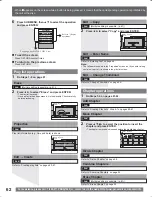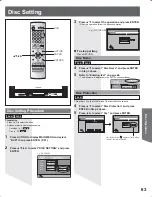
58
For assistance, please call : 1-800-211-PANA(7262) or, contact us via the web at:http://www.panasonic.com/contactinfo
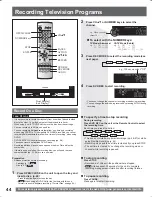
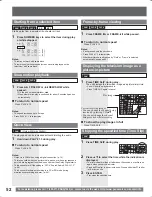
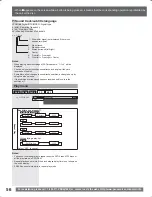
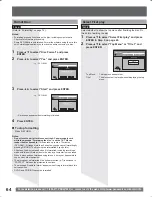
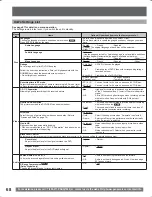
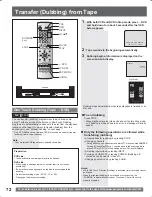
Erase Chapter
Divide Chapter
Combine Chapters
Title View
5
Press SUB MENU, then
Ÿź
to select the operation
and press ENTER.
You can go back to the Title View.
To exit the screen
Press DIRECT NAVIGATOR.
To return to the previous screen
Press RETURN.
Refer to “Chapter
operations”.
07
08
- -
- -
- -
- -
10 10/27 Mon
8 10/27 Mon
Previous
Next
DIRECT NAVIGATOR Title View
DVD-RAM
02/02
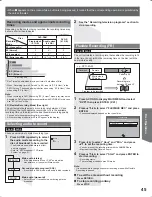
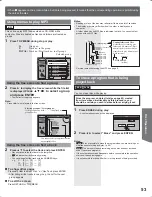
Erase
Dinosaur
Erase
Cancel
Time remaining after erase
2:40(EP)
Corresponding play list chapters will be erased.
07
08
- -
- -
- -
- -
10 10/27 Mon
8 10/27 Mon
Previous
Next
DIRECT NAVIGATOR Title View
DVD-RAM
02/02
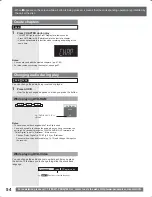
Dinosaur
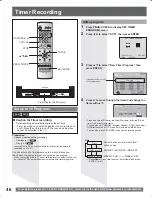
Properties
No. 01
Date 6/23/2004
Wed
CH 4
Start 10:00
AM
Rec time 2:15(SP)
07
08
- -
- -
- -
- -
10 10/27 Mon
8 10/27 Mon
Previous
Next
DIRECT NAVIGATOR Title View
DVD-RAM
02/02
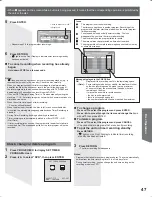
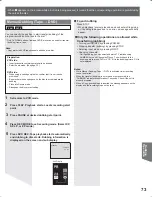
Set up Protection
Yes
No
Set title protection.
07
08
- -
- -
10 10/27 Mon
8 10/27 Mon
DIRECT NAVIGATOR Title View
DVD-RAM
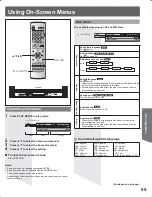
DIRECT NAVIGATOR Shorten
DVD-RAM
PLAY
08
End
- - : - - . - -
Start
- - : - - . - -
Start
End
Next
Exit
0:43.21
DIRECT NAVIGATOR Shorten
DVD-RAM
08
End
- - : - - . - -
Start
- - : - - . - -
Start
End
Next
Exit
0:43.21
Shorten
Dinosaur
Erase
Cancel
Time remaining after erase
1:33(EP)
Corresponding play list chapters will be erased.
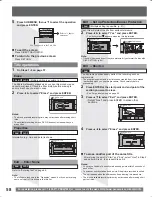
Title operations
Erase
The title is irretrievably erased when you use this procedure and
cannot be retrieved. Check the title carefully before erasing to
ensure it isn’t one you want to keep.
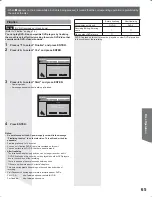
2
Press
ŻŹ
to select “Erase” and press ENTER.
Notes:
• The disc’s available recording time may not increase after erasing short
titles.
• The available recording time on DVD-R does not increase when you
erase titles.
Properties
DVD-R
RAM
Information (e.g., time and date) is shown.
DVD-R
RAM
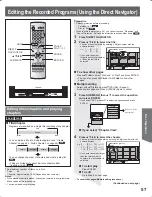
(Multiple editing is possible. (p. 57))
Note:
• The full name is shown in the “Properties” screen, but if you enter a long
name, only part of it is shown in the title list.
Edit
ĺ
Enter Name
DVD-R
RAM
Refer to “Entering text” on page 66.
1
Do Steps 1~3 on page 57.
Edit
ĺ
Set up Protection/Cancel Protection
RAM
(Multiple editing is possible. (p. 57))
If set, this will protect the title from accidental erasure.
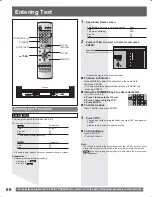
2
Press
ŻŹ
to select “Yes” and press ENTER.
• The lock symbol “ ” appears when the title is protected.
Note:
• Titles will be erased even if they are protected if you format the disc with
DISC SETTING. (p.64)
Edit
ĺ
Shorten
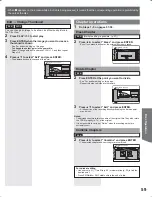
RAM
2
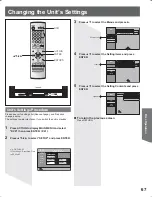
Press ENTER at the start point and end point of the
section you want to erase.
• See “For quicker editing” on page 59.
3
Press
Ÿź
to select “Exit” and press ENTER.
• Select “Next” and press ENTER to erase other
sections.
You can remove unnecessary parts of the recording such as
commercials.
• The program segment, and play list scenes created from it, are erased
irretrievably when you use this procedure. Check carefully before
proceeding.
4
Press
ŸŻ
to select “Erase” and press ENTER.
To erase another part of the same title
After storing the point in “Start” and “End”, select “Next” in Step 2
and perform Step 4, then repeat Steps 2~4.
Notes:
• You may not be able to specify start and end points within 3 seconds of
each other.
• You cannot specify start and end points if the picture recorded is stilled.
• The unit pauses when the title reaches its end during this procedure.
• The disc’s available recording time may not increase after erasing short
parts of titles.

