Camera Mode
-19-
ª
To View the Recorded Scene while the
Recording Is Paused (Camera Search)
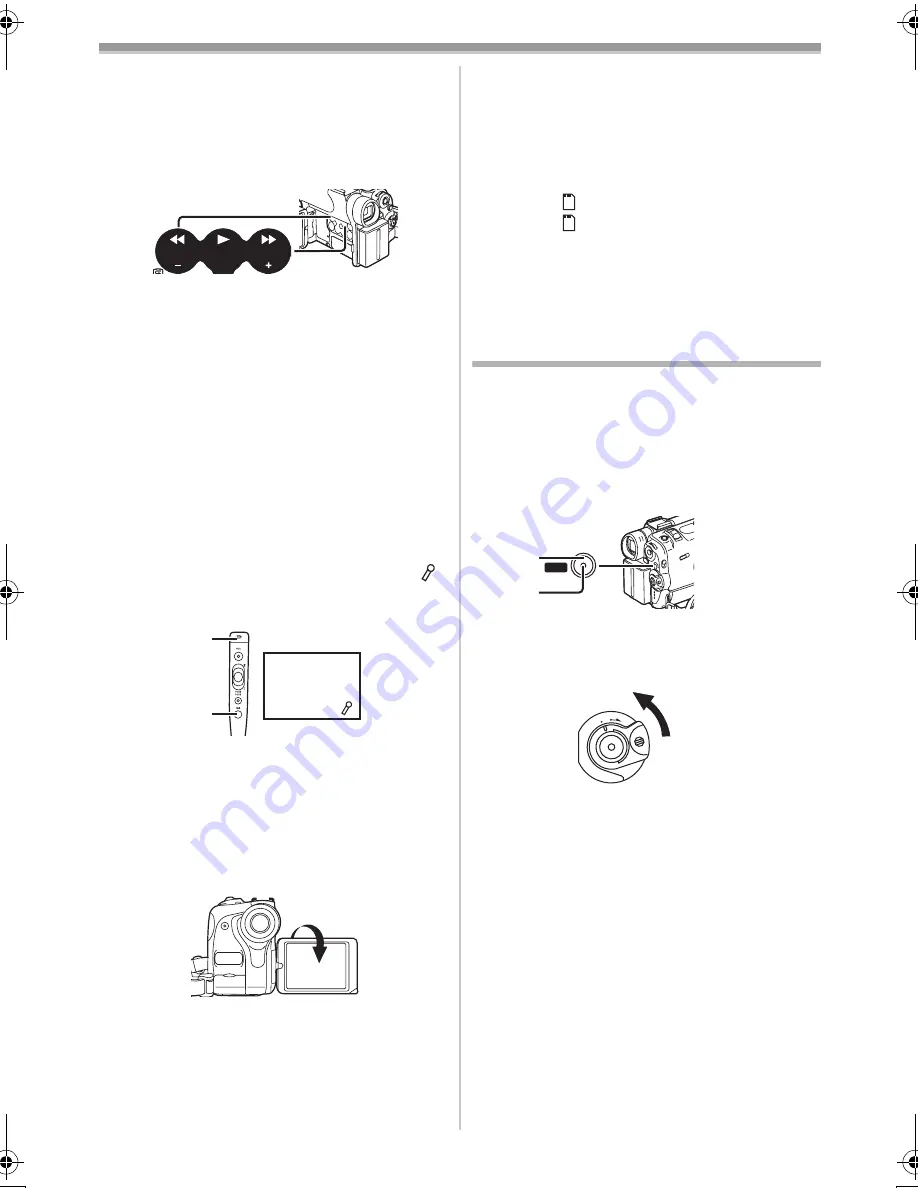
The recorded scene can be viewed by keep
pressing the [SEARCH
j
] Button
(7)
or
[SEARCH
i
] Button
(9)
in the Recording Pause
Mode.
≥
When the [SEARCH
j
] Button is pressed,
images are played back in the reverse direction.
≥
When the [SEARCH
i
] Button is pressed,
images are played back in the forward direction.
ª
To Finish the Recording
Set the [OFF/ON/MODE] Switch
(43)
to [OFF].
≥
For other notes concerning this item, see
-54-
.
ª
To Add a Sound while Recording
With the supplied Free Style Remote Controller
with Mic connected to the [REMOTE] Socket
(24)
,
you can add a narration while recording is in
progress.
While the [TALK] Button
(84)
is pressed, the [
]
Indication is displayed and the sound is recorded
from [MIC]
(80)
.
≥
While the [TALK] Button is pressed, the built-in
microphone does not operate.
ª
Recording Yourself
By opening the LCD Monitor and rotating it
frontward (to the lens side), you can let the
subject in front of the Movie Camera monitor the
shot while recording is in progress.
≥
When the LCD Monitor is opened, the
Viewfinder is disabled automatically. However,
when the LCD Monitor is rotated frontward, the
image is also shown in the Viewfinder.
SEARCH
SEARCH
BACK
LIGHT
(7)
(9)
REC
(80)
(84)
≥
If you prefer to have the image on the LCD
Monitor to look like an image in a mirror, set
[SELF REC] on the [OTHER FUNCTIONS1]
Sub-Menu to [MIRROR]. Images are recorded
normally and no left and right reversal occurs.
≥
If [MIRROR] is used during self-recording, only
the basic indications, such as the Recording
Indication [
] (Red) or [
¥
], Recording Pause
Indication [
] (Cyan) or [
¥;
] and Remaining
Battery Power Indication [
x
], are displayed.
≥
If a general Warning/Alarm Indication [
°
]
appears, return the LCD Monitor to the original
position in order to check the specific content of
the Warning/Alarm Indication.
Quick Start
By pressing the [QUICK START] Button
(41)
, and
the Movie Camera will be ready for recording in
approximately 1.3 seconds after the Movie
Camera is turned on.
1
Press the [QUICK START] Button
(41)
.
≥
The Quick Start Recording Lamp
(42)
lights
up.
2
Set the [OFF/ON/MODE] Switch
(43)
to
[OFF].
≥
The Quick Start Recording Lamp remains lit.
3
Set the [OFF/ON/MODE] Switch
(43)
to [ON].
≥
The Movie Camera will be ready for recording
in approximately 1.3 seconds.
≥
For other notes concerning this item, see
-54-
.
START
QUICK
(41)
(42)
OF
F ON MODE
(43)
50B-ENG.book 19 ページ 2003年1月17日 金曜日 午後5時29分
Summary of Contents for NV-GS40
Page 72: ... 72 ª W Web Camera 49 White Balance 24 Wipe Mode 27 ª Z Zoom 21 Zoom Microphone 21 ...
Page 73: ... 73 ...
Page 74: ... 74 ...
Page 75: ... 75 ...


