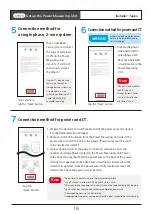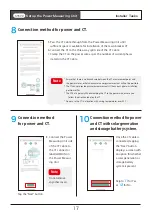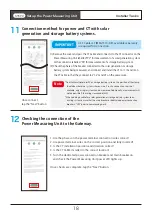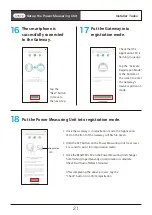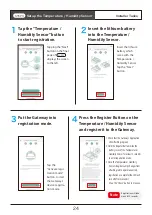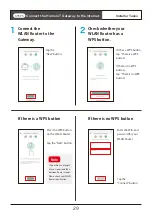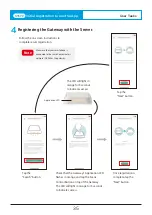
Connect the Home IoT Gateway to the Internet
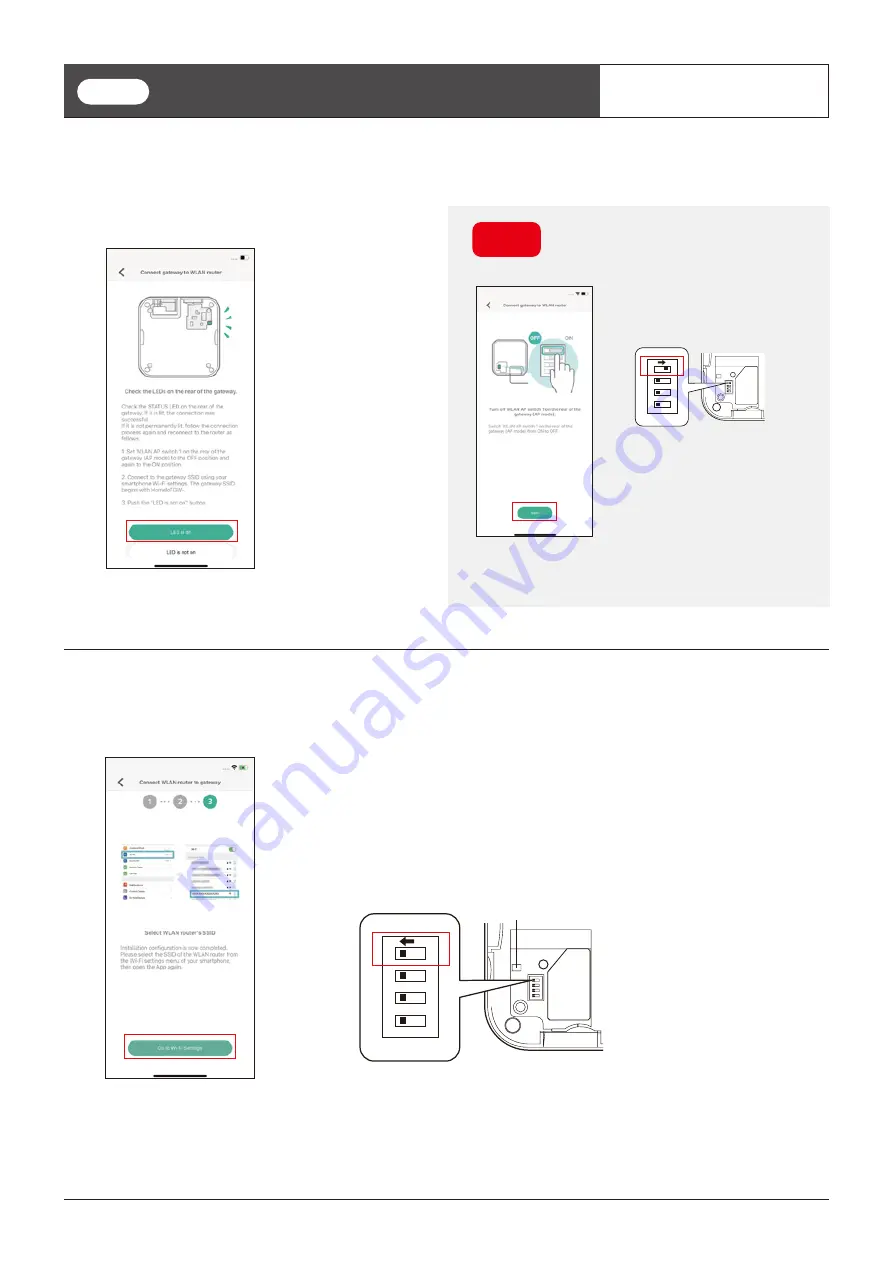
After around 2 minutes, check the Status LED.
3
Installation is complete.
4
Installer Tasks
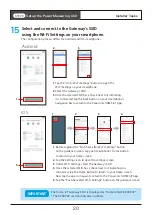
Select the SSID of the WLAN Router from
your smartphoneʼs WI-Fi Settings.
Then, set the Gatewayʼs WLAN AP swtich (switch 1) to OFF.
12
34
O
N
Status LED
Rear
WLAN AP switch
STEP5
If the LED is not lit, tap the “LED is not on” button
and try to connect the Gateway to the WLAN
Router again by following the procedure below.
Note
Check the Status LED on
the rear of the Gateway
after 2 minutes.
If the Status LED is lit,
the Gateway is success-
fully connected to the
WLAN Router.
Tap the “LED is on”
button to complete
WLAN setup.
1. Turn the WLAN AP switch on the rear
of the Gateway (switch 1) to the off
position, then back to the on position.
2. Check that the Gatewayʼs
Application LED flashes in orange.
3. Check that your smartphone is
connected to the Gateway (connect
to the Gateway SSID from your
smartphoneʼs network settings).
4. Follow the on-screen instructions to
configure.
12
34
O
N
Rear
30

