


Configuring the Printer Driver Settings
13
Windows 95/98/Me
Pr
inter
Secti
o
n
General Tab
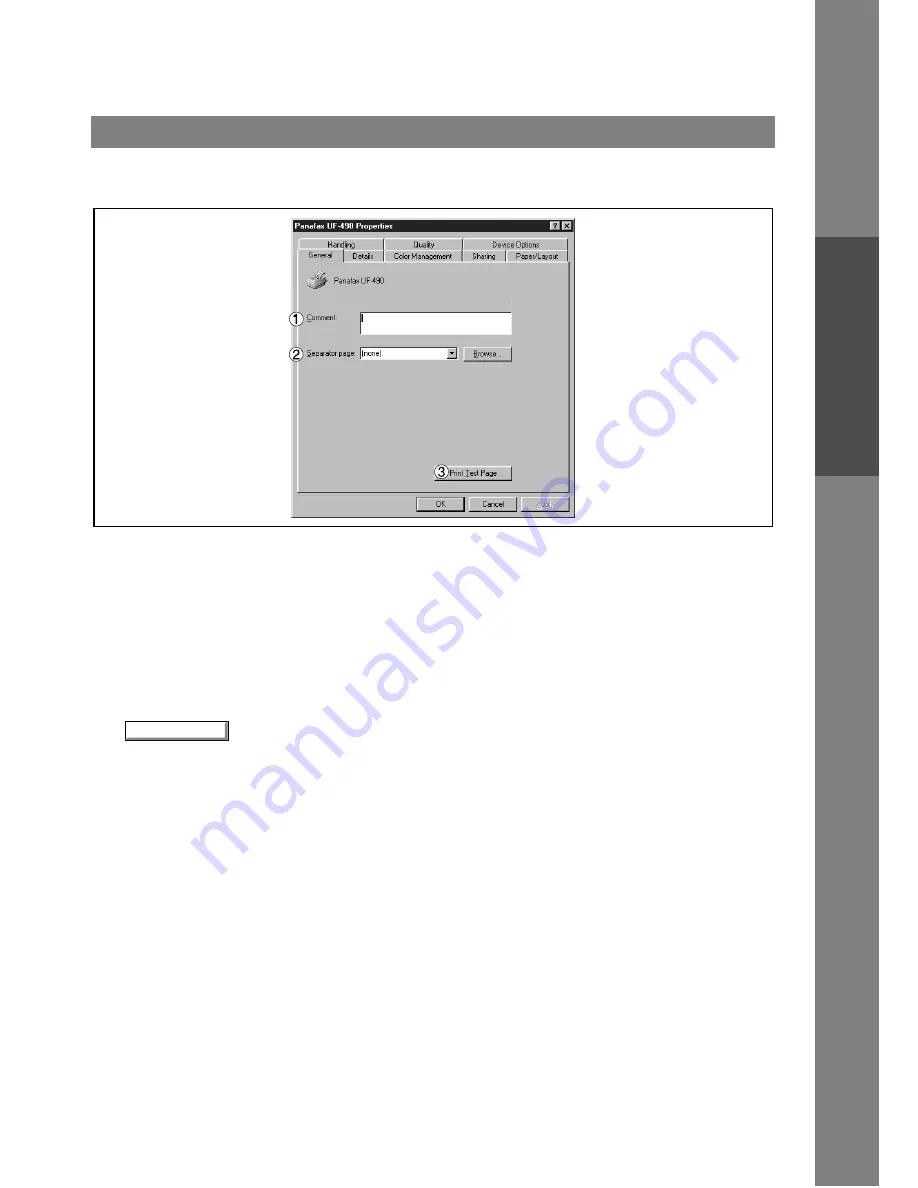
1. Comment
Enter comments to the properties, if any.
If another user sets up this printer on his or her computer when sharing the printer, the comment specified
here will also appear on that computer. However, the comment displayed for an already set-up user will
remain unchanged even if the comment is modified later.
2. Separator page
This feature is not available on your machine.
3.
button
Prints a test page. This allows the user to verify if the printer is installed properly.
Print Test Page


