background image

1. Introduction and Installation

12

Detailed operating instructions are on the CD-ROM.

Example: August 10, 2008 10:15 PM (12 hour 
clock format)

1.

Press 

{V}

 or 

{^}

 repeatedly to select 

Date

i


{

<

}

/

{

>

}

2.

Press 

{

0

}{

8

}


{

1

}{

0

}


{

2

}{

0

}{

0

}{

8

}

.

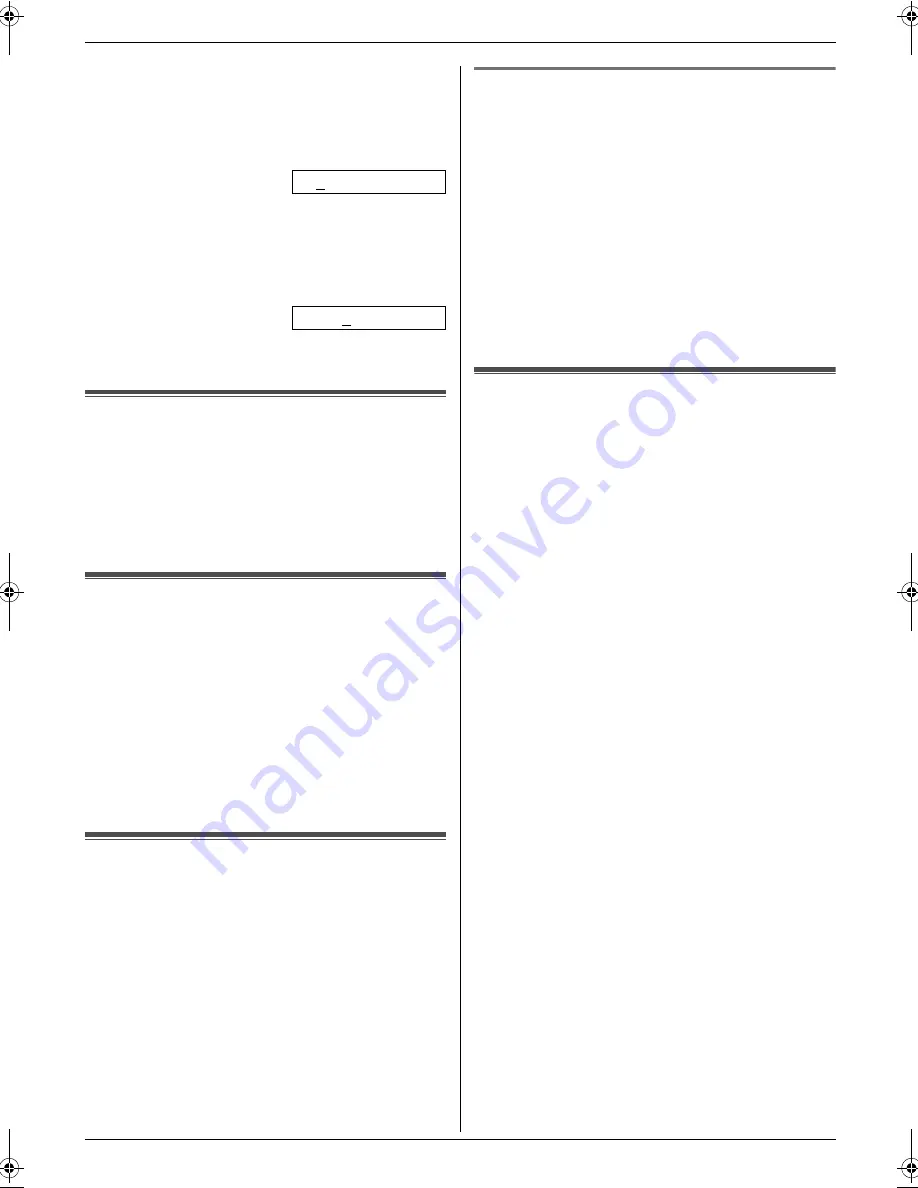
M:08/D:10/Y:2008

3.

{

Set

}

4.

Press 

{V}

 or 

{^}

 repeatedly to select 

Time

i


{

<

}

/

{

>

}

5.

Press 

{

1

}{

0

}


{

1

}{

5

}

, then press 

{V}

 or 

{^}


repeatedly to select 

PM

.

10:15PM

6.

{

Set

}

3

Press 

{

Menu

}

 to exit.

1.10 Your logo

You can program your logo (name, company name, etc.) 
so that it appears on the top of each page sent.

1

{

Menu

}


i


{#}{

1

}{

0

}{

2

}


i


{

Set

}

2

Enter your logo, up to 30 characters using the dial 
keypad. 

i


{

Set

}

3

Press 

{

Menu

}

 to exit.

1.11 Your fax number

You can program your fax number so that it appears on 
the top of each page sent.

1

{

Menu

}


i


{#}{

1

}{

0

}{

3

}


i


{

Set

}

2

Enter your fax number, up to 20 digits.

L

To enter a “

+

”, press 

{*}

.

L

To enter a space, press 

{#}

.

L

To enter a hyphen, press 

{

Flash

}

.

L

To erase a number, press 

{

Back

}

.

3

{

Set

}

4

Press 

{

Menu

}

 to exit.

1.12 Configuring the unit to 
access the LAN

You can print documents, scan documents, receive 
faxes or send faxes using a computer on the LAN. To 
enable these features, you need to set the IP address, 
subnet mask, and default gateway for the unit.

Important:

L

Consult your network administrator when setting 
the IP address, subnet mask, and default 
gateway.

1.12.1 Setting up automatically with a 
DHCP server

Your situation:

When only one unit is connected to the LAN.

If your network administrator manages the network with 
a DHCP (Dynamic Host Configuration Protocol) server, it 
will automatically assign an IP (Internet Protocol) 
address, subnet mask, and default gateway to the unit.

1

After connecting the LAN cable to the unit and the 
computer, turn the power switch ON.

L

The IP address, subnet mask, and default 
gateway will be set automatically.

2

Install Multi-Function Station on the computer that 
you want to use it with.

1.13 Installing Multi-Function 
Station

L

Install Multi-Function Station (CD-ROM) before 
connecting the unit to a computer with the USB 
cable. If the unit is connected to a computer with 
the USB cable before installing Multi-Function 
Station, the 

[

Found New Hardware Wizard

]


dialog box will appear. Click 

[

Cancel

]

 to close it.

L

Software features and appearance are subject to 
change without notice.

Warning:

L

To assure continued emission limit compliance;

use only shielded USB cable (example: Hi-Speed 
USB 2.0 certified cable).

use only shielded LAN cable (category 5 straight 
cable).

L

To protect the unit, use only shielded USB cable in 
areas where thunderstorms occur.

Note:

L

A USB cable is not supplied. Please purchase a 
shielded Type-A male/Type-B male USB cable.

1

Start Windows

®

 and exit all other applications.

L

For Windows 2000, Windows XP and Windows 
Vista

®

 users, you must be logged in as an 

administrator in order to install Multi-Function 
Station.

2

Insert the supplied CD-ROM into your CD-ROM 
drive.

3

[

Easy Installation

]

L

The installation will start automatically.

4

When the setup program starts, follow the on-screen 
instructions.

5

The 

[

Connect Type

]

 dialog box appears.

For USB connection:

1.

[

Connect directly with a USB cable.

]


i


[

Next

]

L

The 

[

Connect Device

]

 dialog box will appear.

MC210-PNQW1312ZA-QRG-en.book  Page 12  Monday, September 22, 2008  9:55 AM

Summary of Contents for DP-MC210

Page 1: ...ovides the Operating Instructions in PDF format with a detailed description on how to use the unit Adobe Reader is required to view them L This unit is compatible with Caller ID You must subscribe to...

Page 2: ...r return L This product can store your private confidential information To protect your privacy confidentiality we recommend that you erase the information such as phonebook or caller information from...

Page 3: ...unit If you are not sure of the type of power supplied to your home consult your dealer or local power company For safety purposes this unit is equipped with a grounded plug If you do not have this ty...

Page 4: ...cing to an authorized service center when any of the following conditions occur L If the power cord is damaged or frayed L If liquid has been spilled into the unit L If the unit has been exposed to ra...

Page 5: ...TRUCTIONS For best performance Moving the unit The unit weighs approximately 30 kg 67 lb It is highly recommended that two people handle this unit When moving the unit hold both of the side grips 1 Du...

Page 6: ...items that may be illegal to copy in your country Currency Bank notes and checks Bank and government bonds and securities Passports and identification cards Copyright material or trademarks without th...

Page 7: ...ries 2 Preparation L Main settings prior to activating the unit such as Multi function software information 3 Printer L More ways to use the printer such as printing on special media 4 Scanner L More...

Page 8: ...1 1 10 Your logo 12 1 11 Your fax number 12 1 12 Configuring the unit to access the LAN 12 1 13 Installing Multi Function Station 12 2 How to Use Printer 2 1 Printing from Windows applications 14 Scan...

Page 9: ...ent accessories Toner cartridge L Prints about 4 000 sheets of letter size pages with a 5 coverage Color drum cartridge L Model No Part No DQ UHA10C Monochrome drum cartridge L Model No Part No DQ UHA...

Page 10: ...If you cannot dial change this setting according to your telephone line service 1 Menu 2 Press 1 2 0 to display Dialing Mode 3 Press 1 or 2 to select the desired setting 1 Pulse For rotary pulse dial...

Page 11: ...3 Close the document cover 1 7 2 Using the automatic document feeder 1 Insert the document up to 50 pages FACE UP into the feeder until a single beep is heard 2 Adjust the width of the document guides...

Page 12: ...otocol server it will automatically assign an IP Internet Protocol address subnet mask and default gateway to the unit 1 After connecting the LAN cable to the unit and the computer turn the power swit...

Page 13: ...drive 2 Click Operating Instructions then follow the on screen instructions to view or install the operating instructions in PDF format L Adobe Reader is required to view the operating instructions No...

Page 14: ...Scan 3 Click the desired application icon Copy 2 4 Making a copy 2 4 1 Using the scanner glass 1 If the Copy light is OFF turn it ON by pressing Copy 2 Set the original page 11 3 If necessary change...

Page 15: ...he printed documents print the color test then clean or change the drum cartridge 1 Menu 2 Press V or repeatedly to select Print Report 3 Press or repeatedly to select Color Test 4 Press Set to start...

Page 16: ...ge Supplies Waste Toner Full L The waste toner cartridge life is near its end Replace the waste toner cartridge as soon as possible Check Document L The document was not fed into the unit properly Rem...

Page 17: ...he unit has a document in memory See the other displayed message instructions to print out the document L If feature 442 is set to Always check the connection between the computer and the unit check t...

Page 18: ...rmat the SD card selecting FAT for the file system Formatting the card will erase all data stored on the SD card Not Supported Media L The inserted SD card could not be read Use a supported SD card Ou...

Page 19: ...canner Position Error L There is something wrong with the scanner position Turn the power switch OFF then ON If the problem cannot be solved contact our service personnel SD Card is not inserted L The...

Page 20: ...st comply with the applicable FCC Part 68 rules and requirements adopted by the ACTA A compliant telephone cord and modular plug is provided with this product It is designed to be connected to a compa...

Page 21: ...21 Notes...

Page 22: ...22 Notes...

Page 23: ...23 Notes...

Page 24: ...O THIS PANASONIC MACHINE INCLUDING BUT NOT LIMITED TO ANY IMPLIED WARRANTY OF MERCHANTABILITY OR FITNESS FOR A PARTICULAR PURPOSE PANASONIC COMMUNICATIONS COMPANY OF NORTH AMERICA ASSUMES NO RISK AND...

Reviews: