
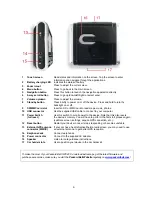

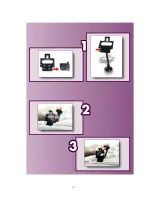
1 Touch
screen
Read status and information on the screen. Tap the screen to enter
information and navigate through the applications.
2
Battery charging LED
Indicates the status of battery.
3 Zoom
in/out
Press to adjust the current view.
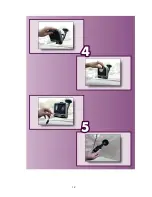
4 Menu
button
Press to go back to the main screen.
5 Navigation
button
Press this button to launch the navigation application directly.
6
5-way scroll button
Press to go up/down/left/right/ or select enter.
7 Volume
up/down
Press to adjust the volume.
8 Standby
button
Press briefly to power on or off the device. Press and hold to turn the
backlight on or off.
9
SD/MMC card slot
Insert an SD or MMC card to read maps, music, photos.
10 USB
connector
Use the supplied USB cable to connect to your computer.
11 Power Switch
(full reset)
Use this switch to cut all power to the device. Note that this also resets
the device’s memory. You will have to perform the first start process again
(calibrate screen, settings, acquire GPS connection, etc.).
12 Reset
button
Restart your device in case it stops responding or becomes unstable.
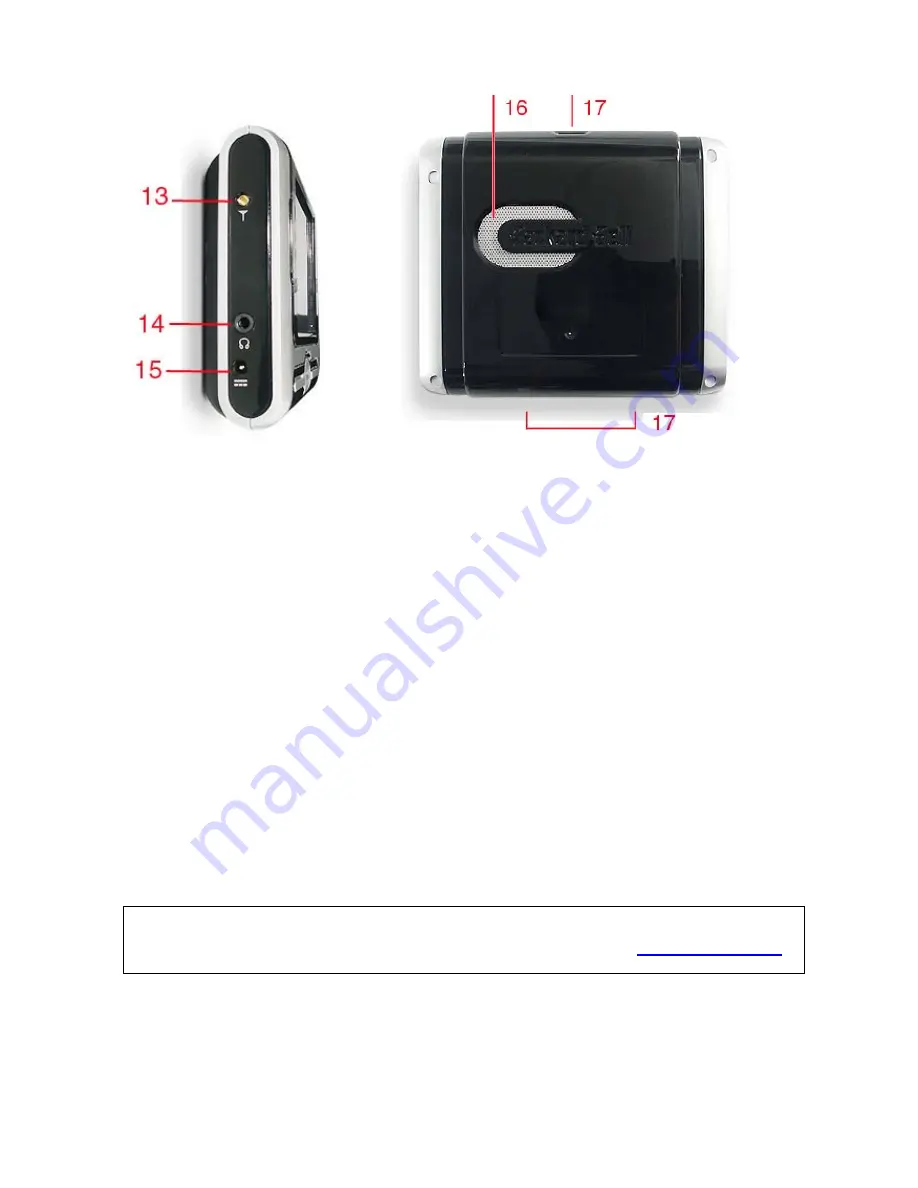
13 External GPS antenna
connector (MMCX)
If your car has a heat reflective/thermal windscreen, you may need to use
an external antenna to get better GPS reception.
14 Earphone
Jack
Connect earphones.
15 Power
connector
Connect to the supplied AC adapter.
16 Speaker
Listen to route guidance instructions.
17 Car holder slots
Use to position your device in the car holder kit.
To make the most of your Packard Bell GPS 400, download extra maps, get the latest firmware and
purchase accessories, make sure you visit the Packard Bell Website regularly on
www.packardbell.com
!
6


